

It’s hard for me to describe my preferred interior design style. I think it’s a mix of Mid Century boho meets old world Spanish cottage. That being said, I have always loved archways in architecture. As soon as it became popular to convert regular openings into archways, I knew I wanted to do this in my home.


This is a perfect example of a project where home takes time. I had dreamed and planned to build this arch for over a year. I even used paper to make a template that I held onto until the time was right. This was definitely one of those projects that I was scared to take on, because I have very little experience with drywall. After months of small projects, I finally decided it was time. Time to step out of my comfort zone, of my usual woodworking. Time to push myself. Time to make something beautiful for myself to enjoy, even if not everyone loved it. I’ll be the first to admit that this project felt like a lot of trial and error. First I’m going to tell you what I actually did, and then I’ll tell you what I should’ve done.
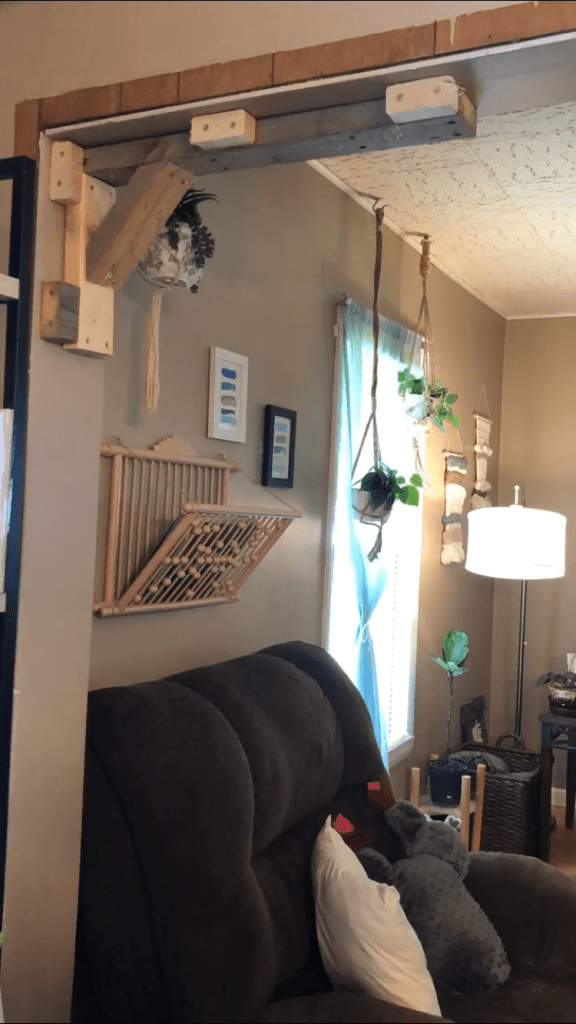


I used 2×4’s to make corner frames and added them piece by piece to the existing opening. Then using my paper template, I cut out plywood arches to make up the sides and attached this to the 2×4’s. I had to wedge in small pieces of 2×4 in places to get an even finish. I wish I would’ve built this entire frame, out of the opening and then installed it all at once in the doorway. Since this doorway is a little wonky to begin with, it would’ve needed a few adjustments, but not nearly as many as I had to do the way I built it.


Next was the drywall. I bought a stack of 2×2′ drywall sheets from the hardware store because they’re easier to handle and fit in any car. I used the plywood frame as a guide to cut out the drywall, and then I hung it on the frame piece by piece. This is another step I would’ve changed. I wish I would’ve bought large drywall sheets because I would’ve had less seams to deal with later. One of the trickiest parts of drywall was getting the middle of the curve hung in a bending position. I scored the back paper side of the drywall and wet it a bit to get it to bend, and then nailed it in place.
Finishing hanging drywall was a huge step for me, because it was way trickier than I had imagined, again working with small pieces instead of large sheets. It meant that I had quite a bit of work left to do in the mudding and sanding phase, the longest phase of this project.


For flat seams, I used fiberglass drywall tape. For the corner seams, I used flexible corner bead that allowed the curve to be smooth. It took a few layers of pre-mixed joint compound with a wet sand in between each with a sanding sponge. I’m no expert at using sanding sponges, so it was still a little messy, but way less dusty than if I had used a power sander inside.
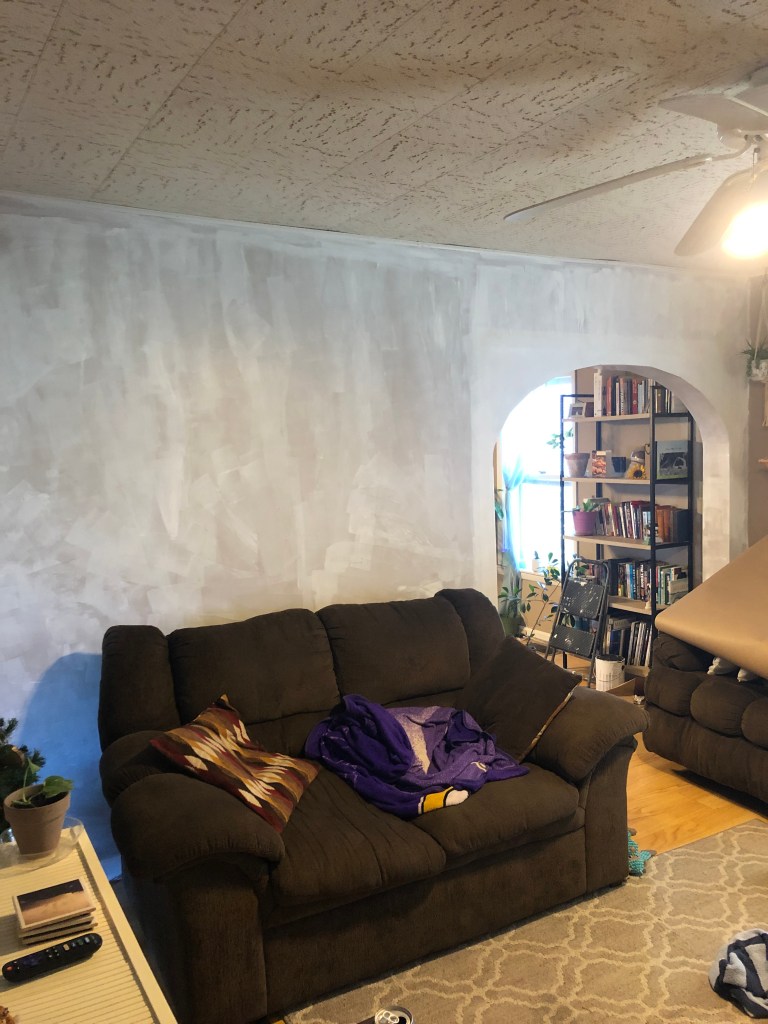
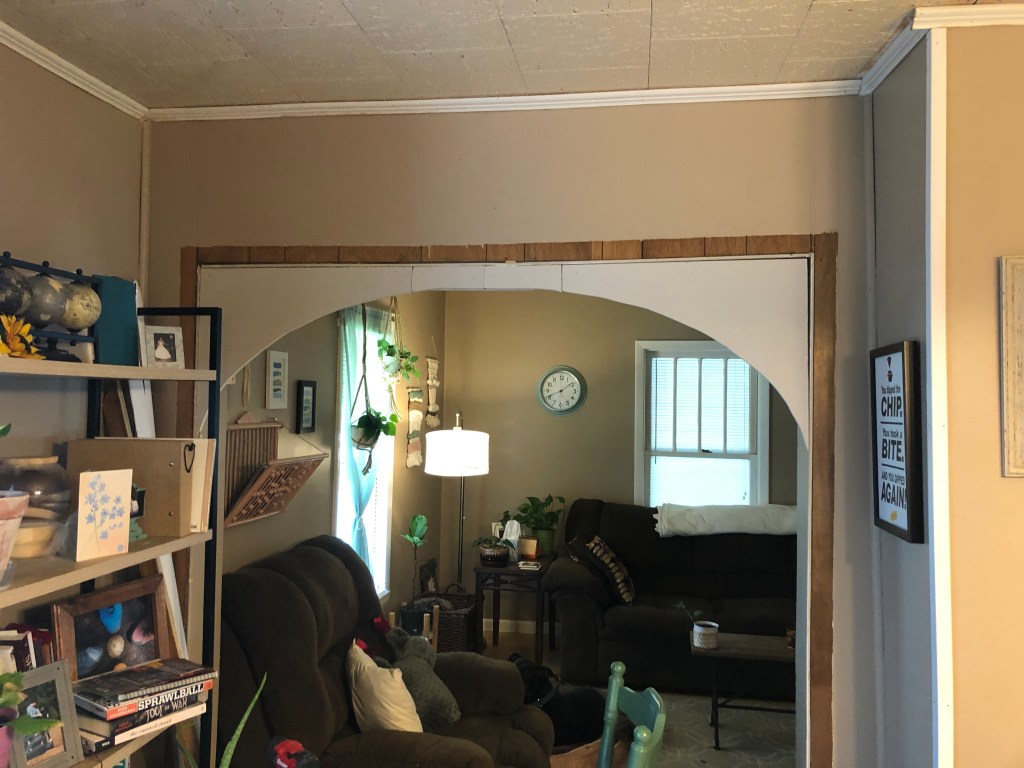
Now all that was left was to prime and paint. But simply leaving the arch the same paint color as the rest of my house made it feel to me like it blended in too much. This beautiful structure that I had spent almost a month building seemed to kind of disappear into the background. Knowing I was doing an accent wall on the other side, I decided to carry that over.
My plans for the living room always involved a Roman clay accent wall. Roman clay is a completely natural wall finish with no VOCs. It gives a fantastic, raw texture to a space that almost mimics stucco or concrete.

The night I applied the first coat, I had reached hour 3 of working when I wondered what I had gotten myself into. You apply Roman clay about a tablespoon at a time to the wall with a metal putty knife. Of course I had chosen one of the largest walls in my house for this application. Thankfully the second coat went on in about half the time, and left the exact texture I wanted.
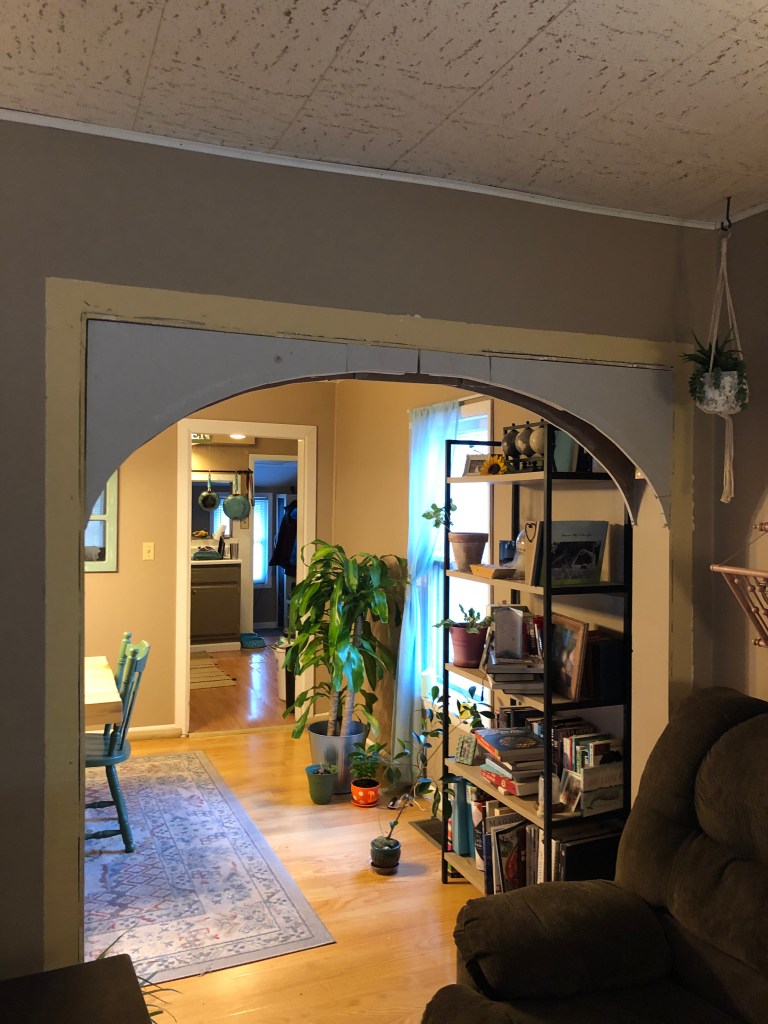
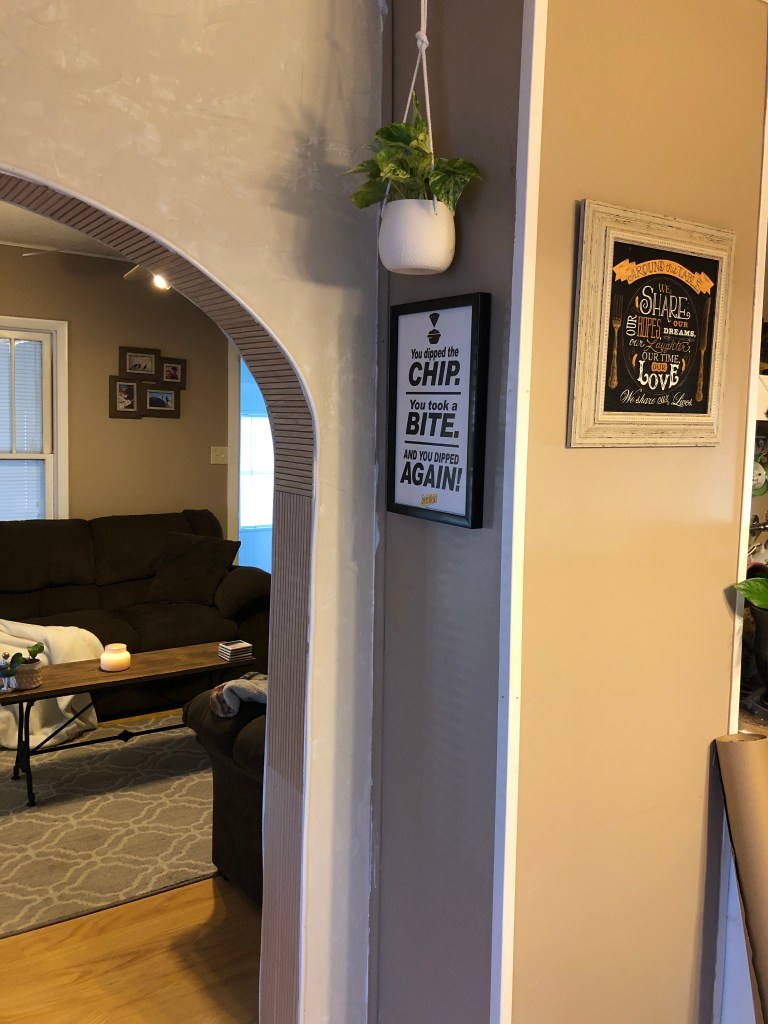
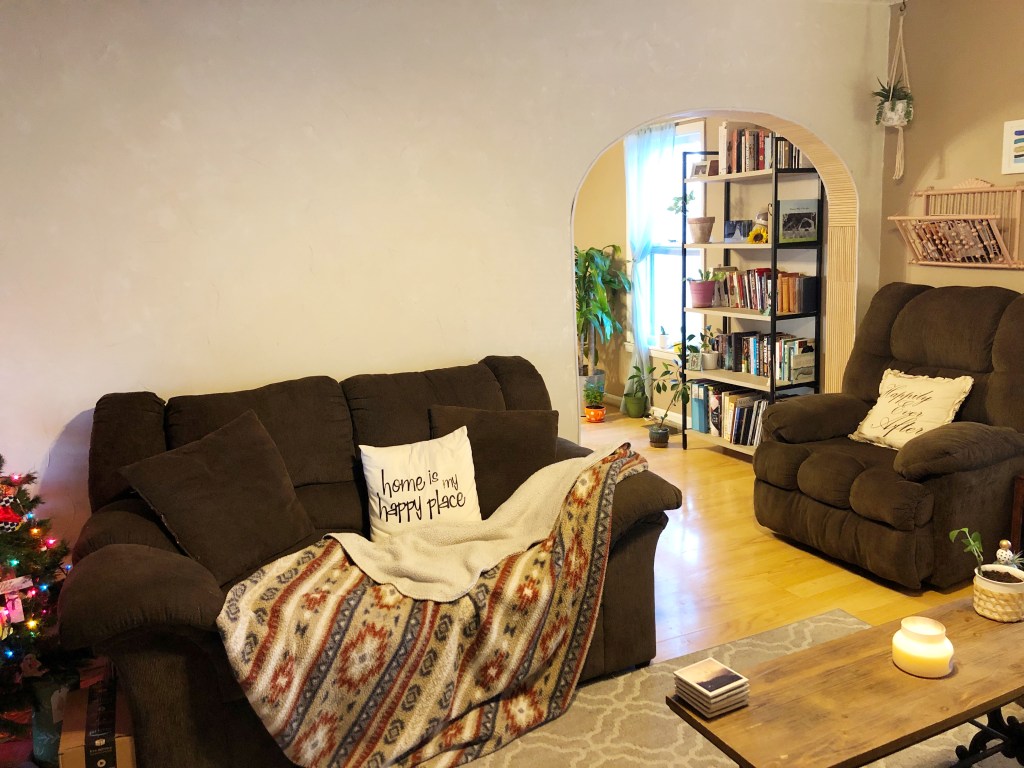
The last step (I know, this is a long post for me) was applying pole wrap to the inside of the arch. If you’ve seen anything in my home, you know I love raw wood and the texture it gives. Pole wrap is raw oak with a slatted texture, but it bends making it perfect for the arch. I finished it off with some bendable trim, and stepped back to enjoy the work I had put in.

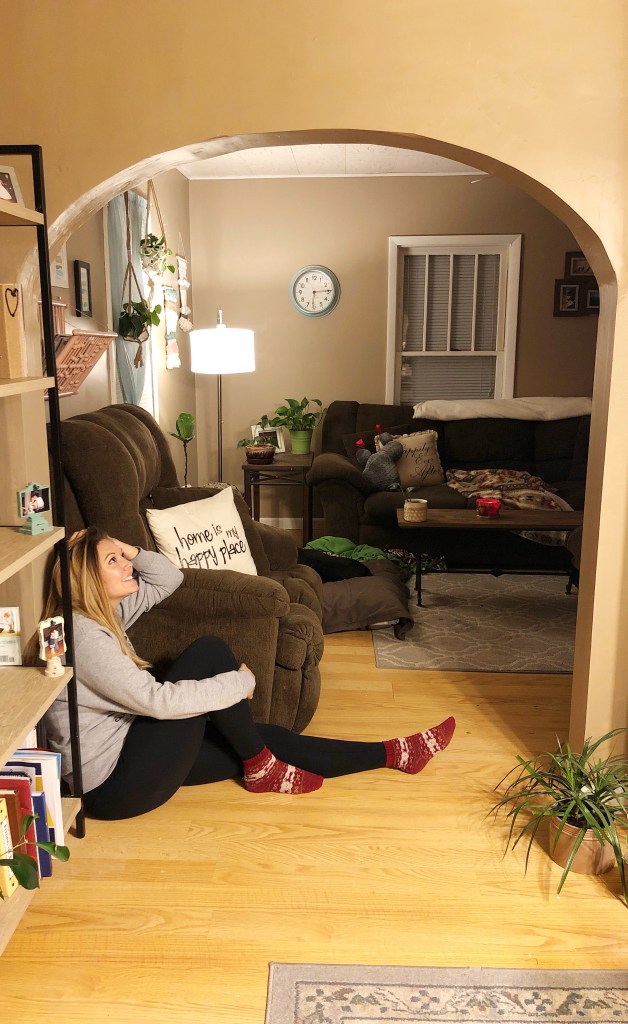
This space is everything I hoped for and more. As my last big project of 2021, I’m so proud of what I’ve accomplished. This year has been a tough one for me creatively, and I took quite a while off of big projects, and focused on small scale DIYs. As I continued to do those smaller DIYs, this project was always in the back of my mind, but as stated earlier, the confidence to start it just wasn’t there. But slowly, my perspective has shifted away from what viewers on the blog or social media might want to see. It’s shifted away from a need for perfection or expertise. I always build “for me” in some regard, but this time, I think this arch is 100% me. From not knowing exactly what I’m doing, admitting my mistakes, and all the problem solving to get it exactly how I wanted it to be. This is home.


Rachel,Your work is so nice! Even though you didn’t know all the details and what needed to be done you learned along the way. So proud of you for sticking with the project which is beautiful. It adds so much character to your home!Sent from my Galaxy
LikeLike