
Let’s talk closets. After all this closet makeover was my favorite winter project of 2021, and it definitely deserves its own blog post. (P.S. Primary Bedroom Makeover Pt. 1 is just as exciting, here.)

I’ve shared many times that I’m not the most organized person, but the start of a new year is a good time to try, right? I actually do a closet/house purge each year to get rid of the things I no longer need or want. With clothes, I basically use the KonMari method where I pull everything out of the closet and make a huge pile on the bed. I get rid of things that do not spark joy, no longer fit, or are no longer my style. I do have a bin for sentimental items as well. This not only feels like a nice refresh, but I think it’s really healthy too. There’s no need to stare at clothes everyday that no longer fit who you are physically or stylistically.
Anyway, what you’re really here for, the makeover. This closet was so incredibly dark and it made me feel like I couldn’t find anything. The house also came with accordion doors on the closet, that eventually broke off the track and hit me in the head. Like a sane person, once the doors hit me, I took them to the garage, ripped them down with a saw, and put them in the trash. For a while we had curtains hanging up, which you may now recognize as the curtains on the window.


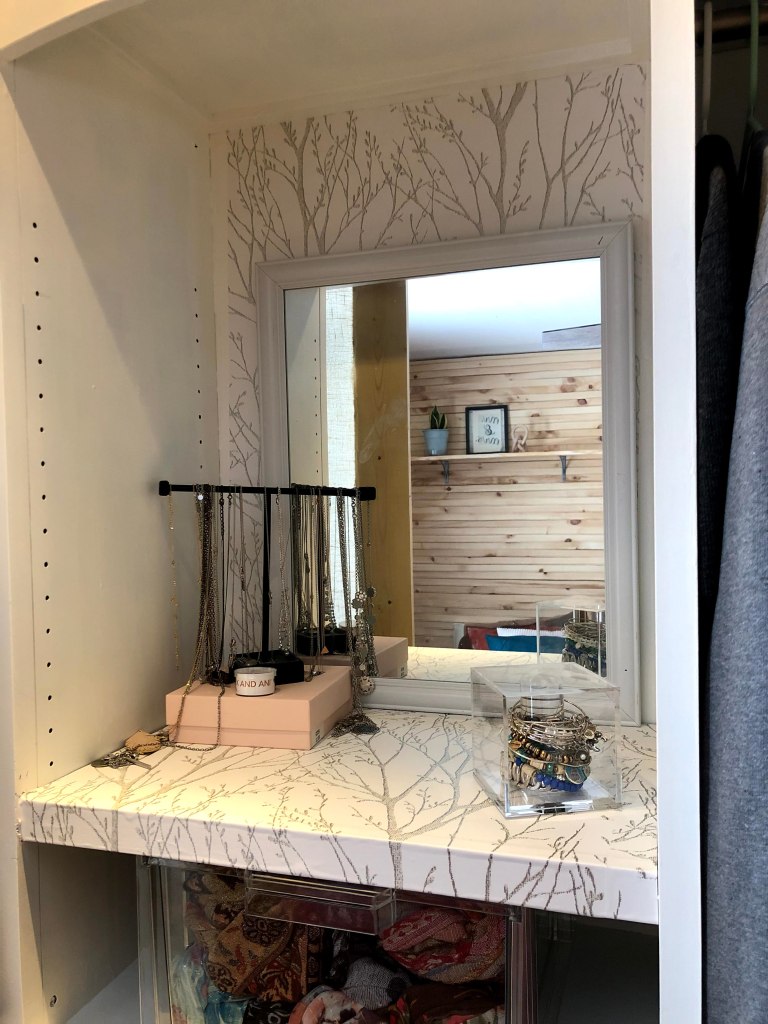
After clearing out the entire closet, I primed everything, and painted the interior a soft white color called Brightened Cream. I used regular latex paint for the walls, and enamel paint for the cabinet. You can read more about painting cabinets to last here. I also added a plug in light to add to the brightness.


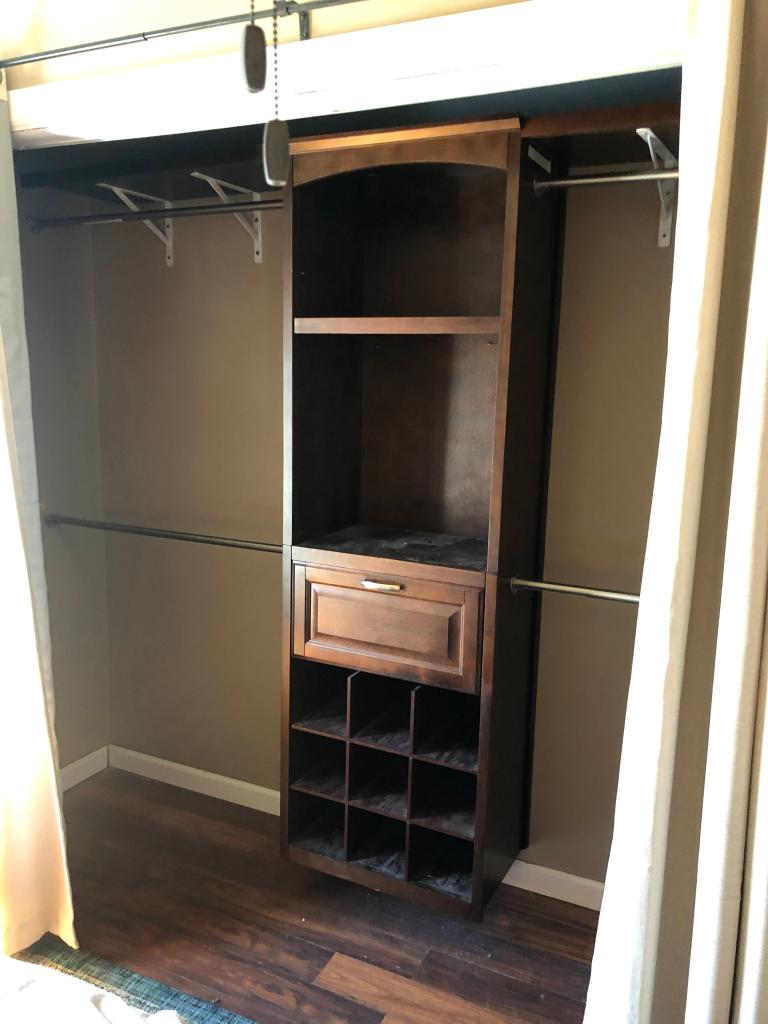
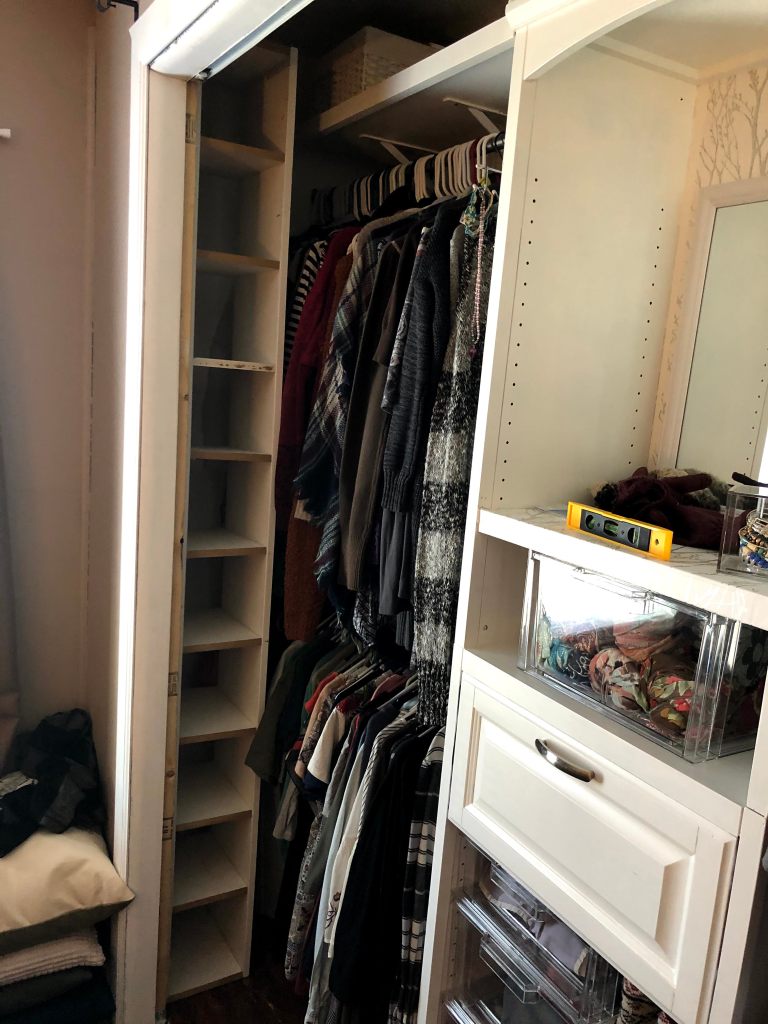
Next was a mix of custom built and store bought storage. I’ll be the first to tell you I have many shoes. Maybe too many, but wearing unique and fun shoes is something that really sparks joy for me. Realizing I needed to take advantage of the vertical space in the closet (since it’s no Princess Diaries walk-in), I built my own shoe storage shelf out of MDF and attached it to the wall. It allowed me to fit all of my shoes in this space easily.


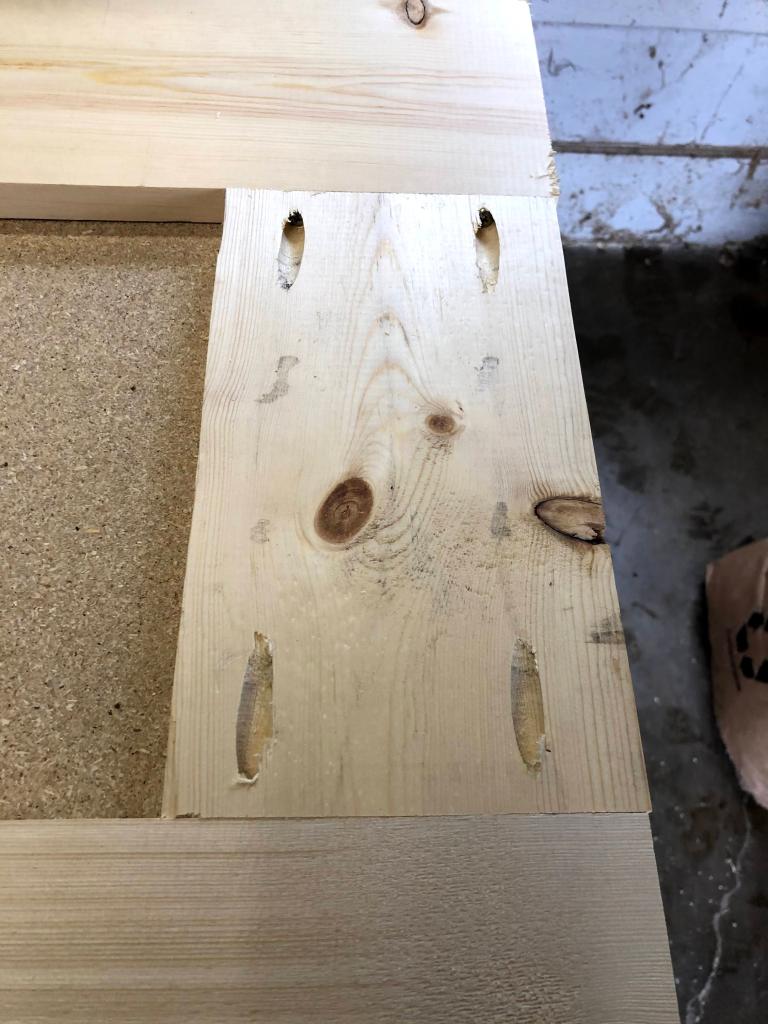
Last, but probably the most difficult were the sliding doors. This is a small room, so any type of doors were going to be tricky. Like most of my good ideas, inspiration struck in the night and I quickly scribbled down a few thoughts and sketches. Sliding doors were really the only option, but there was nothing I could just buy that would fit the space. So of course I made my own. Using simple pine, I built a frame, and then instead of spending the money on real cane, I stapled burlap on the inside to make the screens. I love that it still gave a textural element for about $10 instead of $300.


I bought a large track, and had to tinker around with the process of hanging the doors for a while. They aren’t heavy or thick, but since houses are not level they needed some adjusting. It was a complex dance of hanging one door, and removing another to cut a few millimeters off the edge so it would fit perfectly. I am so happy with the result, and it feels the the perfect match to the parallel slat wall.