

Clutter. We all have it. It’s pesky and in the way, and often makes us feel like we’re way less put together than we often are. I have my own thoughts about messes, and how society feels about messes which you can read more about here. Nevertheless, it is helpful to have a few organizational systems to help those type A’s in our lives. Instead of spending loads of money on cheap plastic organizers, why not build your own custom system?


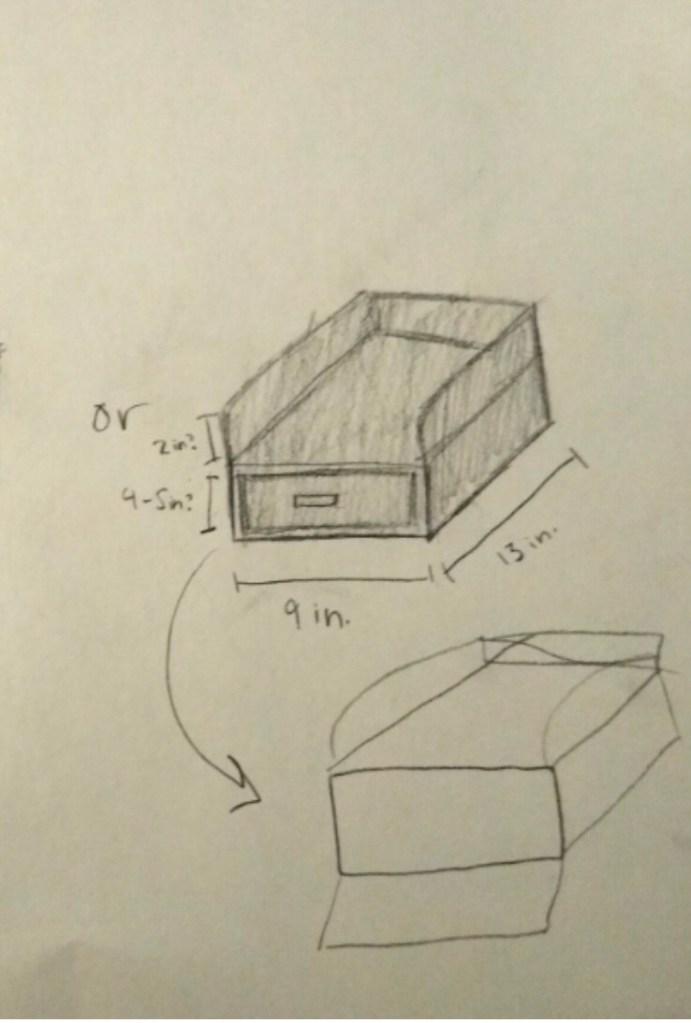
That’s exactly what I decided to do with some organizational DIYs. These projects were a request from my sister to help her stay organized. She drew up a few sketches to give me an idea of what she wanted, and I ran with it. Let’s break these down and give you measurements so you can recreate this organization too.

First, the spice rack. There are many ways to store spices depending on the kitchen/pantry space you’re working with. This is much less a rack than it is a shelf. Chefs know that the best way to store your spices is in a dark cupboard. This helps keep them fresh. I’m no expert and couldn’t tell you the details on this, but if you build a spice shelf, you’ll be able to fit more spices inside a cupboard.
This is measured to fit most common grocery store spice jars. With very simple construction, I cut a rectangle out of 3/4” plywood. I cut this with a circular saw because that was easiest for me, but a table saw or track saw would work perfectly too. Next I cut 4 legs from a 2×2″ board. See dimensions below. This is custom to fit my sister’s cupboard so feel free to adjust according to your needs. I attached the legs to the corners of the plywood top using wood glue and brad nails. After it dried I simply filled the holes with wood filler, wrapped the top in edge banding, and painted the whole thing white for a clean finish. This super simple, one day project adds not only style, but so much function for storage.

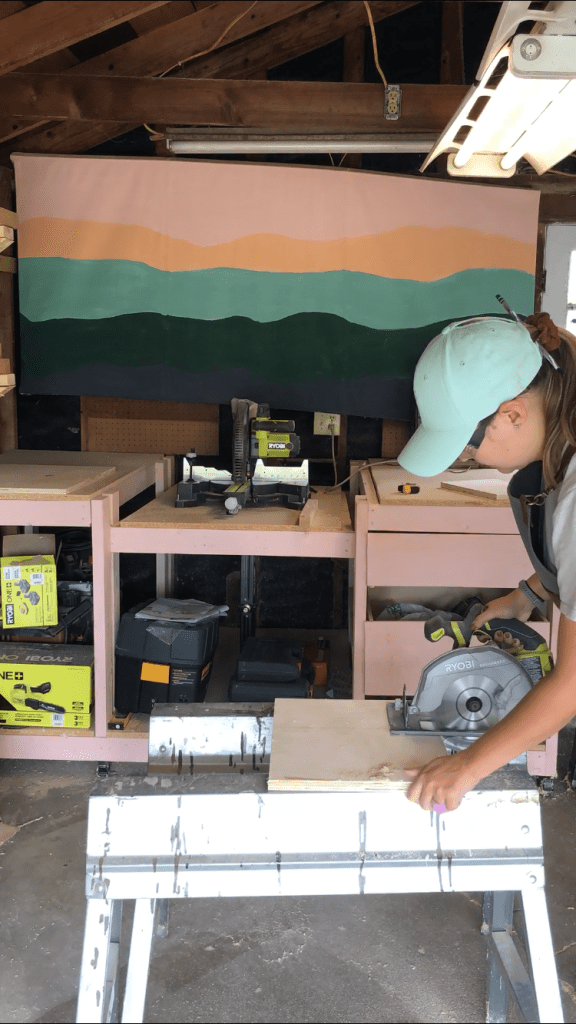

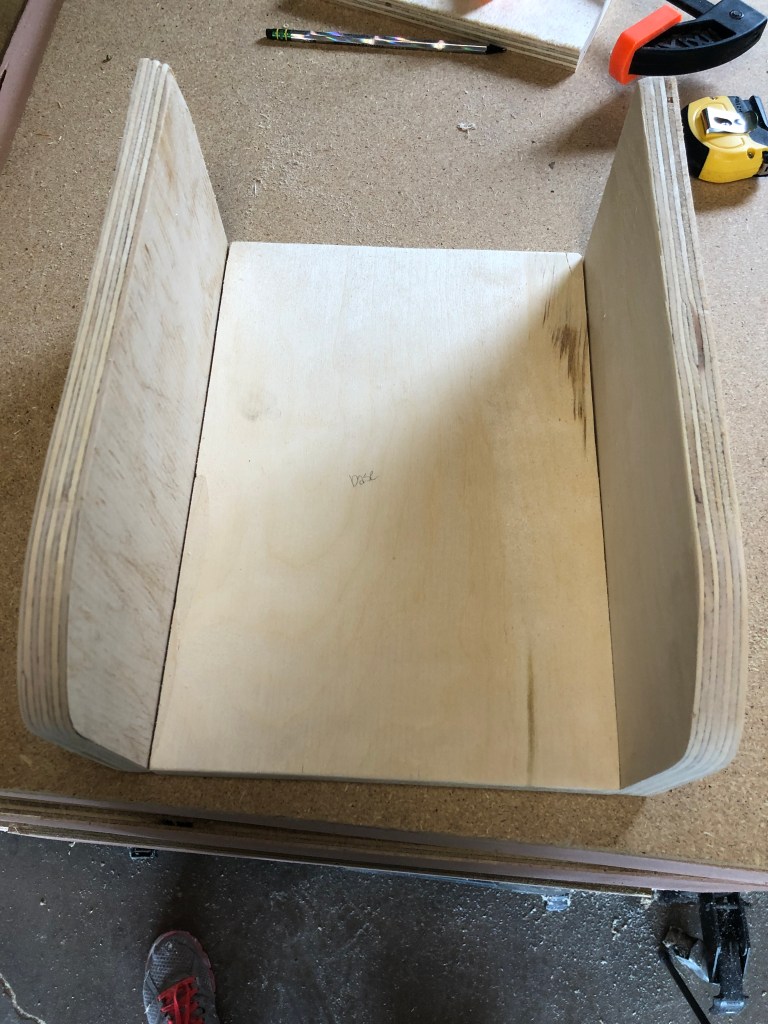
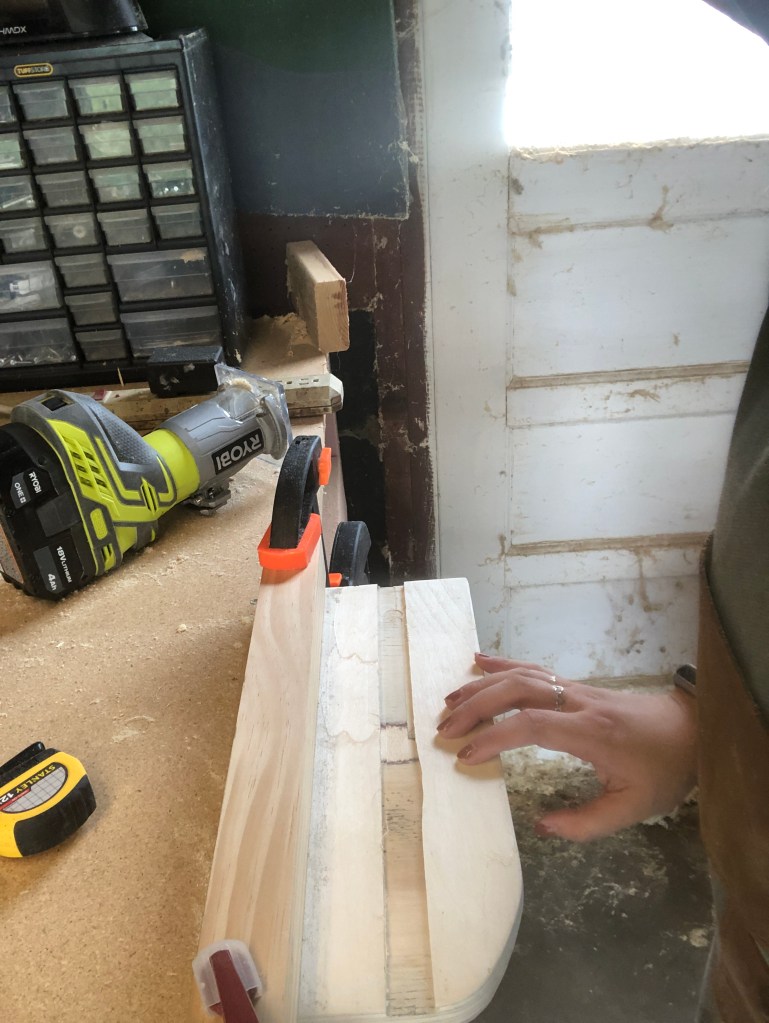
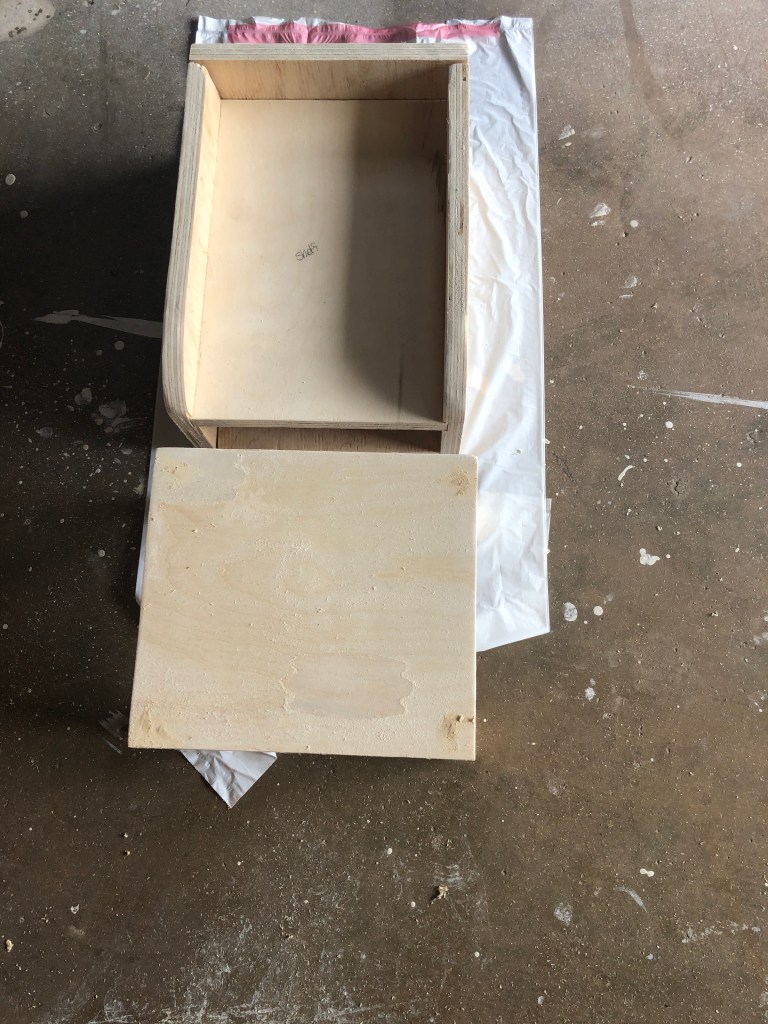
The next project was a paper organizer, because we all have papers lying around that we need to keep track of. I’m definitely guilty of putting all the mail on the dining room table. For this build, the whole thing sits at 6in tall with a shelf about halfway through. You can see the dimensions below. The curved corner is totally optional, but I thought it would be a nice design touch. I again used my circular saw for most of these cuts, but I cut the curve with my jigsaw. When you’re trying to match the curved pieces exactly, I would suggest cutting one side first and then using it at a guide to cut the other side.
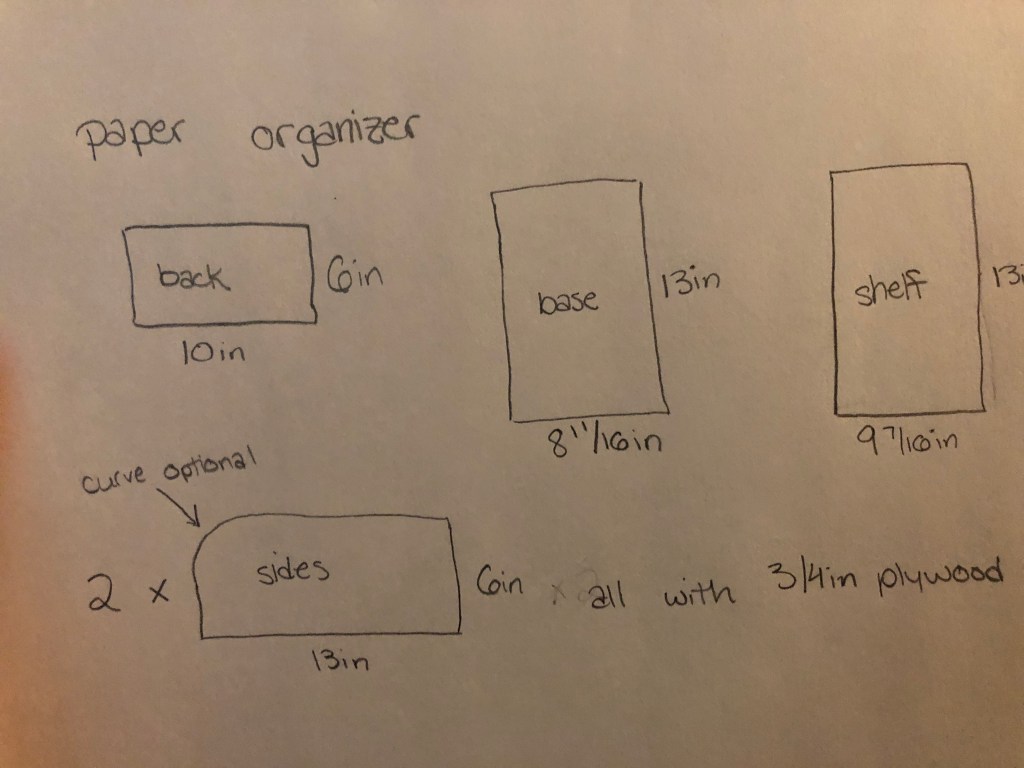
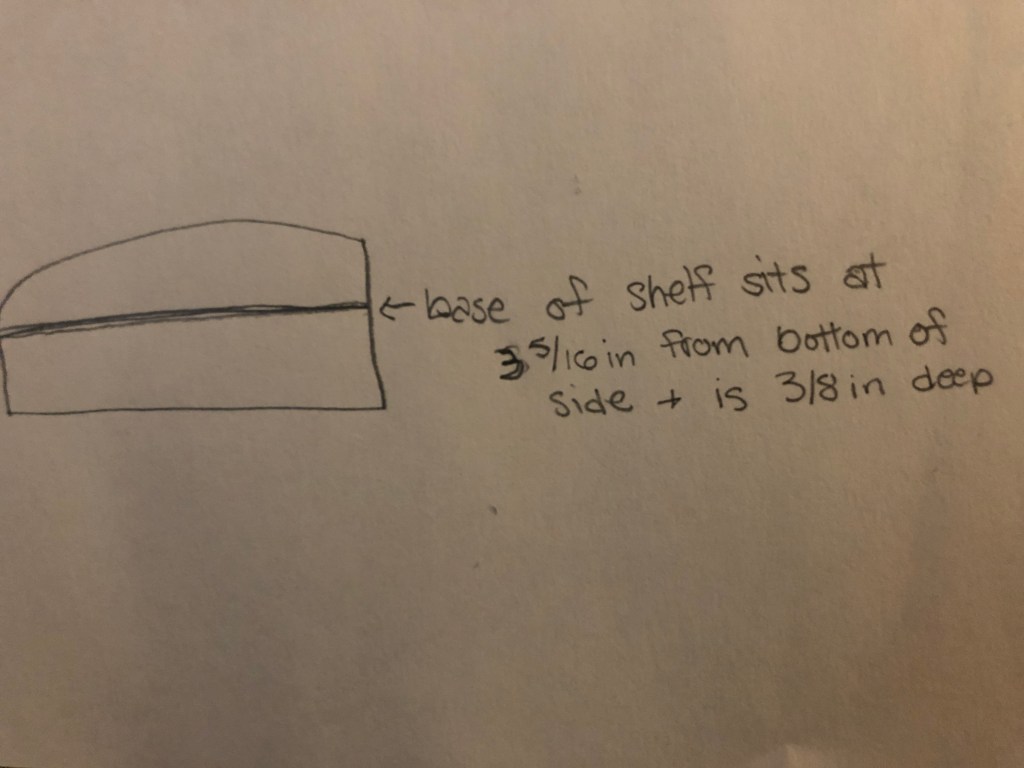
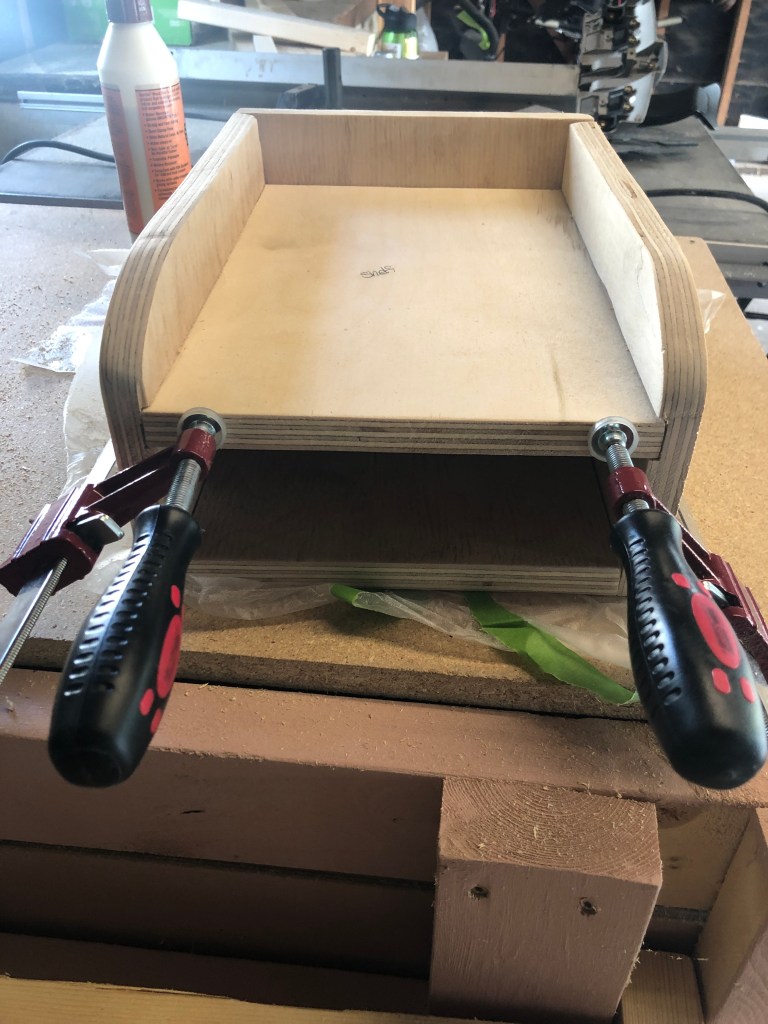
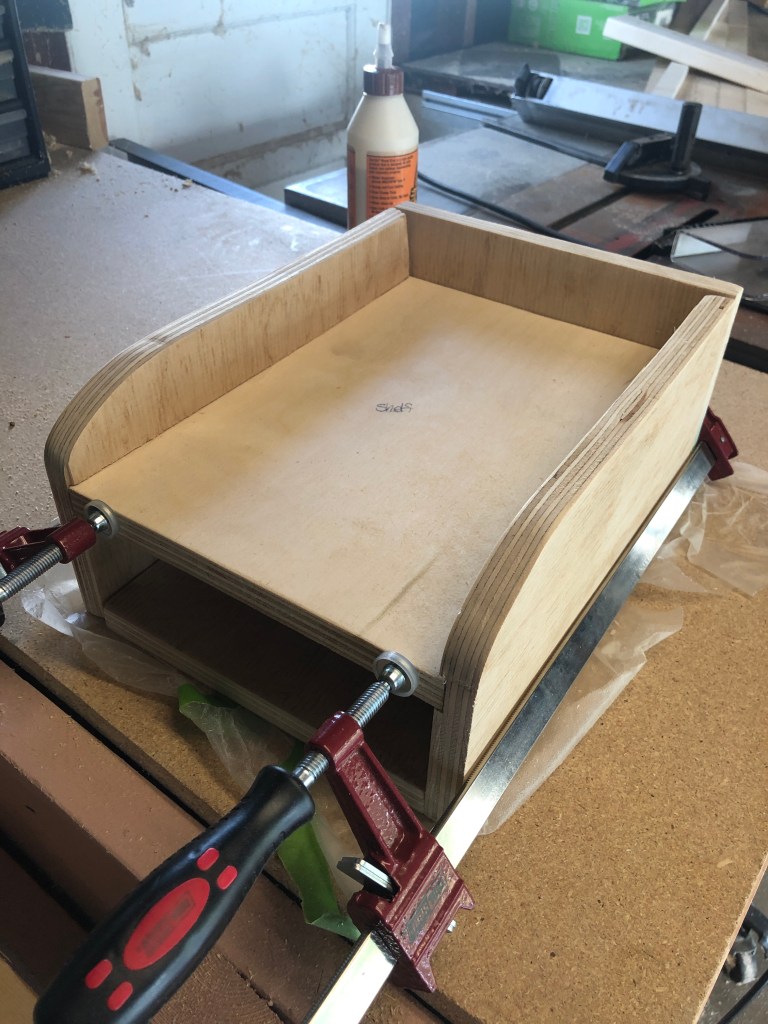
For the shelf, I decided to route out a little groove for it to sit in the sides. Again this is totally optional, but just know that it’ll effect the width of the size shelf you need if you don’t make a groove. I chose to do this for some added stability in the project since my goal was to attach it with only wood glue. I was also looking for a new opportunity to use the router since I’m still learning how to use it. Whenever I get a new power tool, I try to plan a project around using it so that I can explore it a little more and gain confidence with it.


This was more of a project in patience while I clamped up everything and waited for the glue to dry. For finishes, I used edge banding again, and then applied a matte polycrylic to seal everything in.
Let me know about your favorite DIY ways to stay organized in the comments!
