

Changing out generic store bought furniture pieces for handmade pieces is one of my favorite ways to add personality to my home. It not only shows your style & personality, but your care & attention for the details in your space.
Last fall, I started transforming our primary bedroom with some new paint, a wood accent headboard, and some new decor. One of my plans all along was to build new nightstands for this space as well.
As all DIYers know, builds take time, and sometimes if you aren’t feeling inspired or a new project comes along, you abandon the build for something more exciting. That’s exactly what happened with this nightstand build. I started this project, and even dismantled my current nightstand to reuse the hardware, and then I left the project to build my workbench which you can read more about here. My nightstand items were a pile on the floor for almost an entire year!

Jump forward to this summer, and my focus shifted on smaller scale DIYs. The nightstand build was perfect for this, and really needed to get done for proper storage. My goals with new nightstands were both form & function. Dylan’s store bought nightstand has had a broken drawer for as long as I can remember, and there really wasn’t enough storage. We both keep large piles of books by our nightstand. I took some quick measurements for how large I could make the nightstands & got to work.
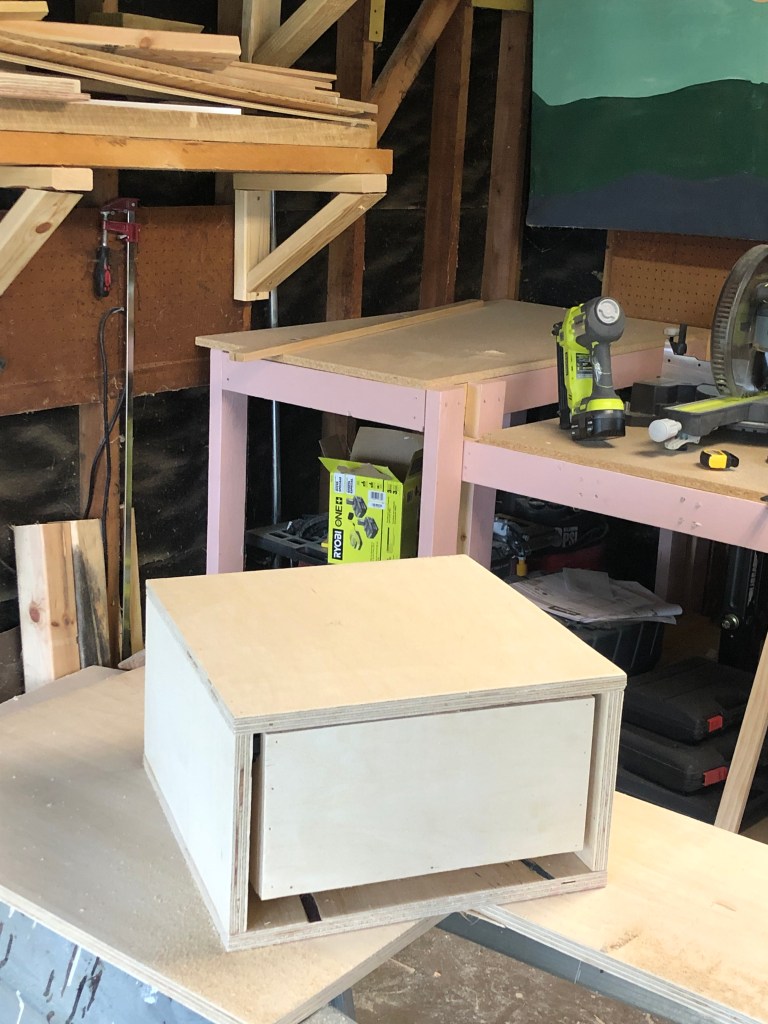
Using my circular saw, I cut 3/4″ plywood. The top & base of the nightstand are 16″ x16″ and the sides are 8″ deep which allows for a 7.5″ deep drawer, perfect for a handful of books, glasses, chapstick, & the countless hair scrunchies that somehow always end up there. I attached the outside pieces with wood glue and brad nails. Next came building drawers.


This project is only my second time building drawers, but my biggest piece of advice is to build the drawers inside the frame (or in this case the nightstand box). This ensures that the drawer fits. So once I had built the frame, I attached the drawer slides inside of the frame. Placement of the slides is entirely dependent on the type you use, and how the face of the drawer will look. For this project, I knew I was using ball-bearing drawer slides, and that the drawer face would cover the entire front of the nightstand. Since I wouldn’t need a real face frame, I clamped the drawer slides at the front and attached with screws.

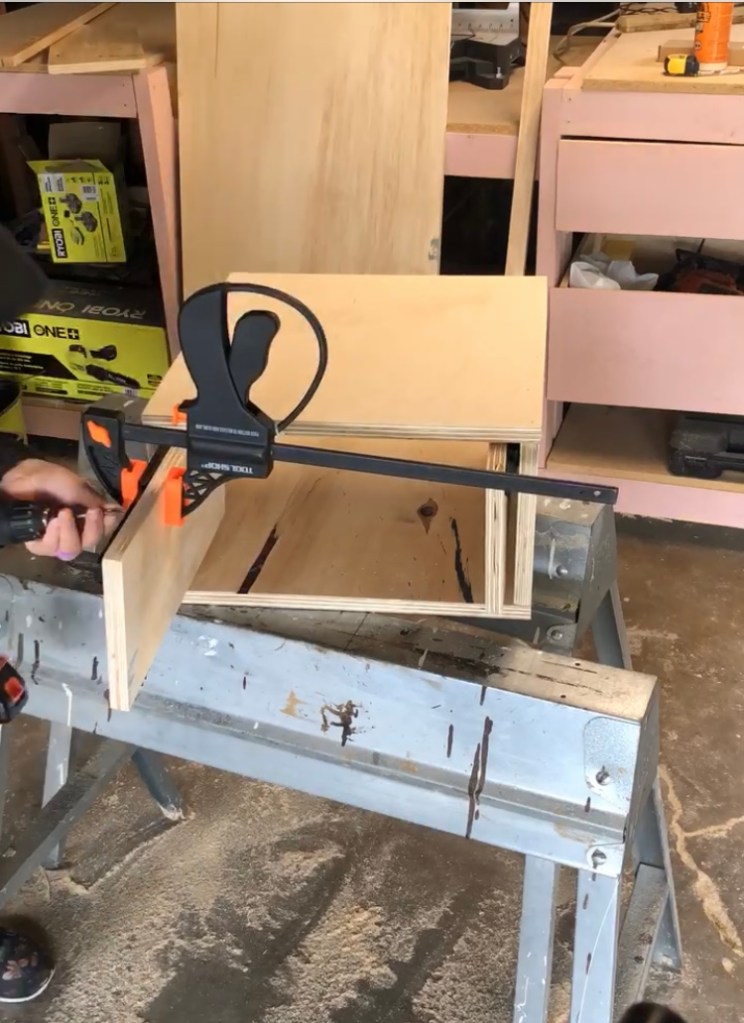
From there, attaching the sides of the drawer to the slides, and front & back were pretty simple. I also dropped in a piece as the base of the drawer and also attached it with wood glue & nails. Another tip that makes drawer construction easier is to wait to attach the back of the frame or a face frame until the drawer is built, so that you have easy access to those awkward angles.


From here, I filled the nail holes, primed, & painted using enamel based cabinet paint. I loved the look of raw wood along with the neutral paint so I left the finish with a mix of both.


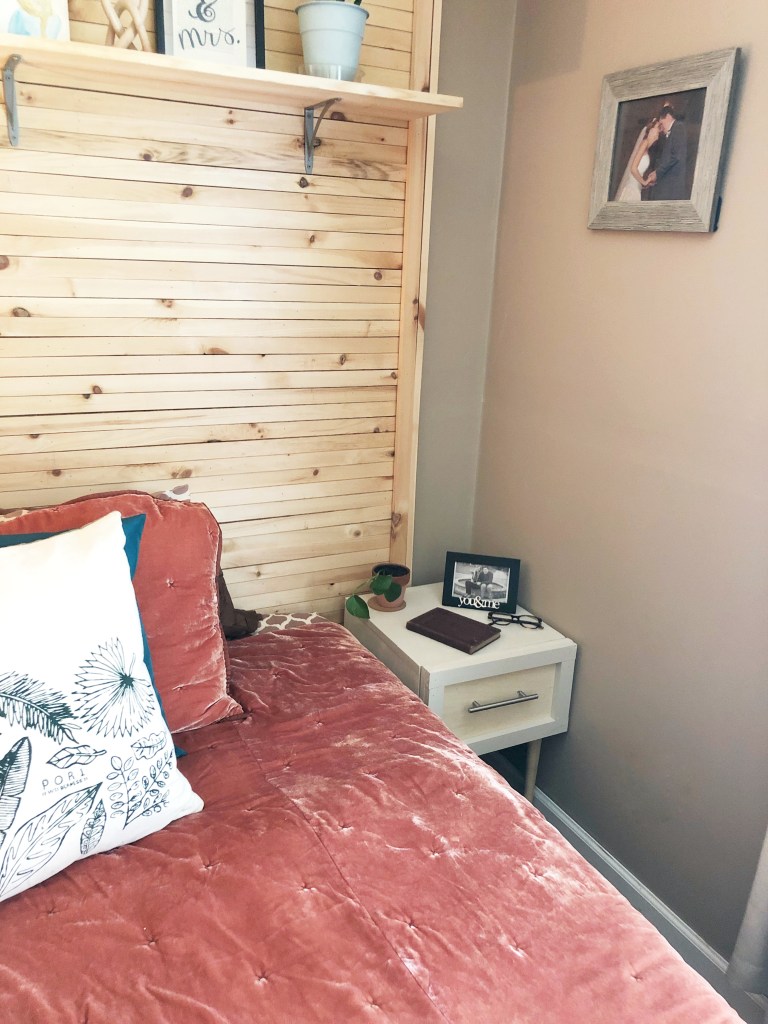
What’s left for this space? Just some sconce lighting, and then it will be a truly cozy, Mid-century inspired space.

