
Building from the ground up. Something near & dear to my heart. What do I mean by “from the ground up”? It’s not a furniture flip or building on to an existing piece. We’re talking about taking raw building materials & making something beautiful with them. I’ve talked a little bit about building this way before in other projects, but today I’m going to share some tips on how to do it & why I love it.


Let’s first talk the advantages of building from the ground up.
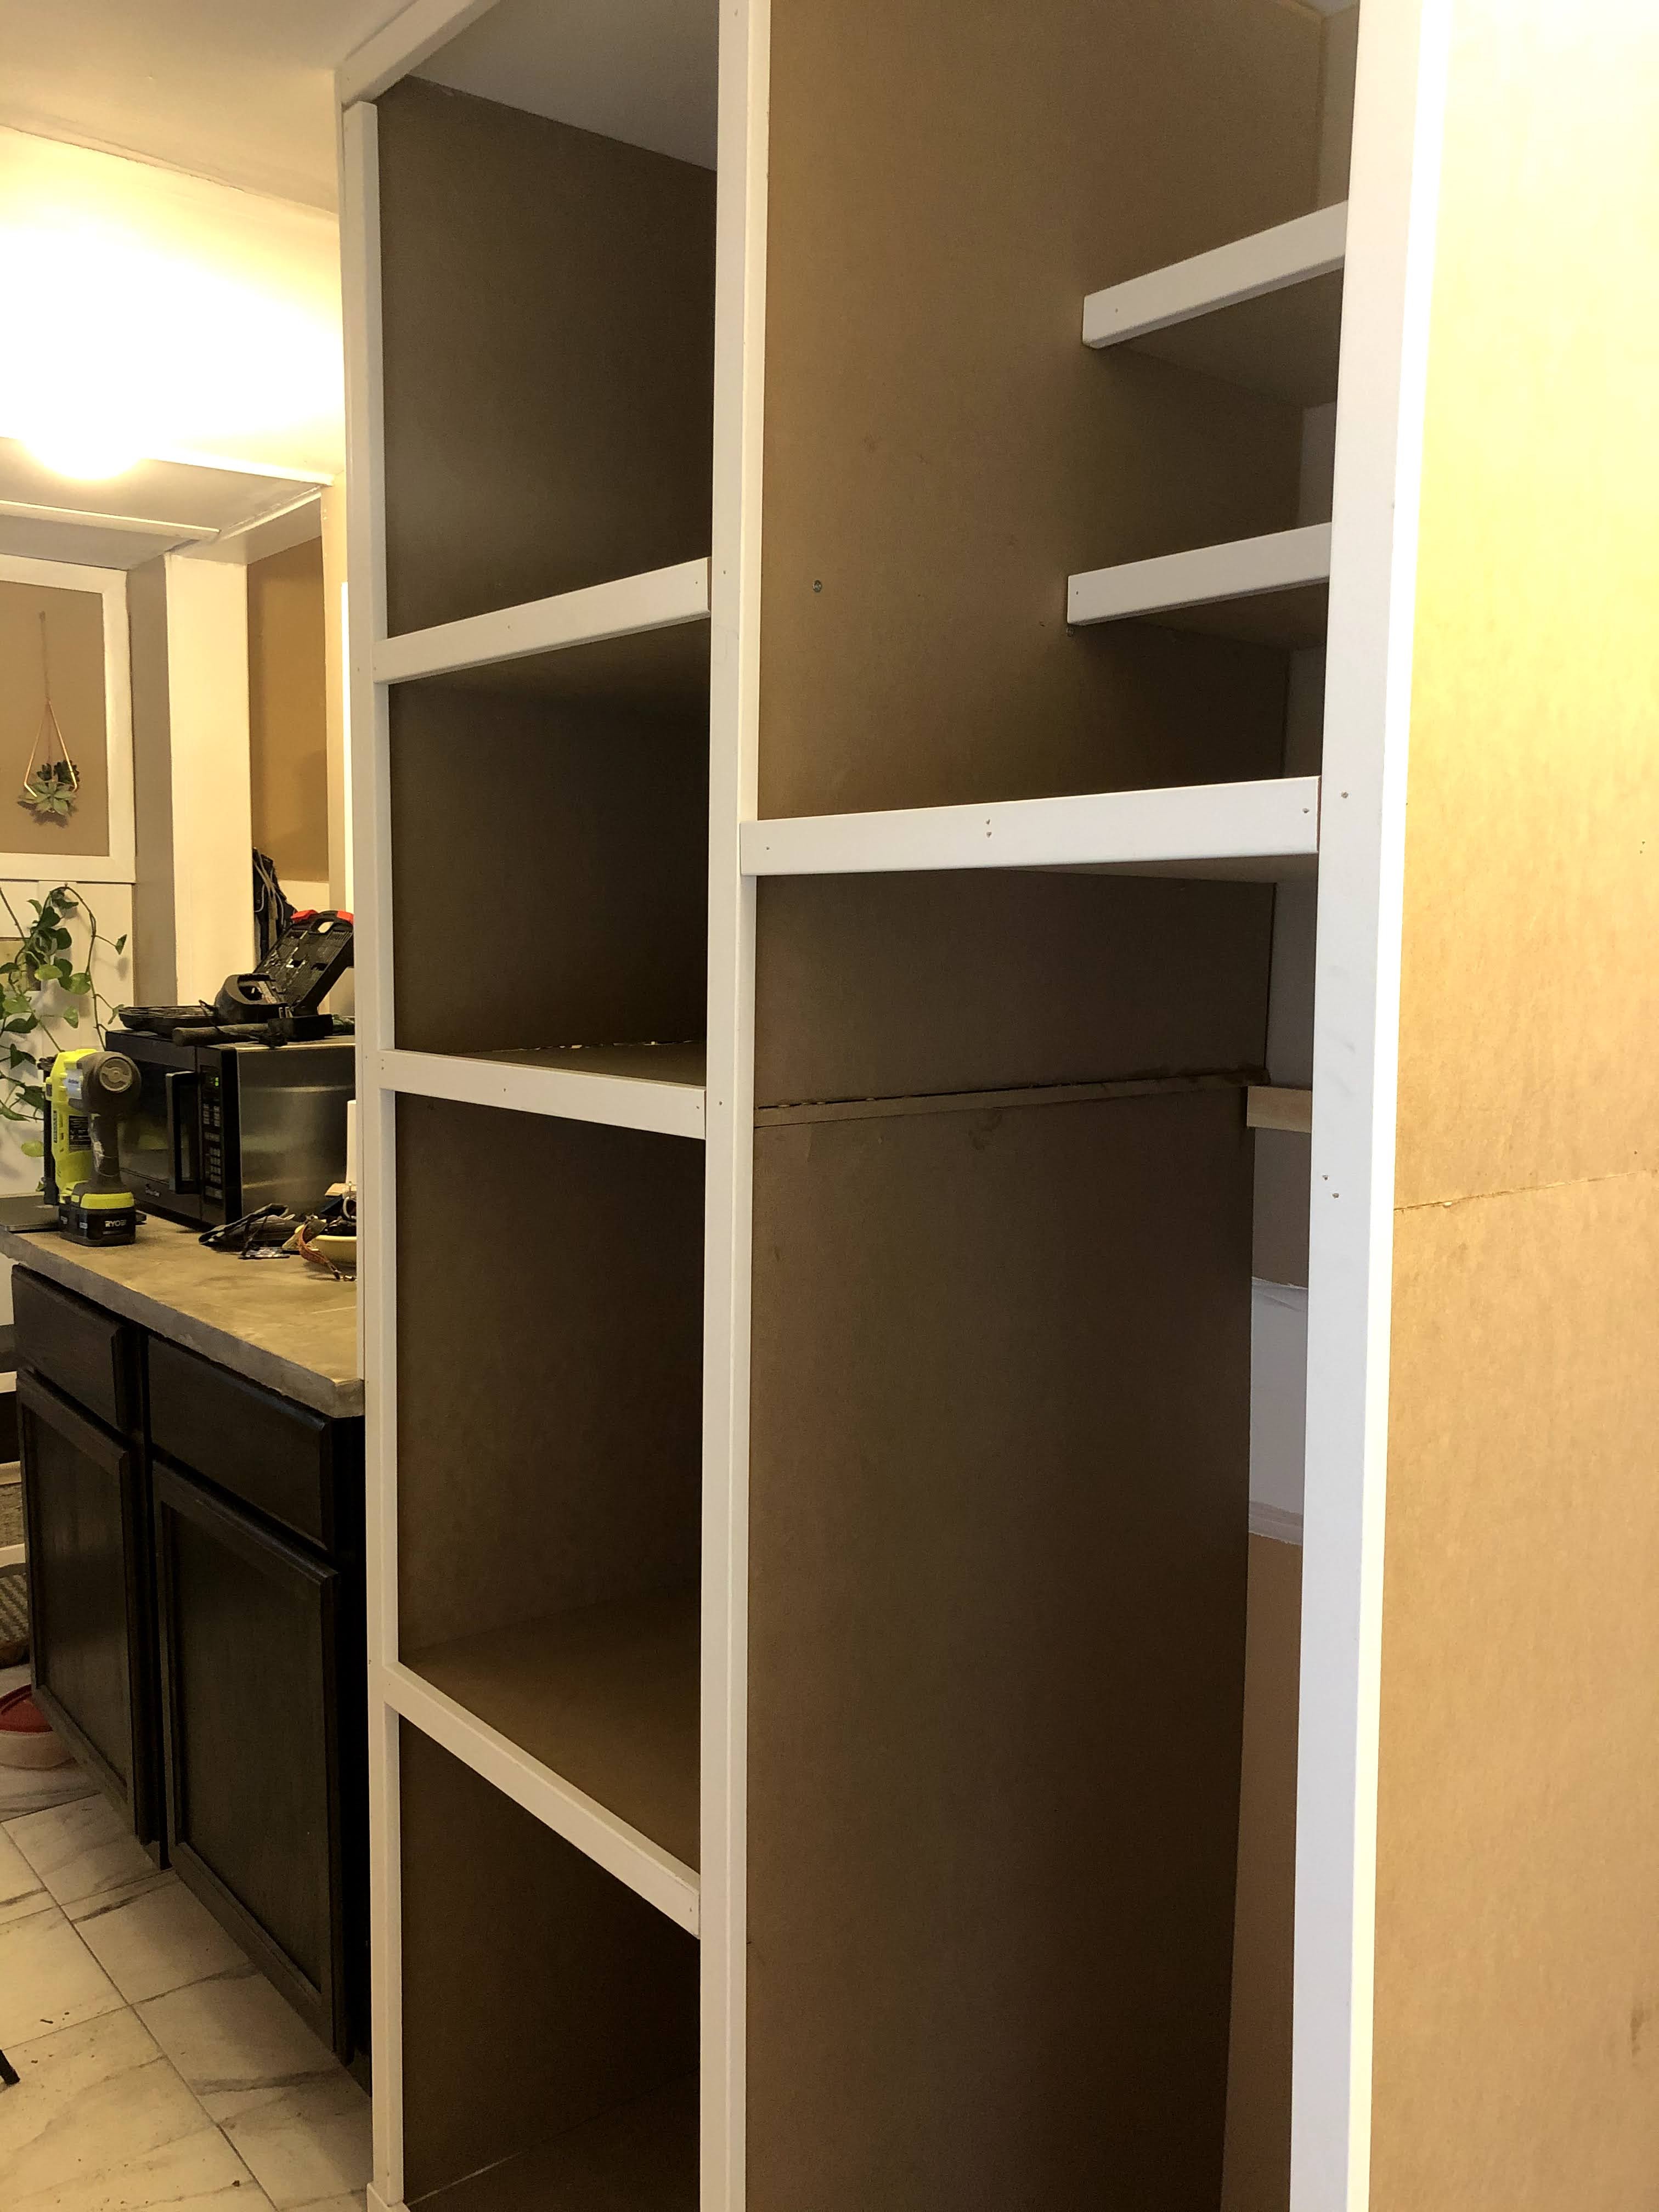
First is you get exactly what you want. You aren’t constrained to a specific structure. It’s an exercise in imagination and daring to dream up the wildest creation possible, and then making that a reality. Any technique you know or learn, you can apply to building something that no one else has ever made or seen. It’s completely customized to fit your exact needs. My mudroom built-ins gave me the exact, custom storage I needed for my home. You can read more about them here.


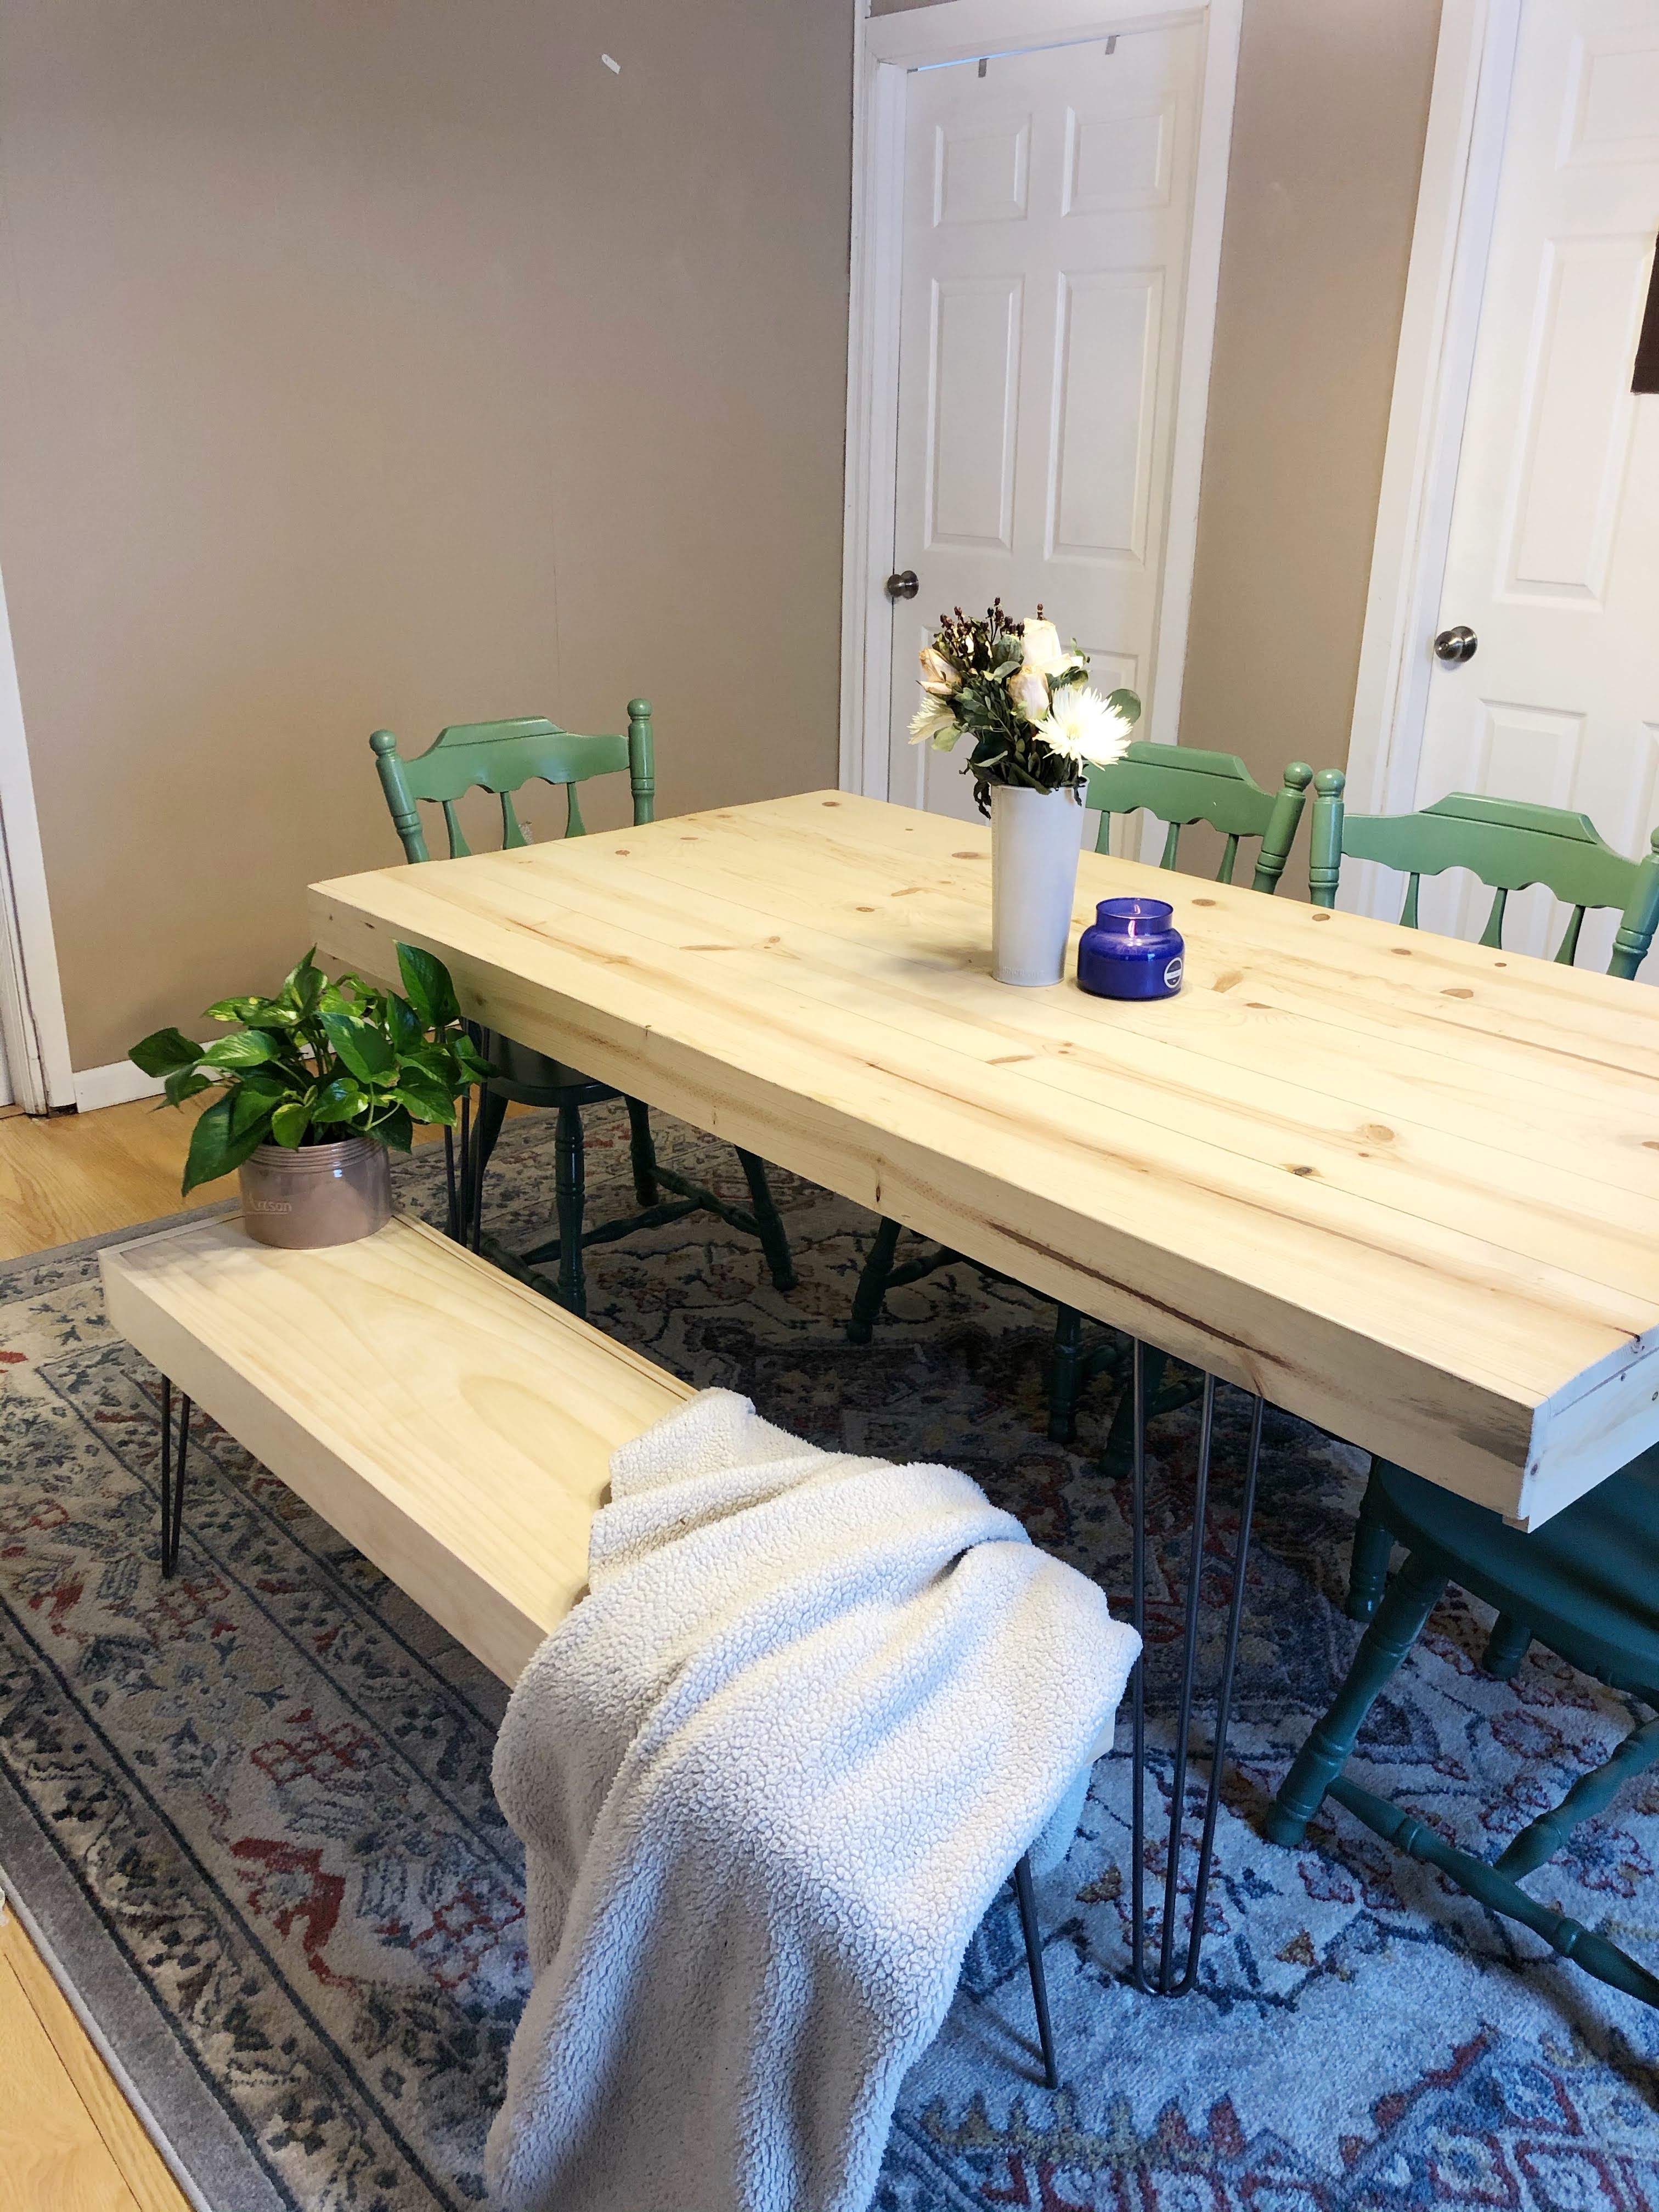
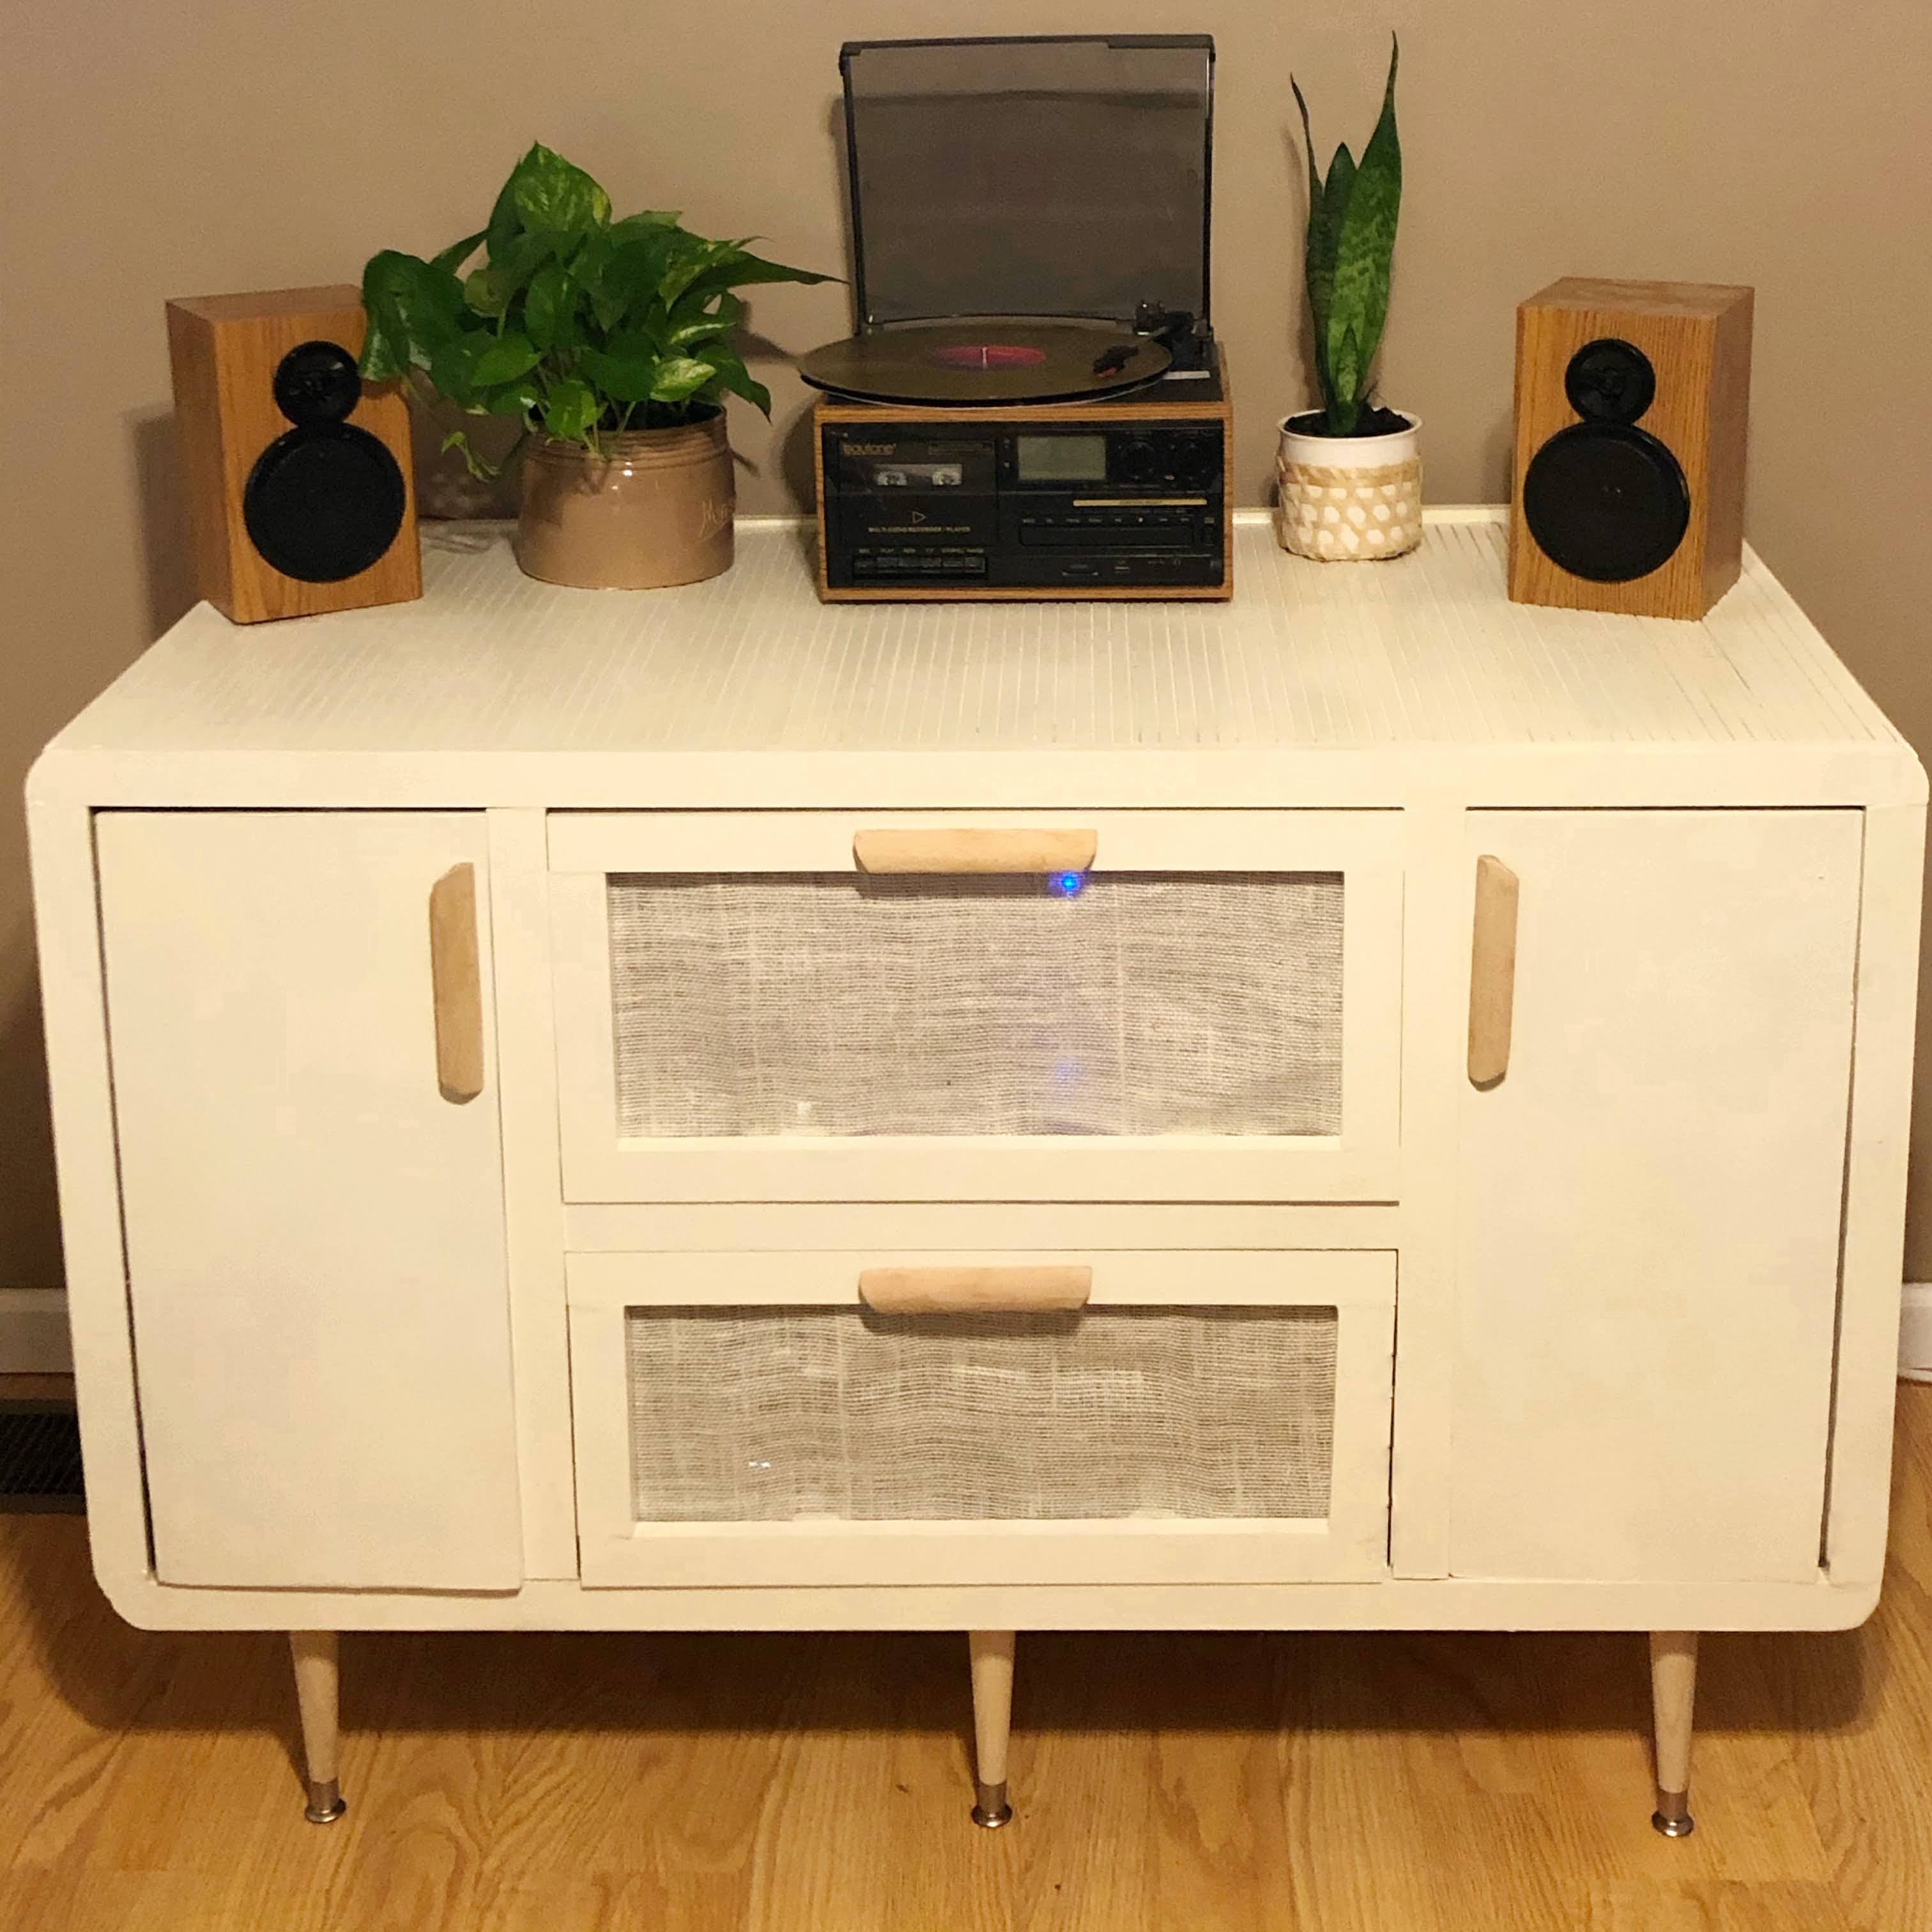
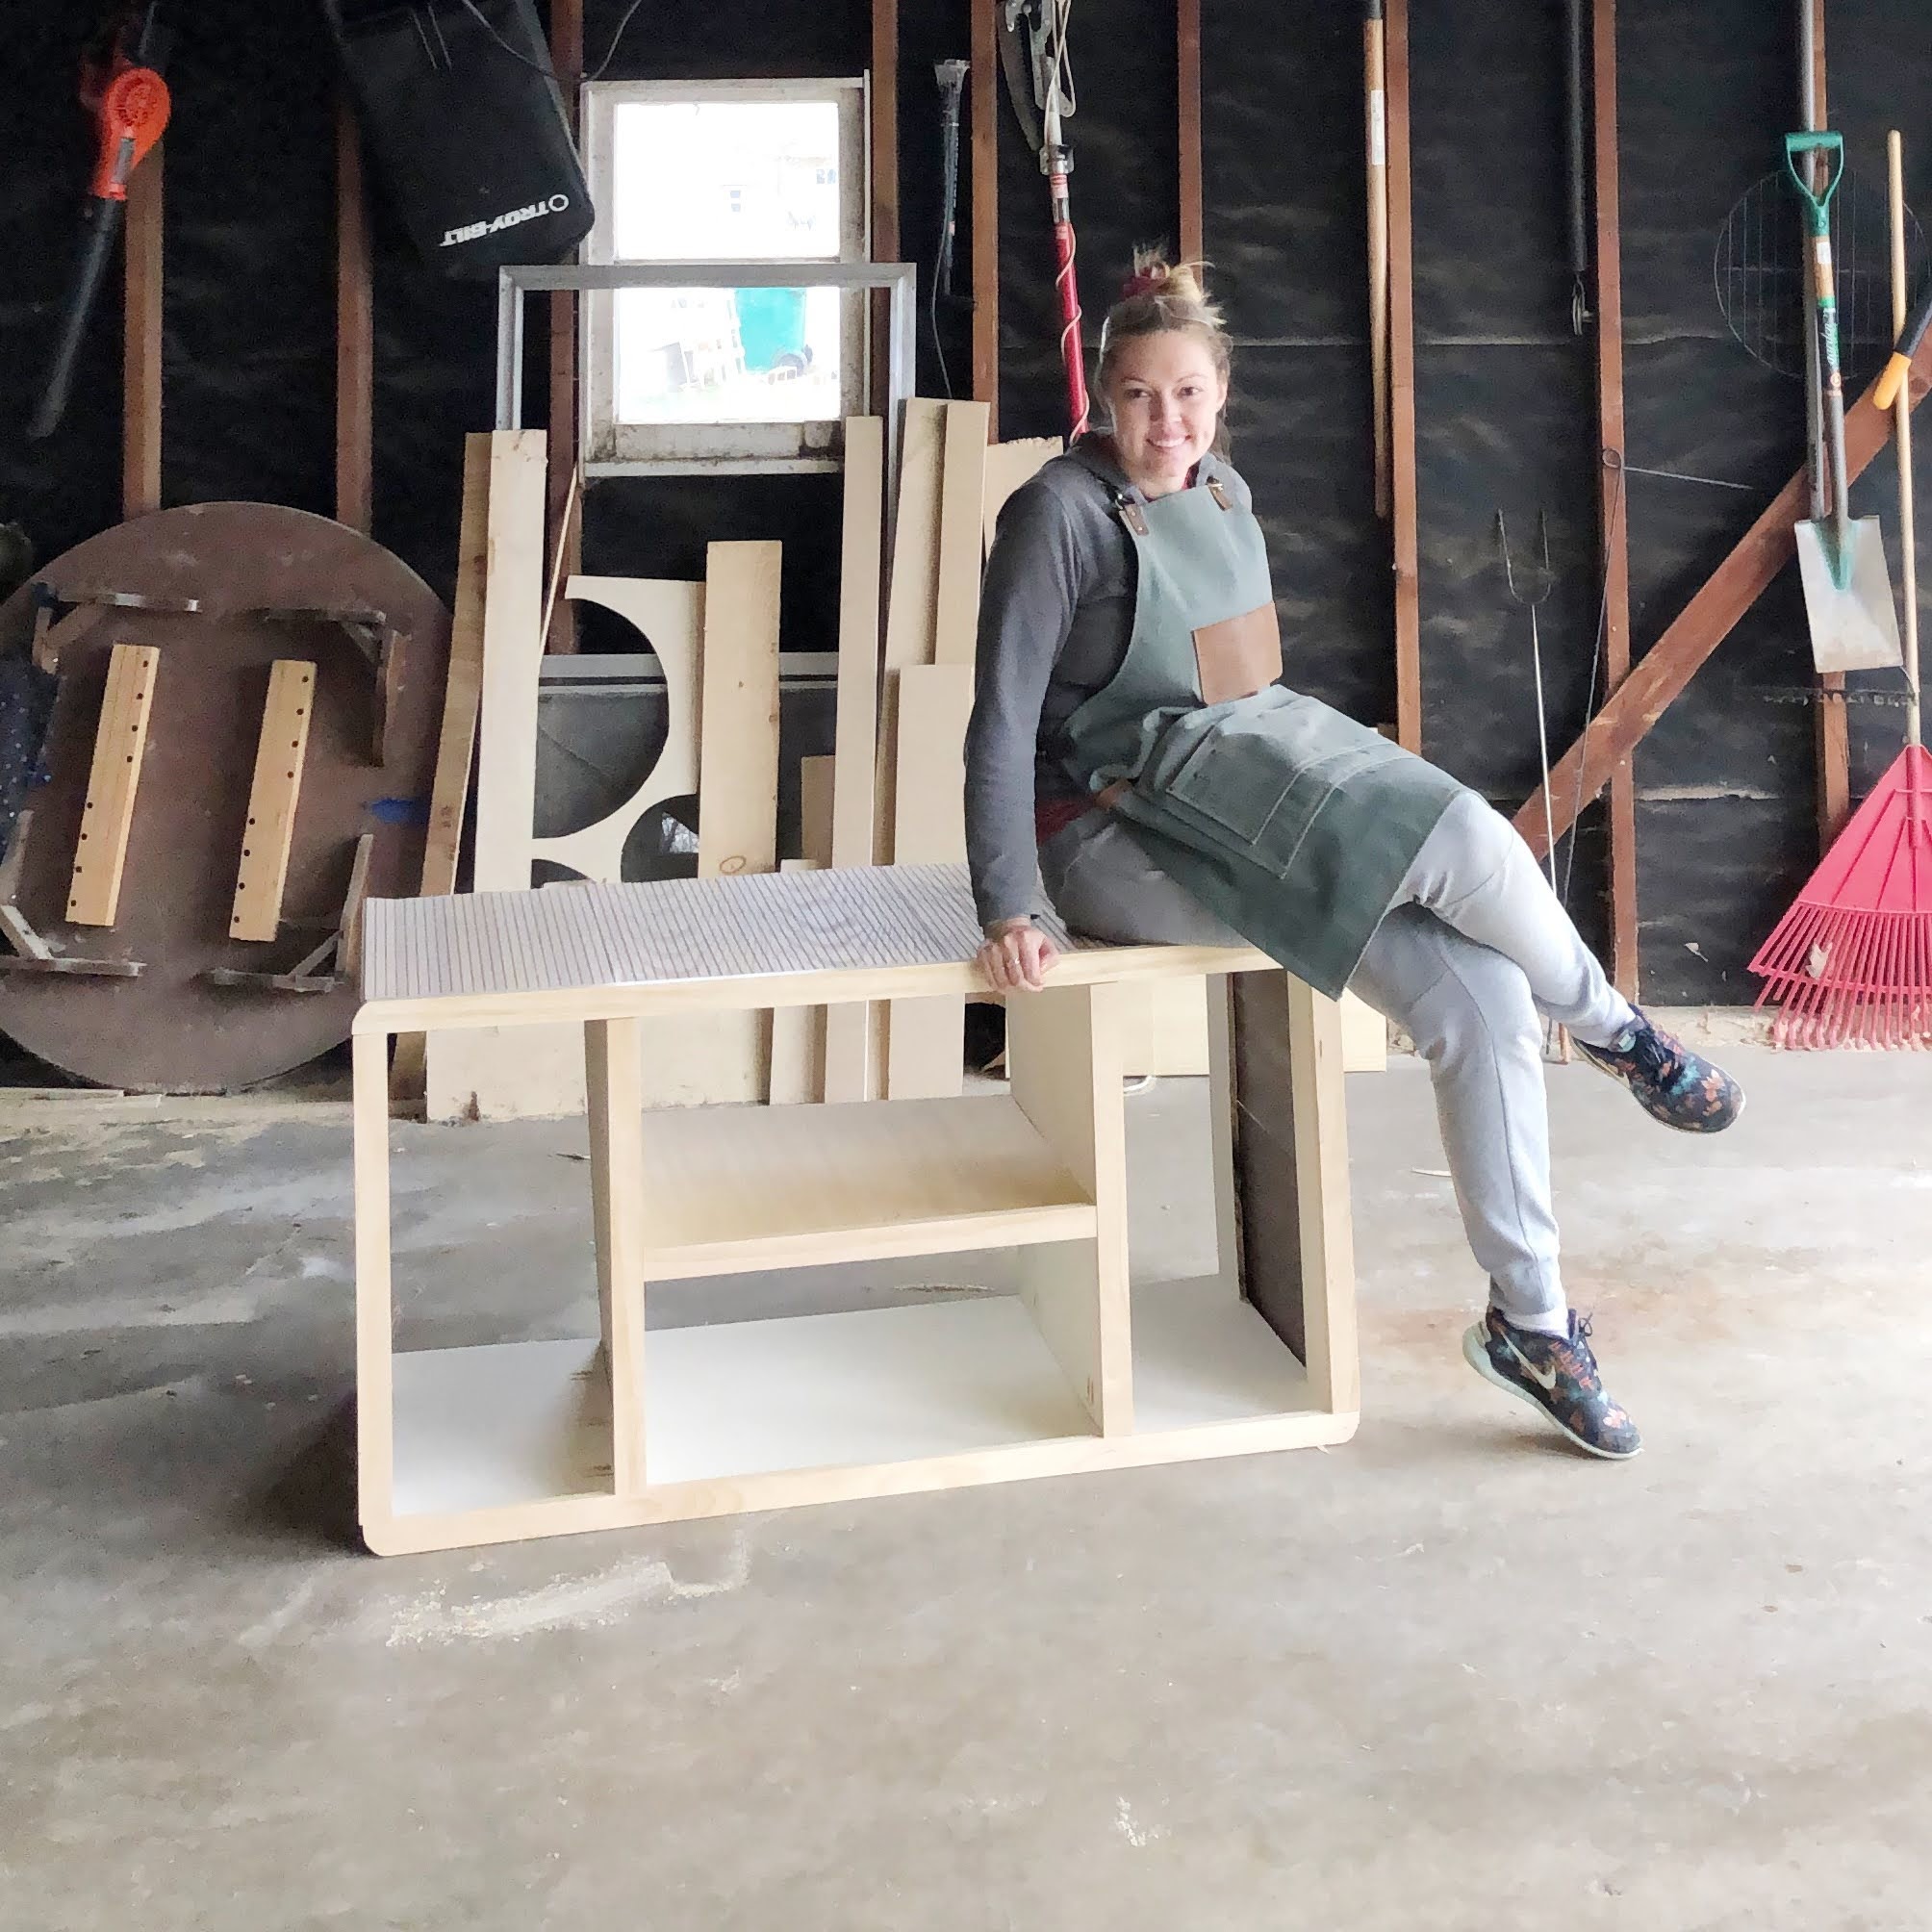
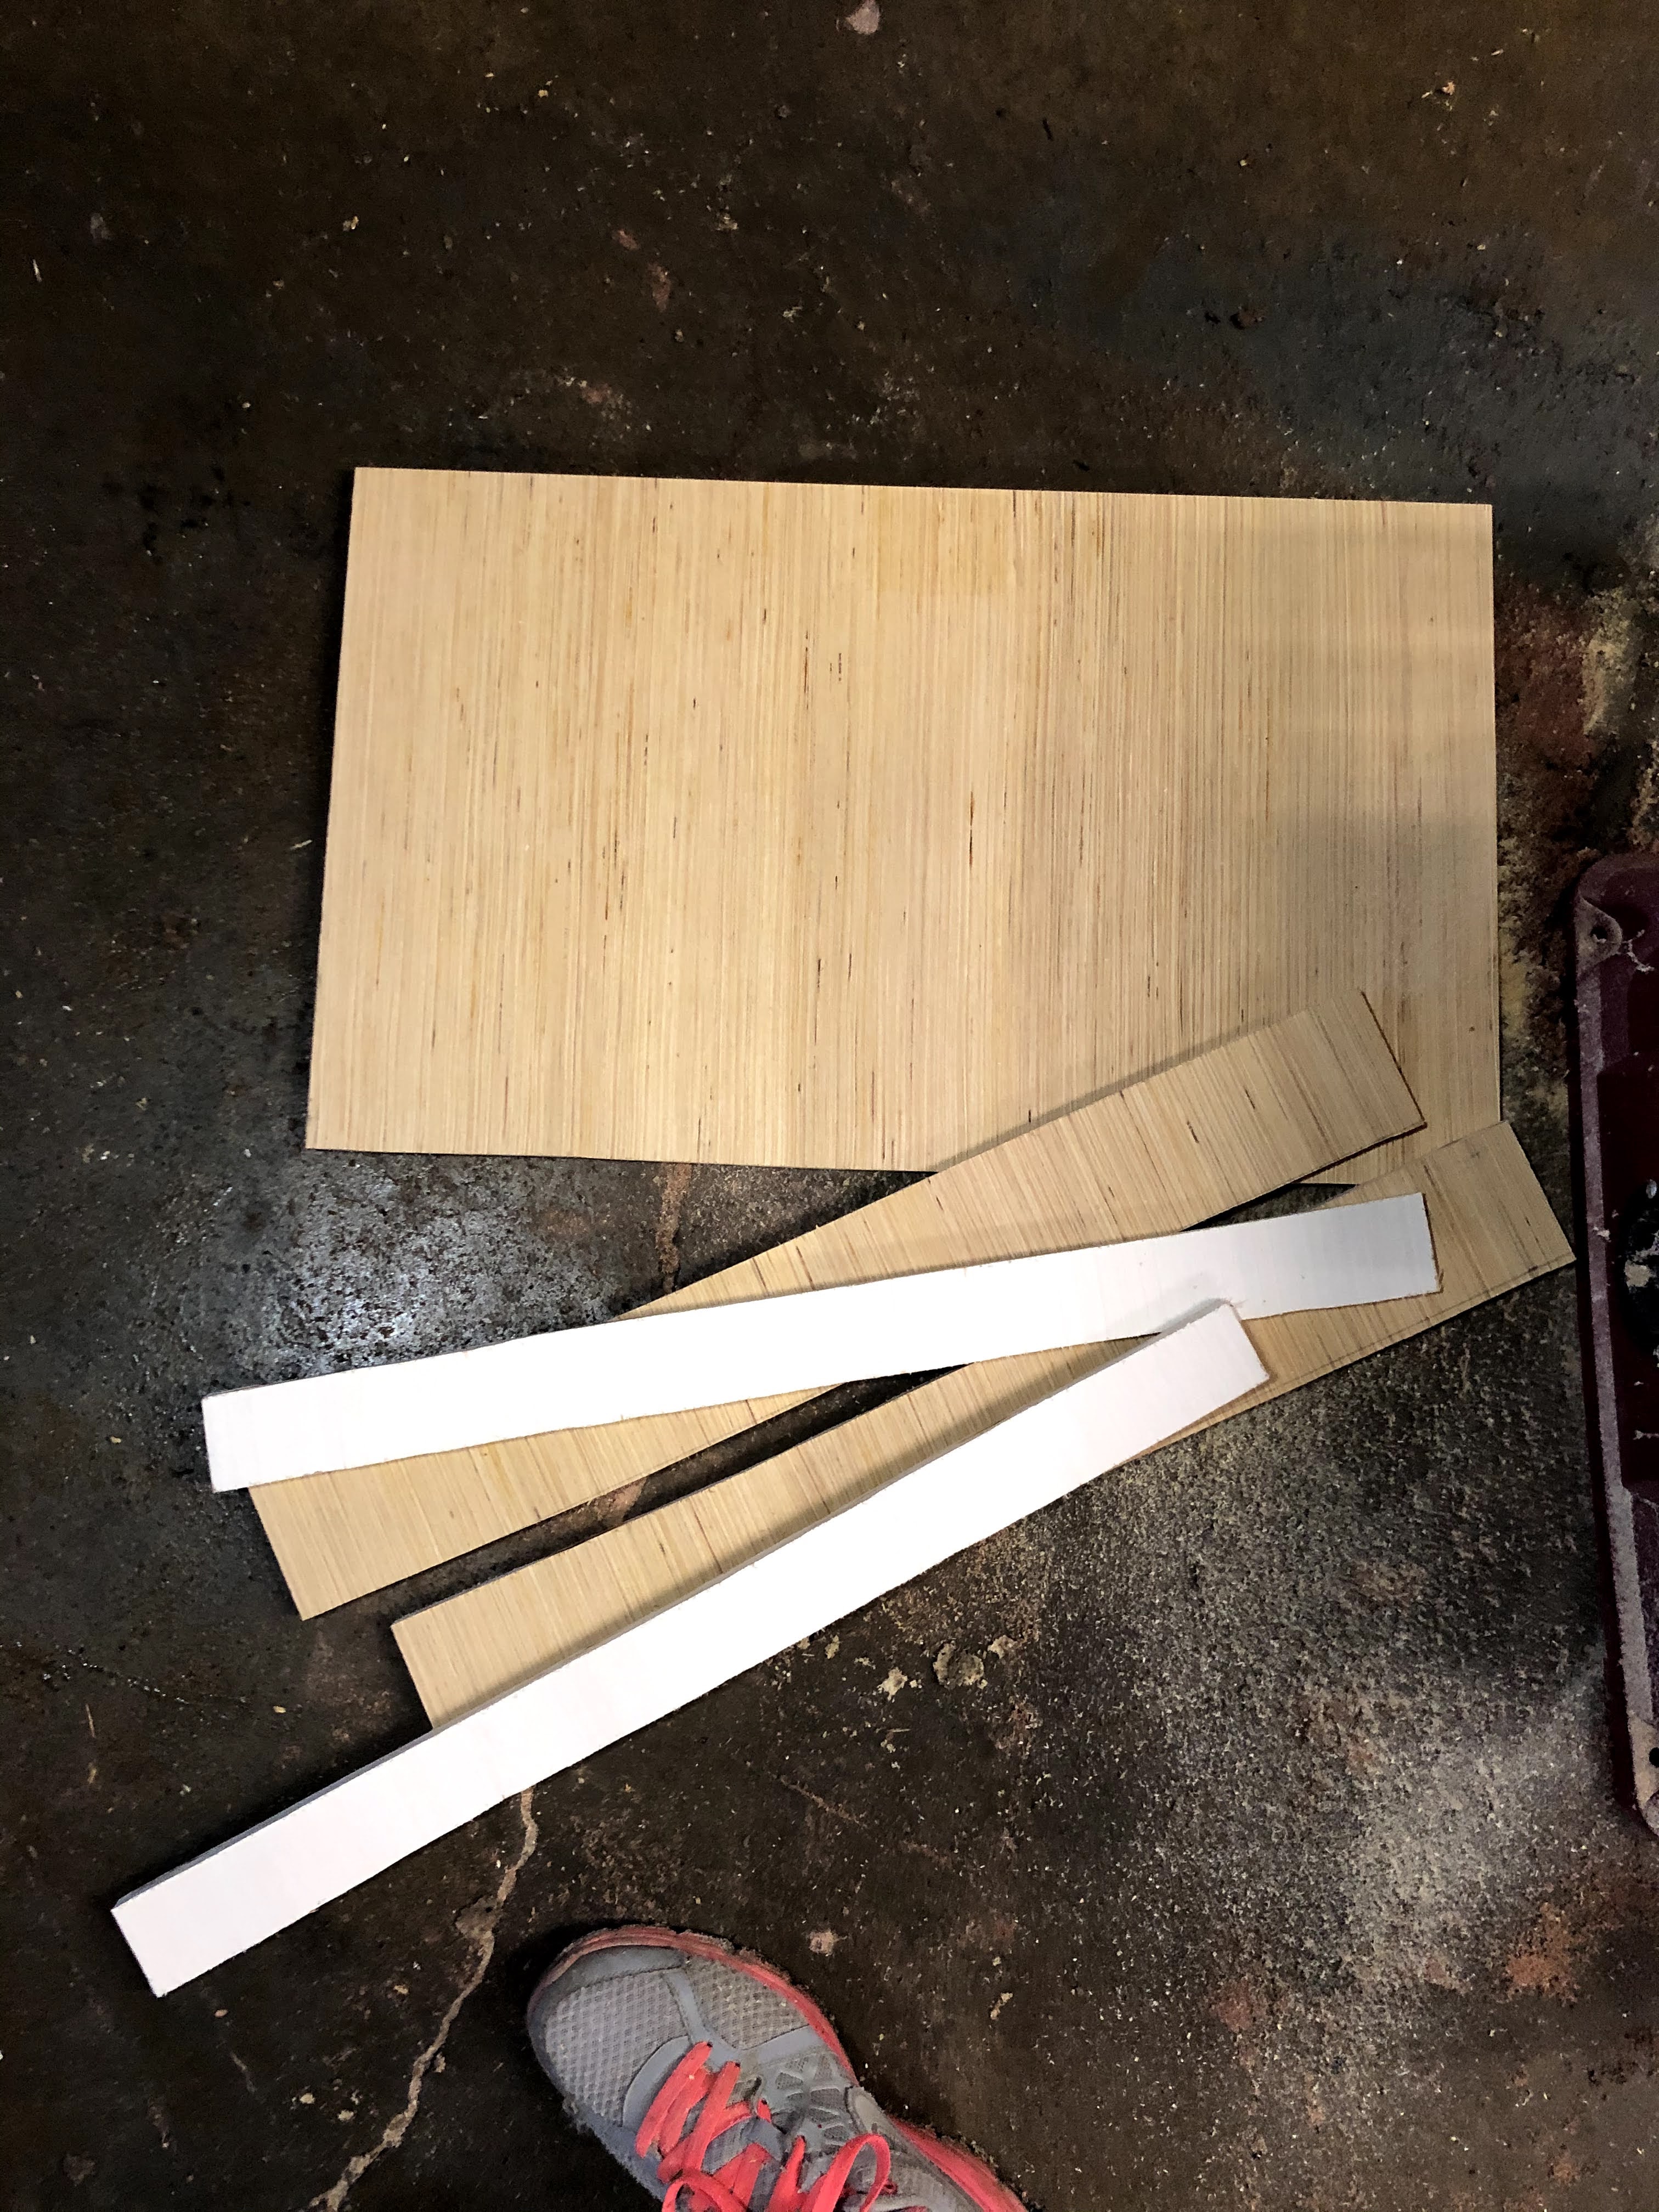
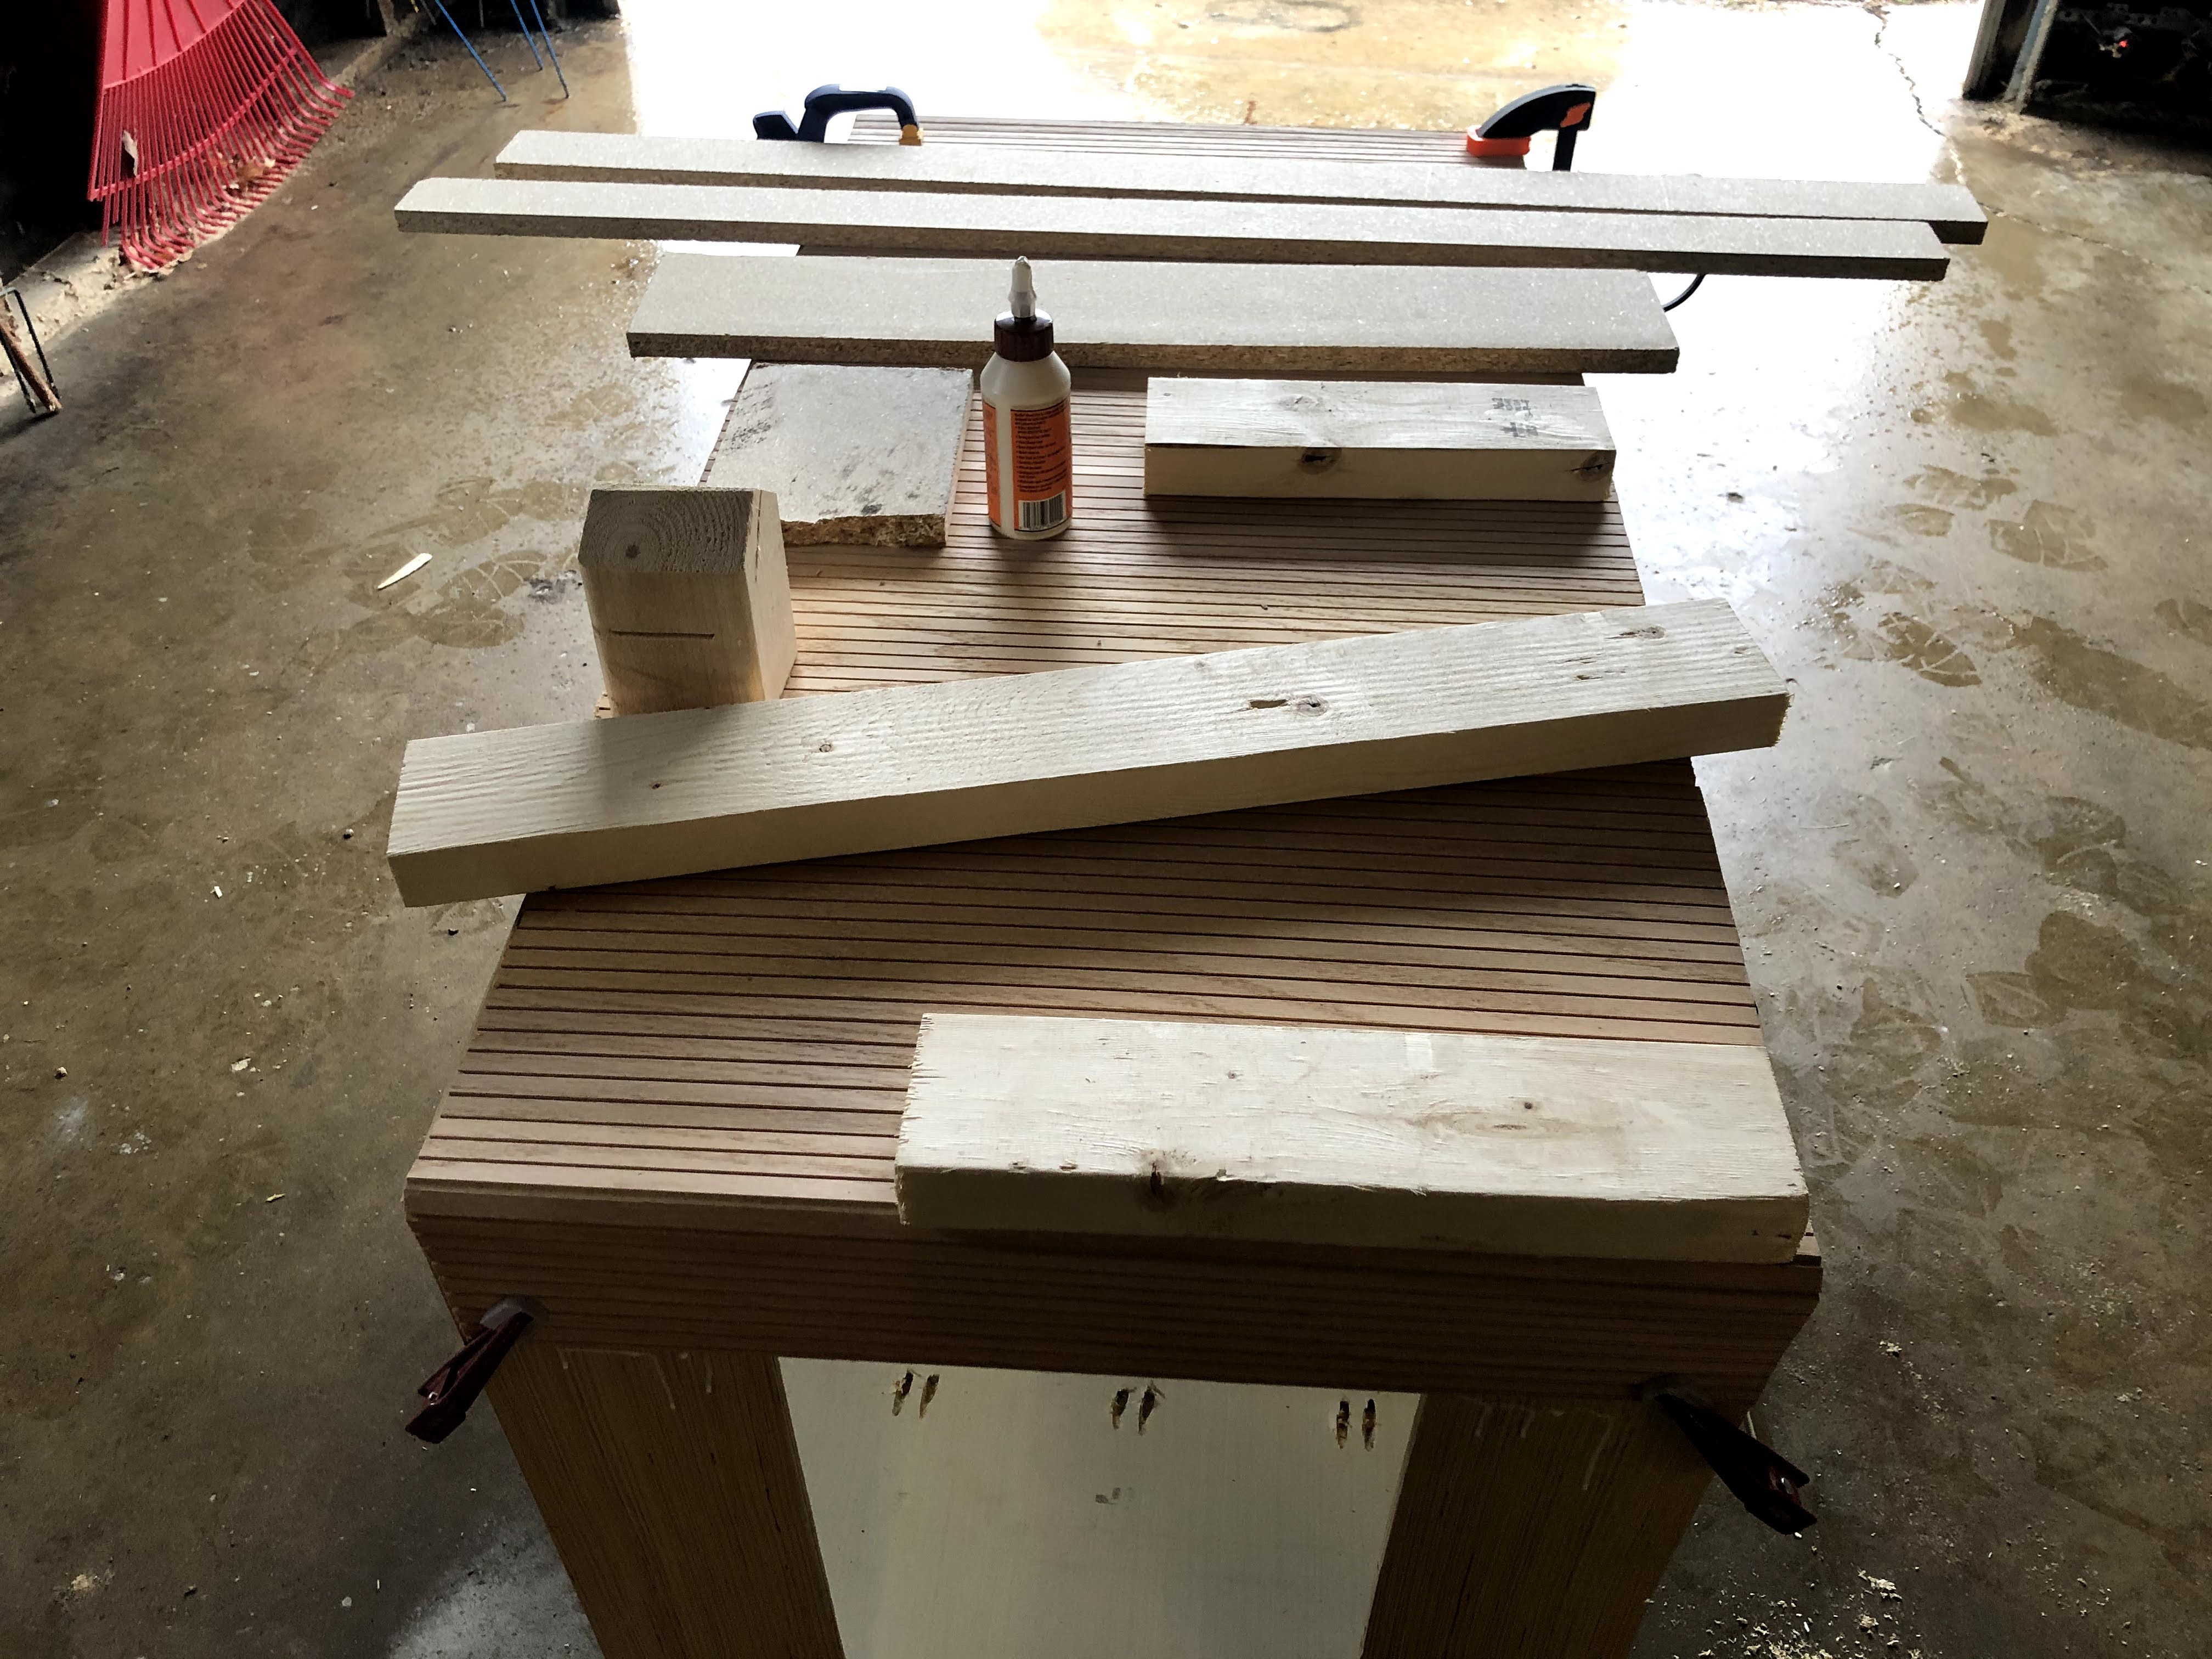
Second, and similar, you get to learn new skills. When I set out to build my console table, I had never kerf bended plywood before. This project gave me an opportunity to try (and fail and try) that technique, as well as learn more about my table saw. If there’s a skill you want to try, or a power tool you want to get more comfortable with, plan a project around that.

Third, it can be cheaper. Now CAN is not definite. Price out your options. Typically, though raw materials are going to be cheaper than something already built. Definitely explore your options and see if there are different material choices that may be more budget-friendly. When I’m doing interior built-ins, I often go for MDF instead of plywood because it’s cheaper, but just as stable.
Okay, so now you want to create an original piece, where do you start?
Start researching, pinning, & saving inspiration pictures. Gather them together in a collage or mood board so you can see what specific elements speak to you most. This helps you define what styles you prefer, and the best part is, since you’re the builder, you can even Frankenstein elements from different inspirations.
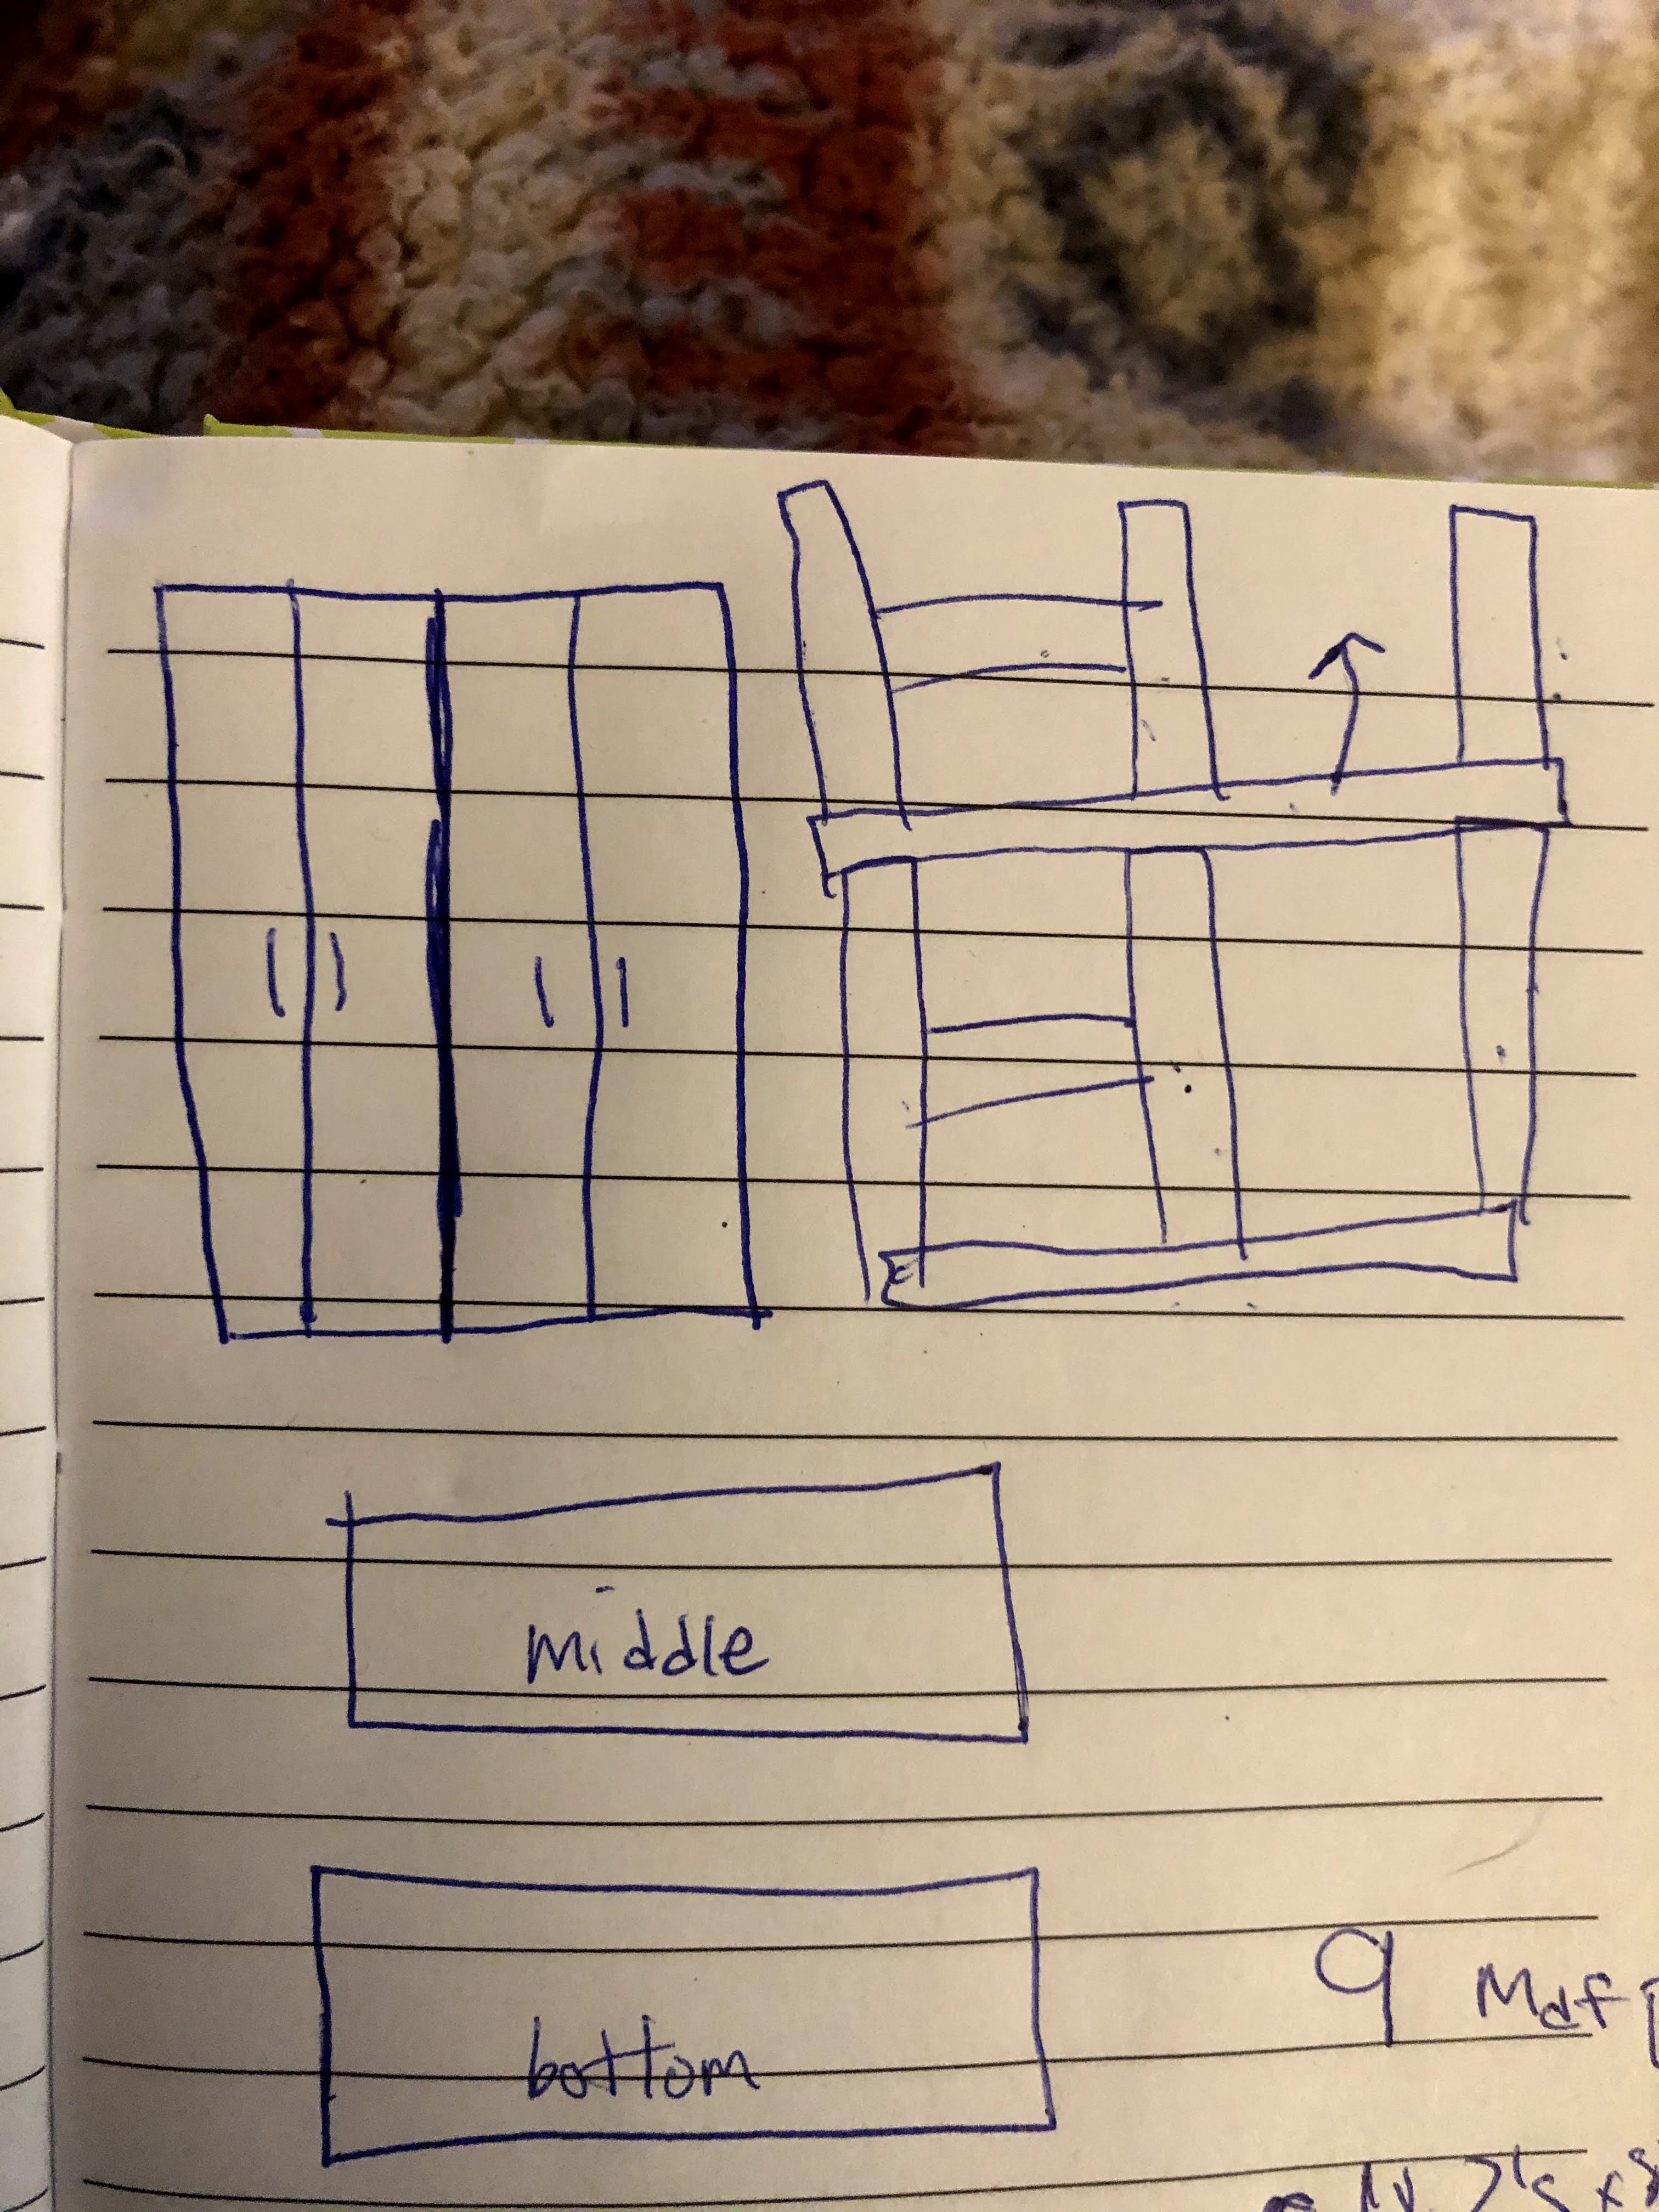
Next, sketch out your design, either on paper, or electronically. This isn’t art class, and no one’s grading you on your drawing. This is just something to help you visualize your plan. I typically draw my project plans in a notebook, and it looks like sketches a 5-year-old would make. But the plans make sense to me and help me start to pull the project from my imagination to reality. All that matters in this step, is that your plans make sense to you.
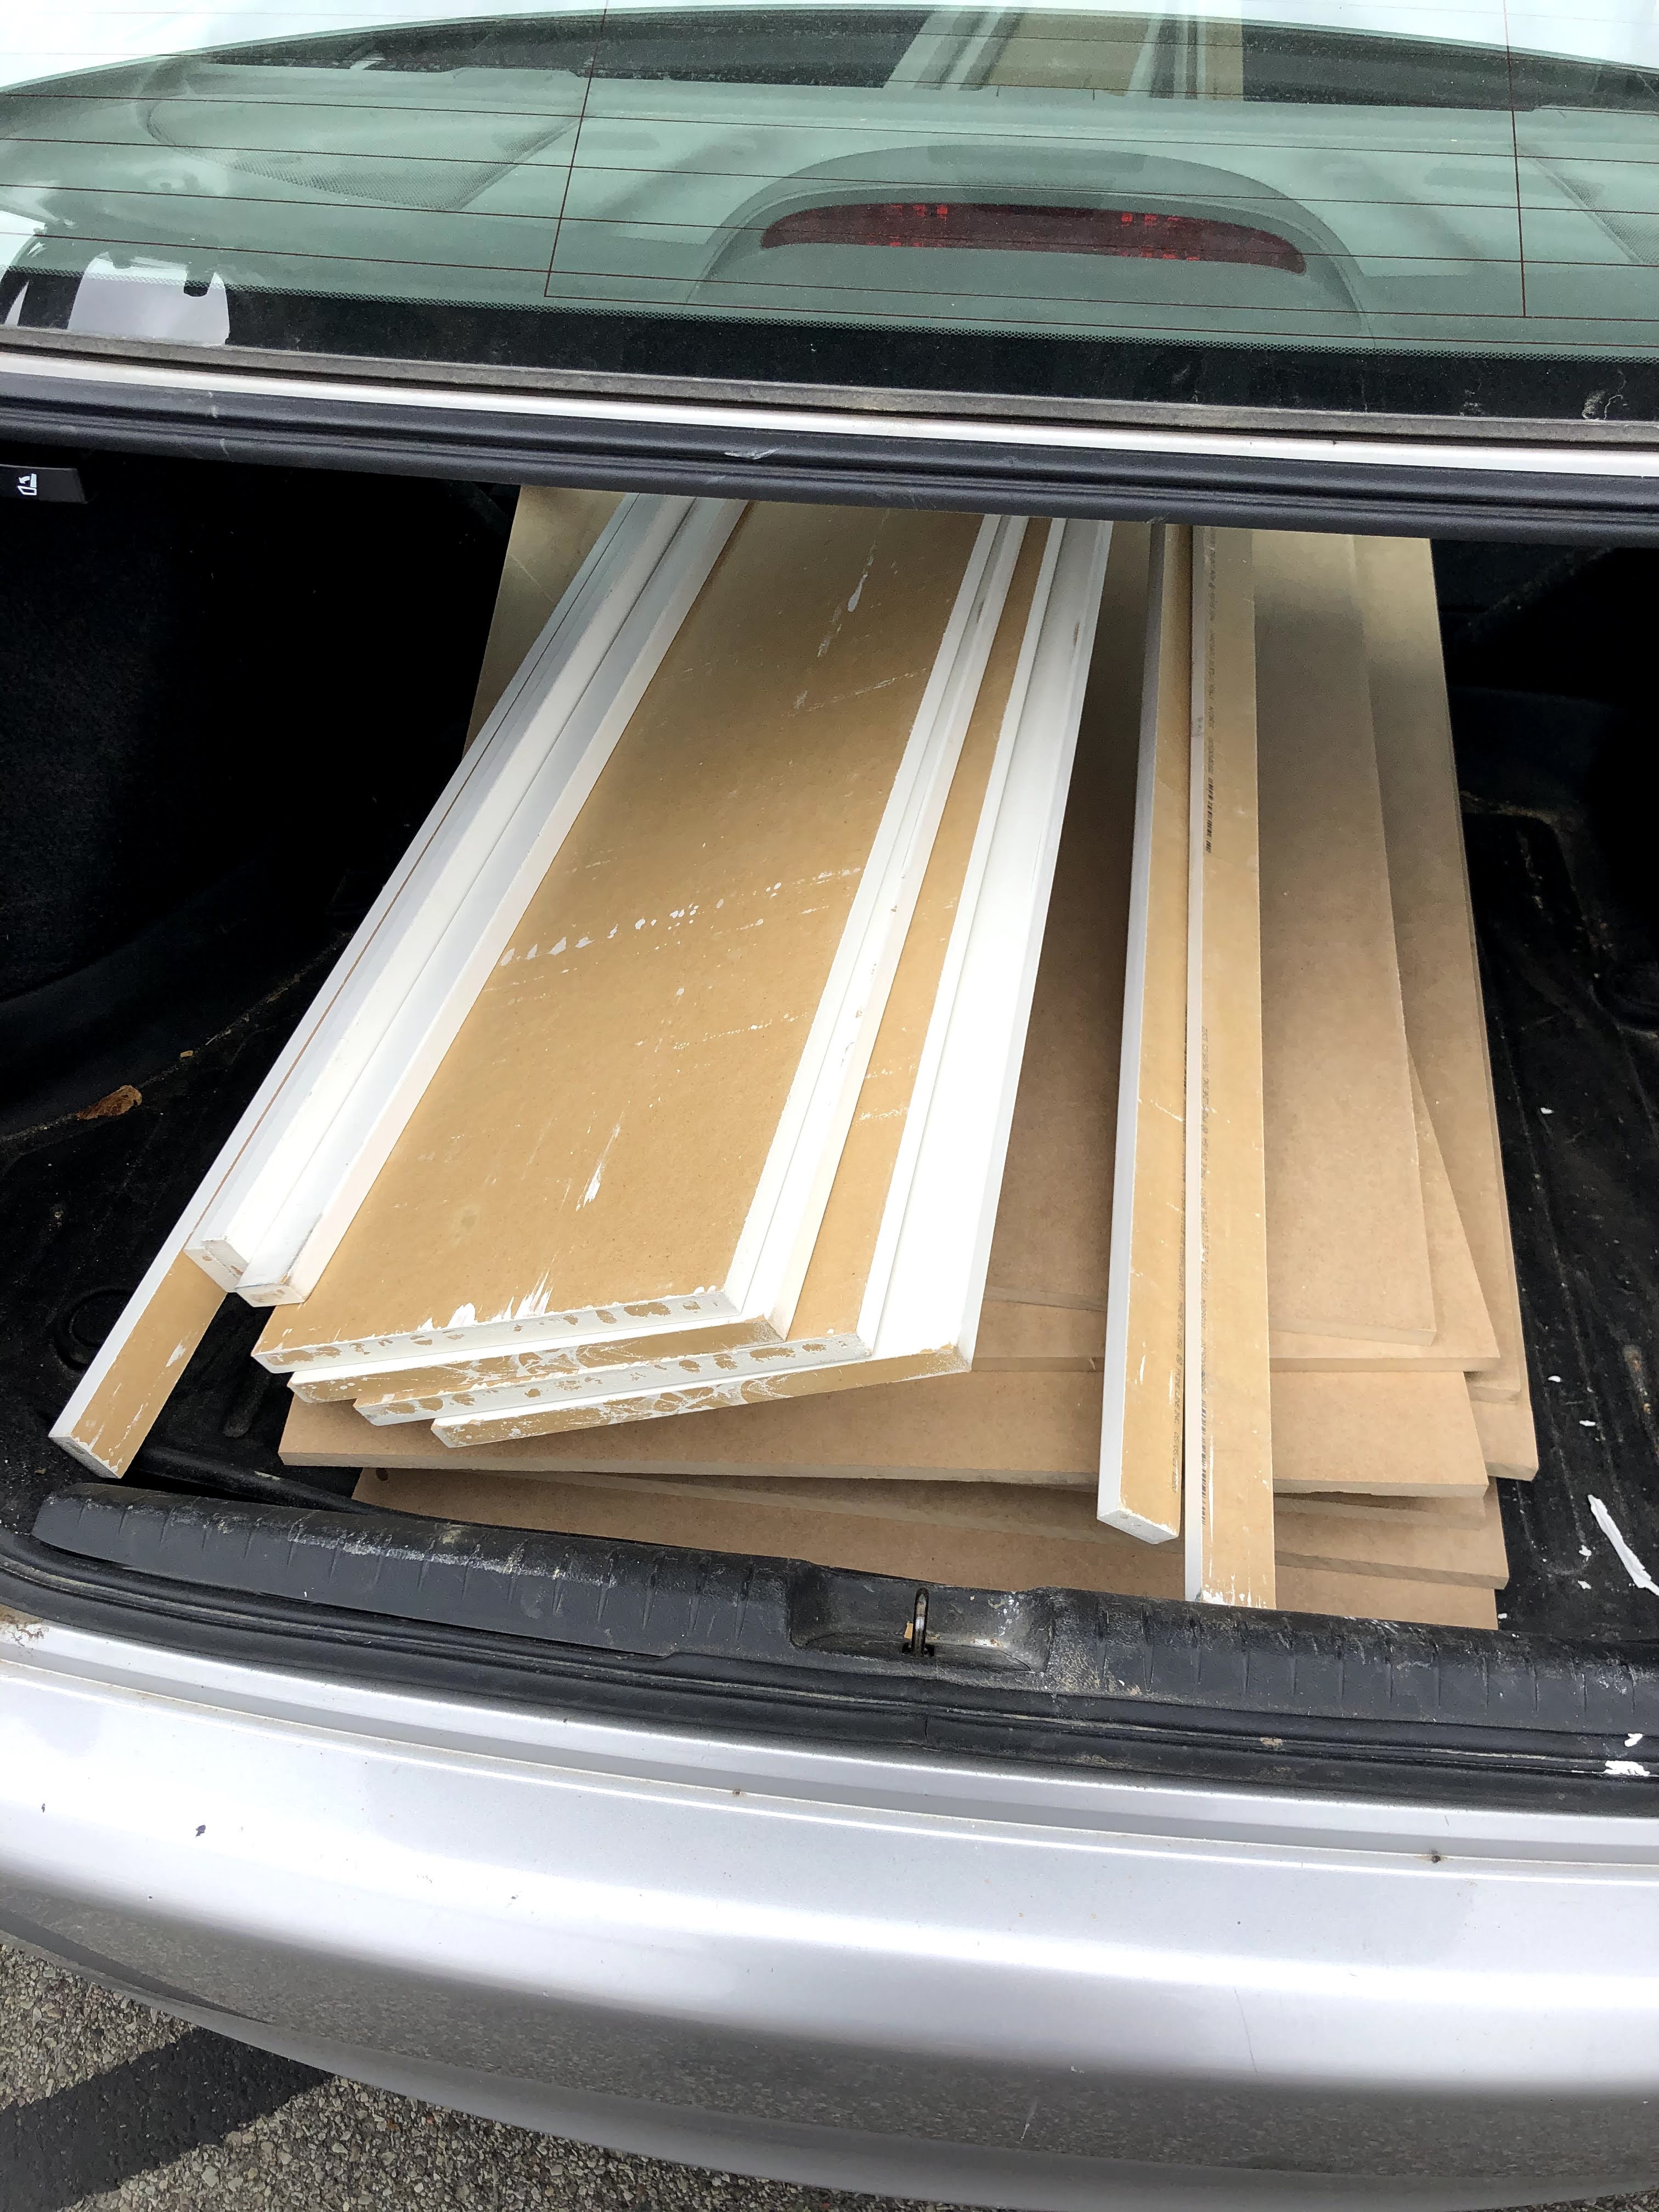
This third step is a little more practical, write out your measurements, materials, & cut list. This helps you budget what you need for a project. From here you can pivot materials if you need to, or plan to work with something you’ve never used before like concrete, lime wash, or planking. You can have a working list ready to take to the store, and then a clear path to jump right into the project with the cut list.

Don’t be afraid to mess up!
This last piece of advice is the most important. Building from the ground up is a growth experience. There will times where a project looks amazing, and times when it looks like a pile of hot garbage.


When I’m building completely from scratch, there’s often a point in the middle where I feel a bit frustrated. I’ve shared that my “step back” tactic is to go grab some sparkling water & chips, & think through my process. Find what that pause moment is for you that allows you to then jump back in with a new perspective.
Flexibility makes you a better problem solver & builder in the end. You may even have to pivot from your original plan, but THAT’S OKAY!
Make sure you take time to enjoy the progress of where you’ve come. Each step is a piece of something new that you’ve made with your own hands. Enjoy each new piece, and don’t be afraid to compliment yourself, you just made a unique piece that no one else has!