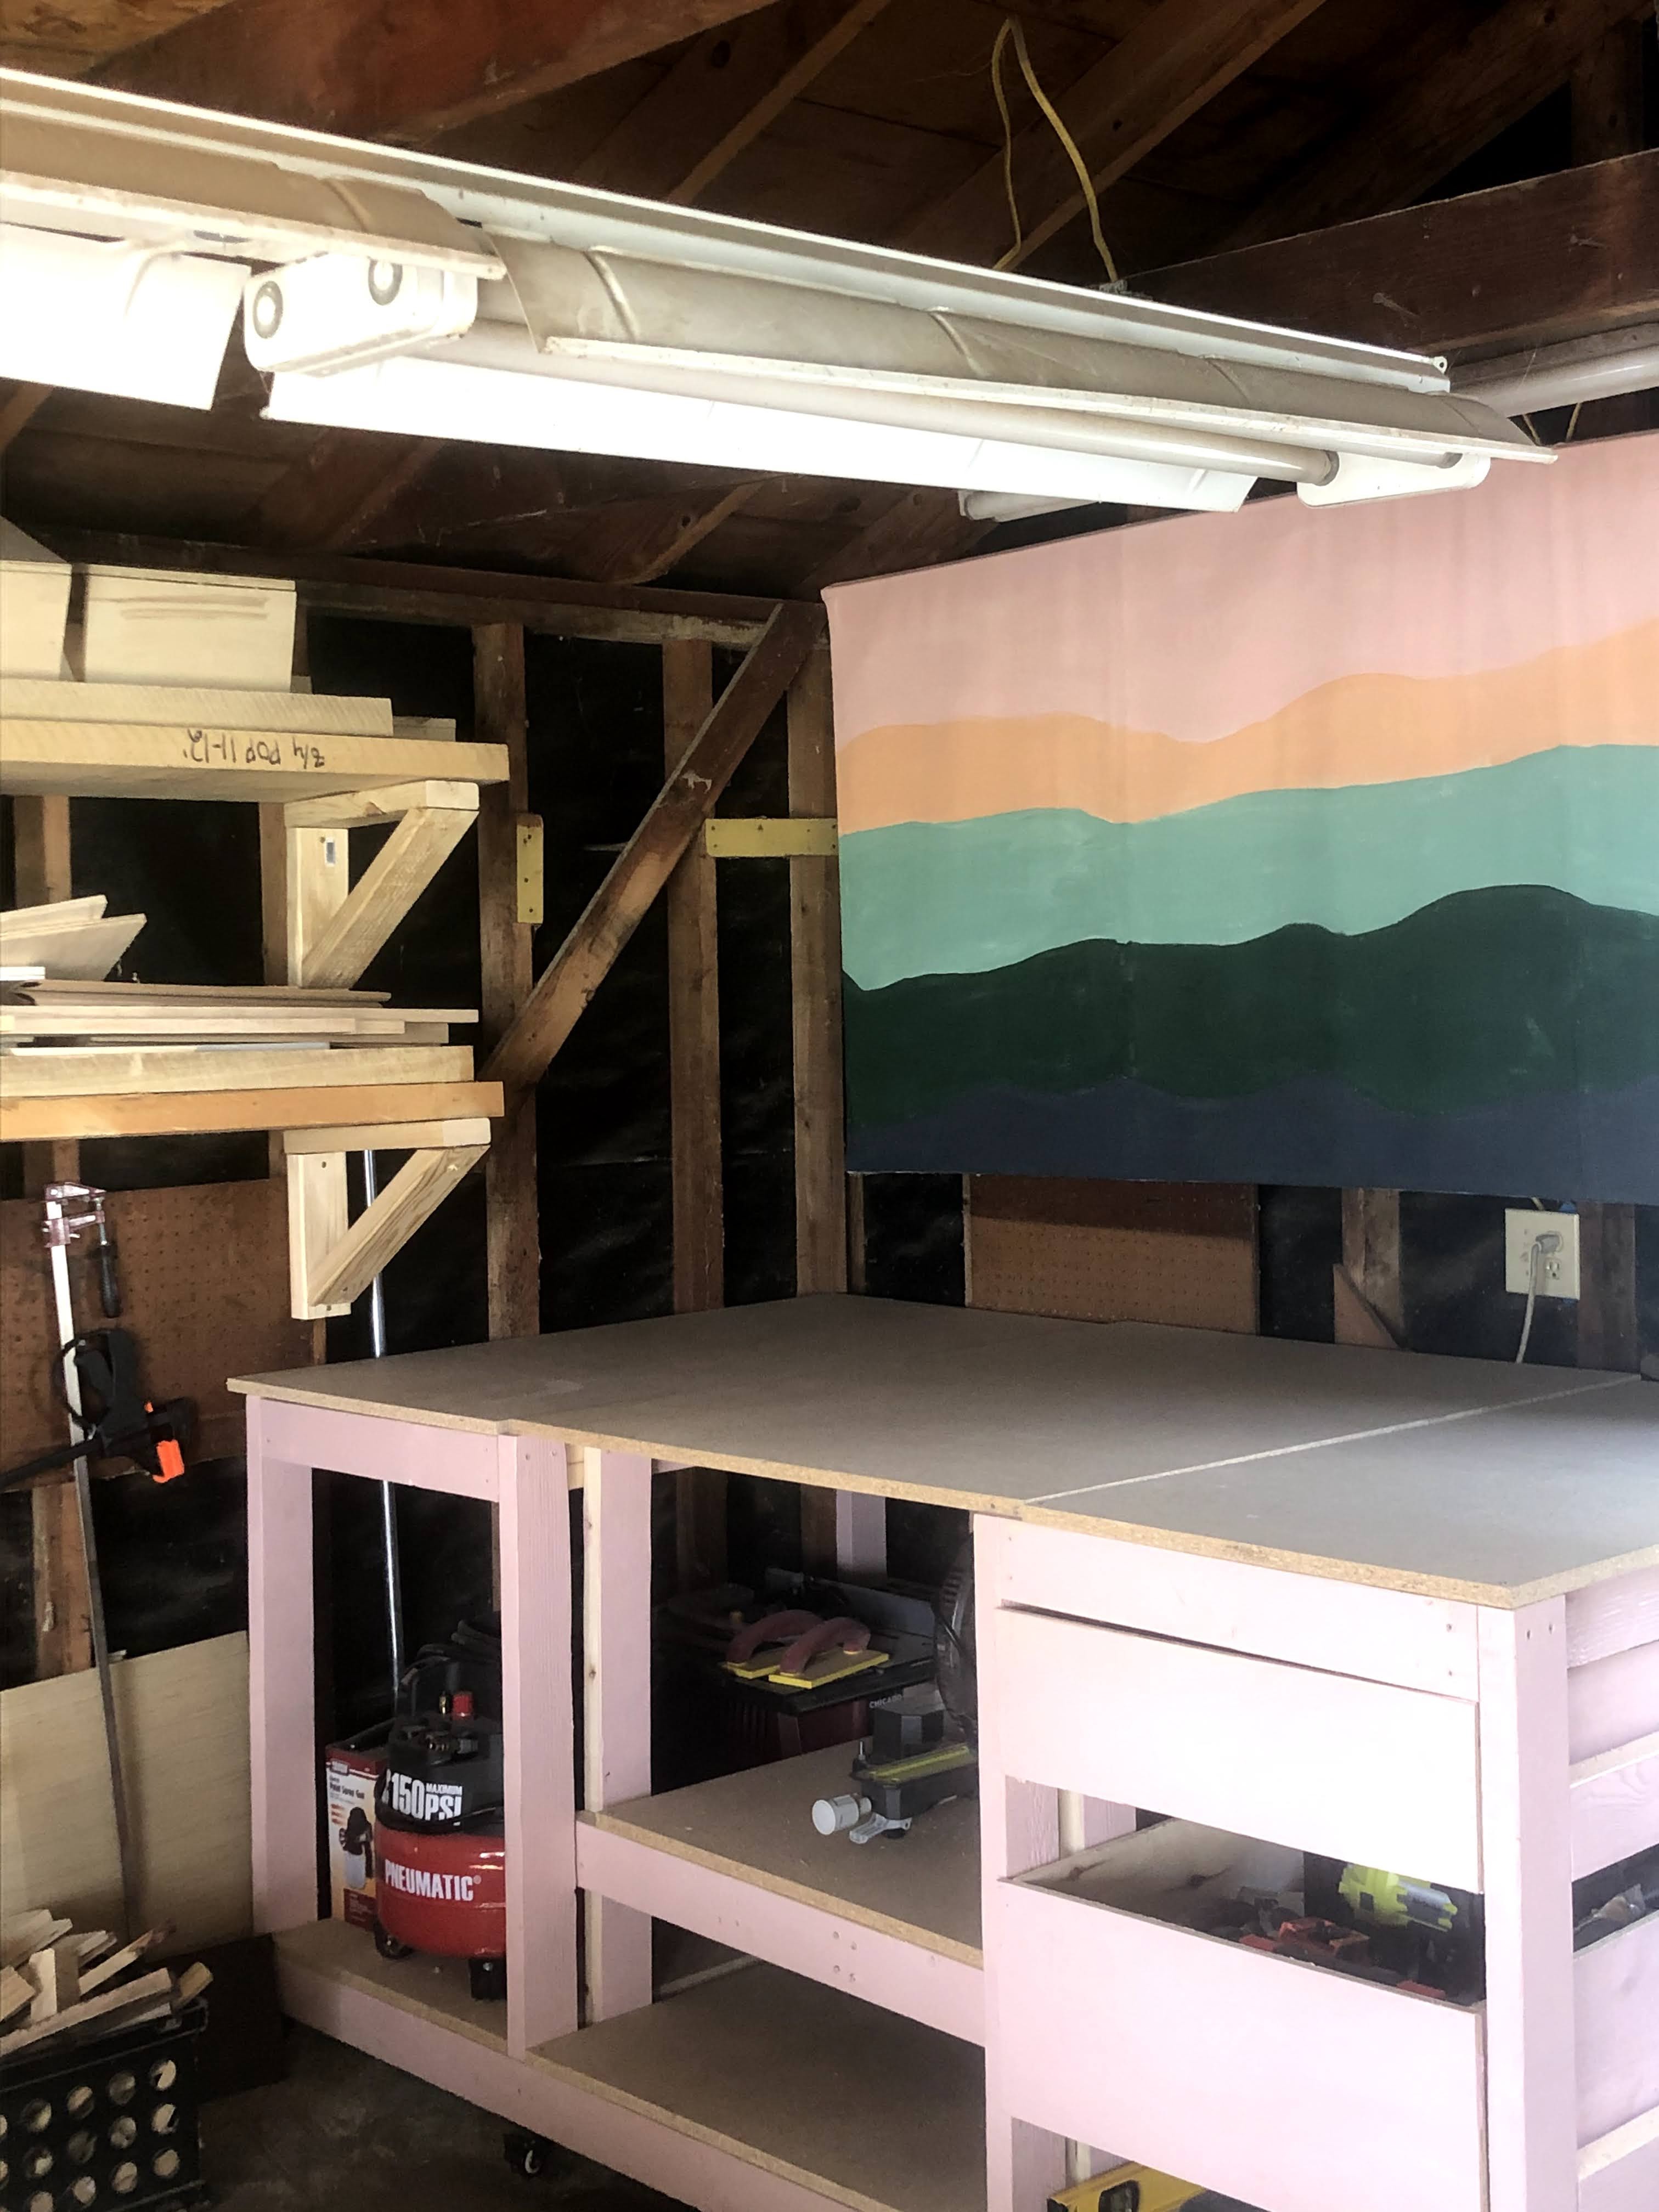

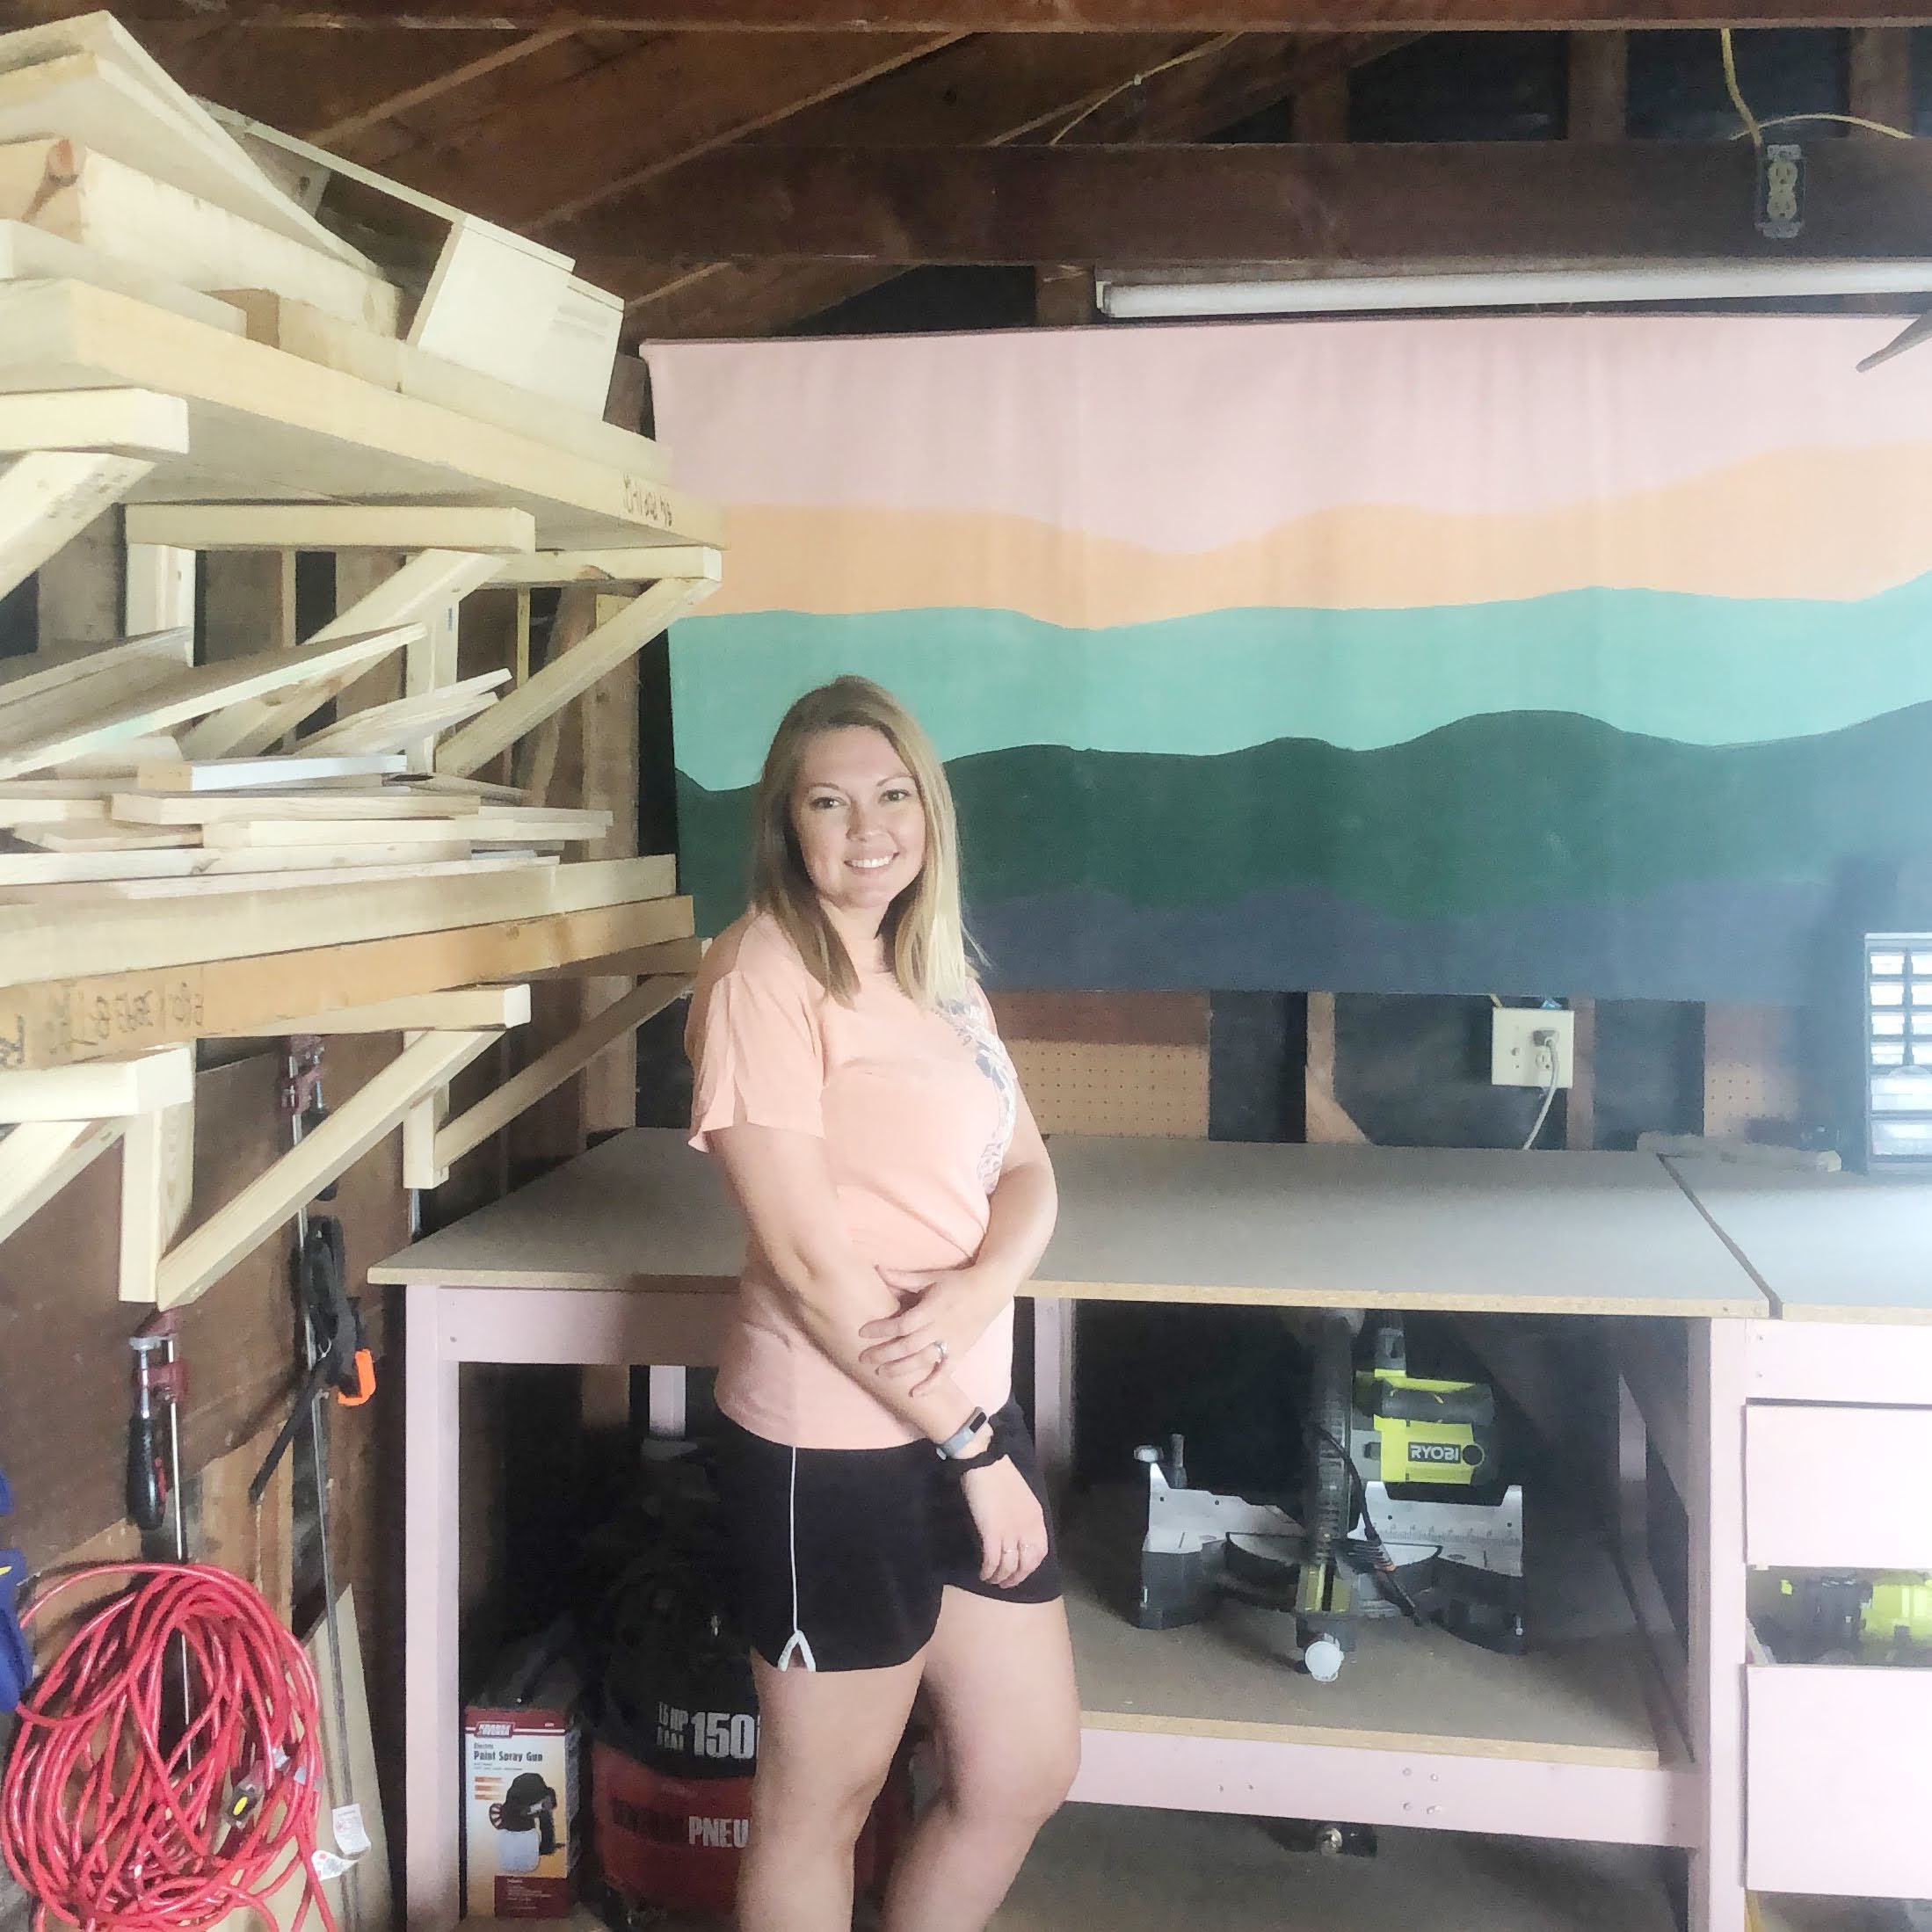
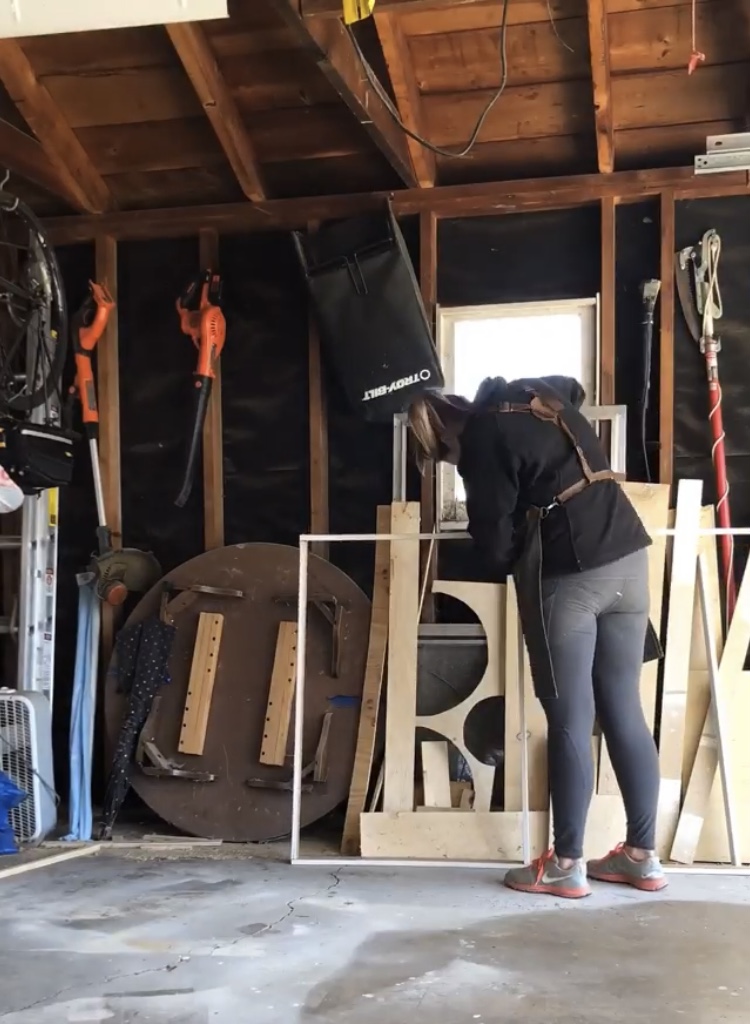
My garage workshop has quickly become one of my favorite spaces! When I decided to build a workbench, it automatically added some more personality to the space, but the unfinished walls still made it feel dark. Since I look at this wall every single day, I wanted something bright & colorful…a giant mural.
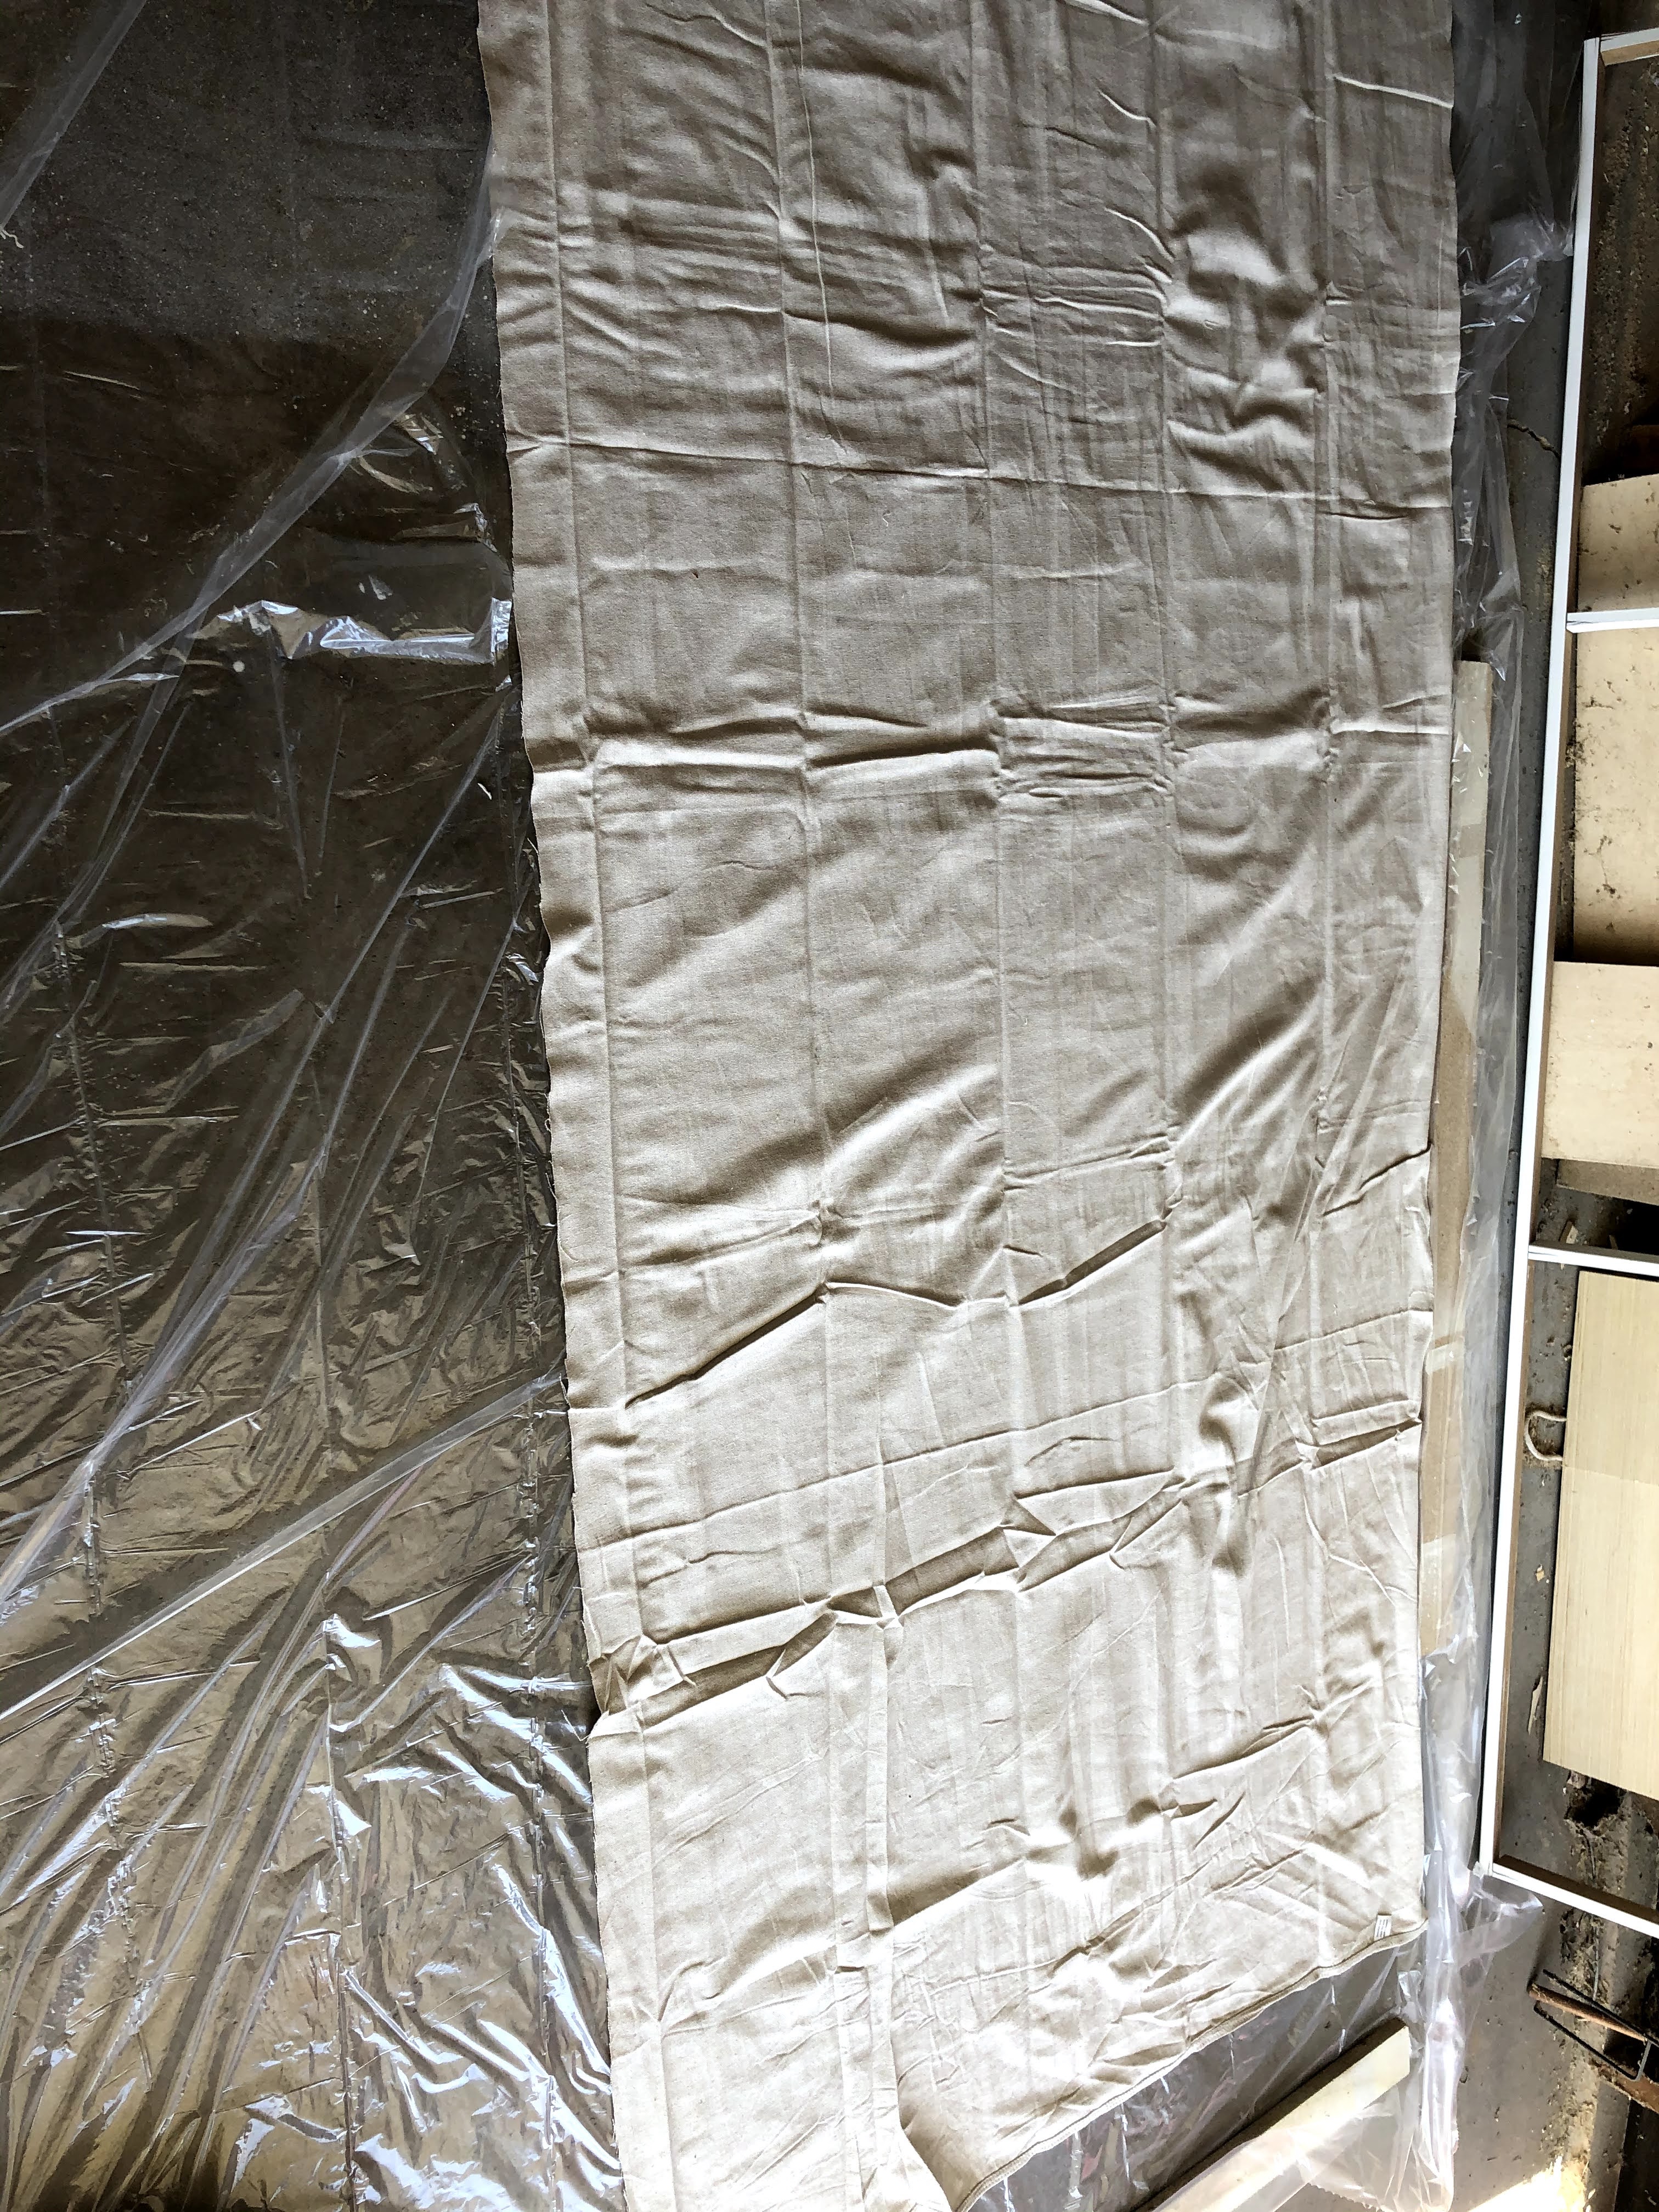
Since our garage is detached & unfinished, it doesn’t have drywall that I can paint on. I thought about putting up pegboard & painting a mural on that, but with the size of the workbench, I can’t get to anything on the pegboard anyway. I would still love pegboard on other walls, but this space needed something different. Canvas!

Growing up, we loved to paint small canvases and hang them in our rooms. My sisters & I even did a Bob Ross canvas painting day a few years ago and painted plenty of “happy little trees”. Since the size of this space was much larger than any craft store canvas, I looked into making my own.
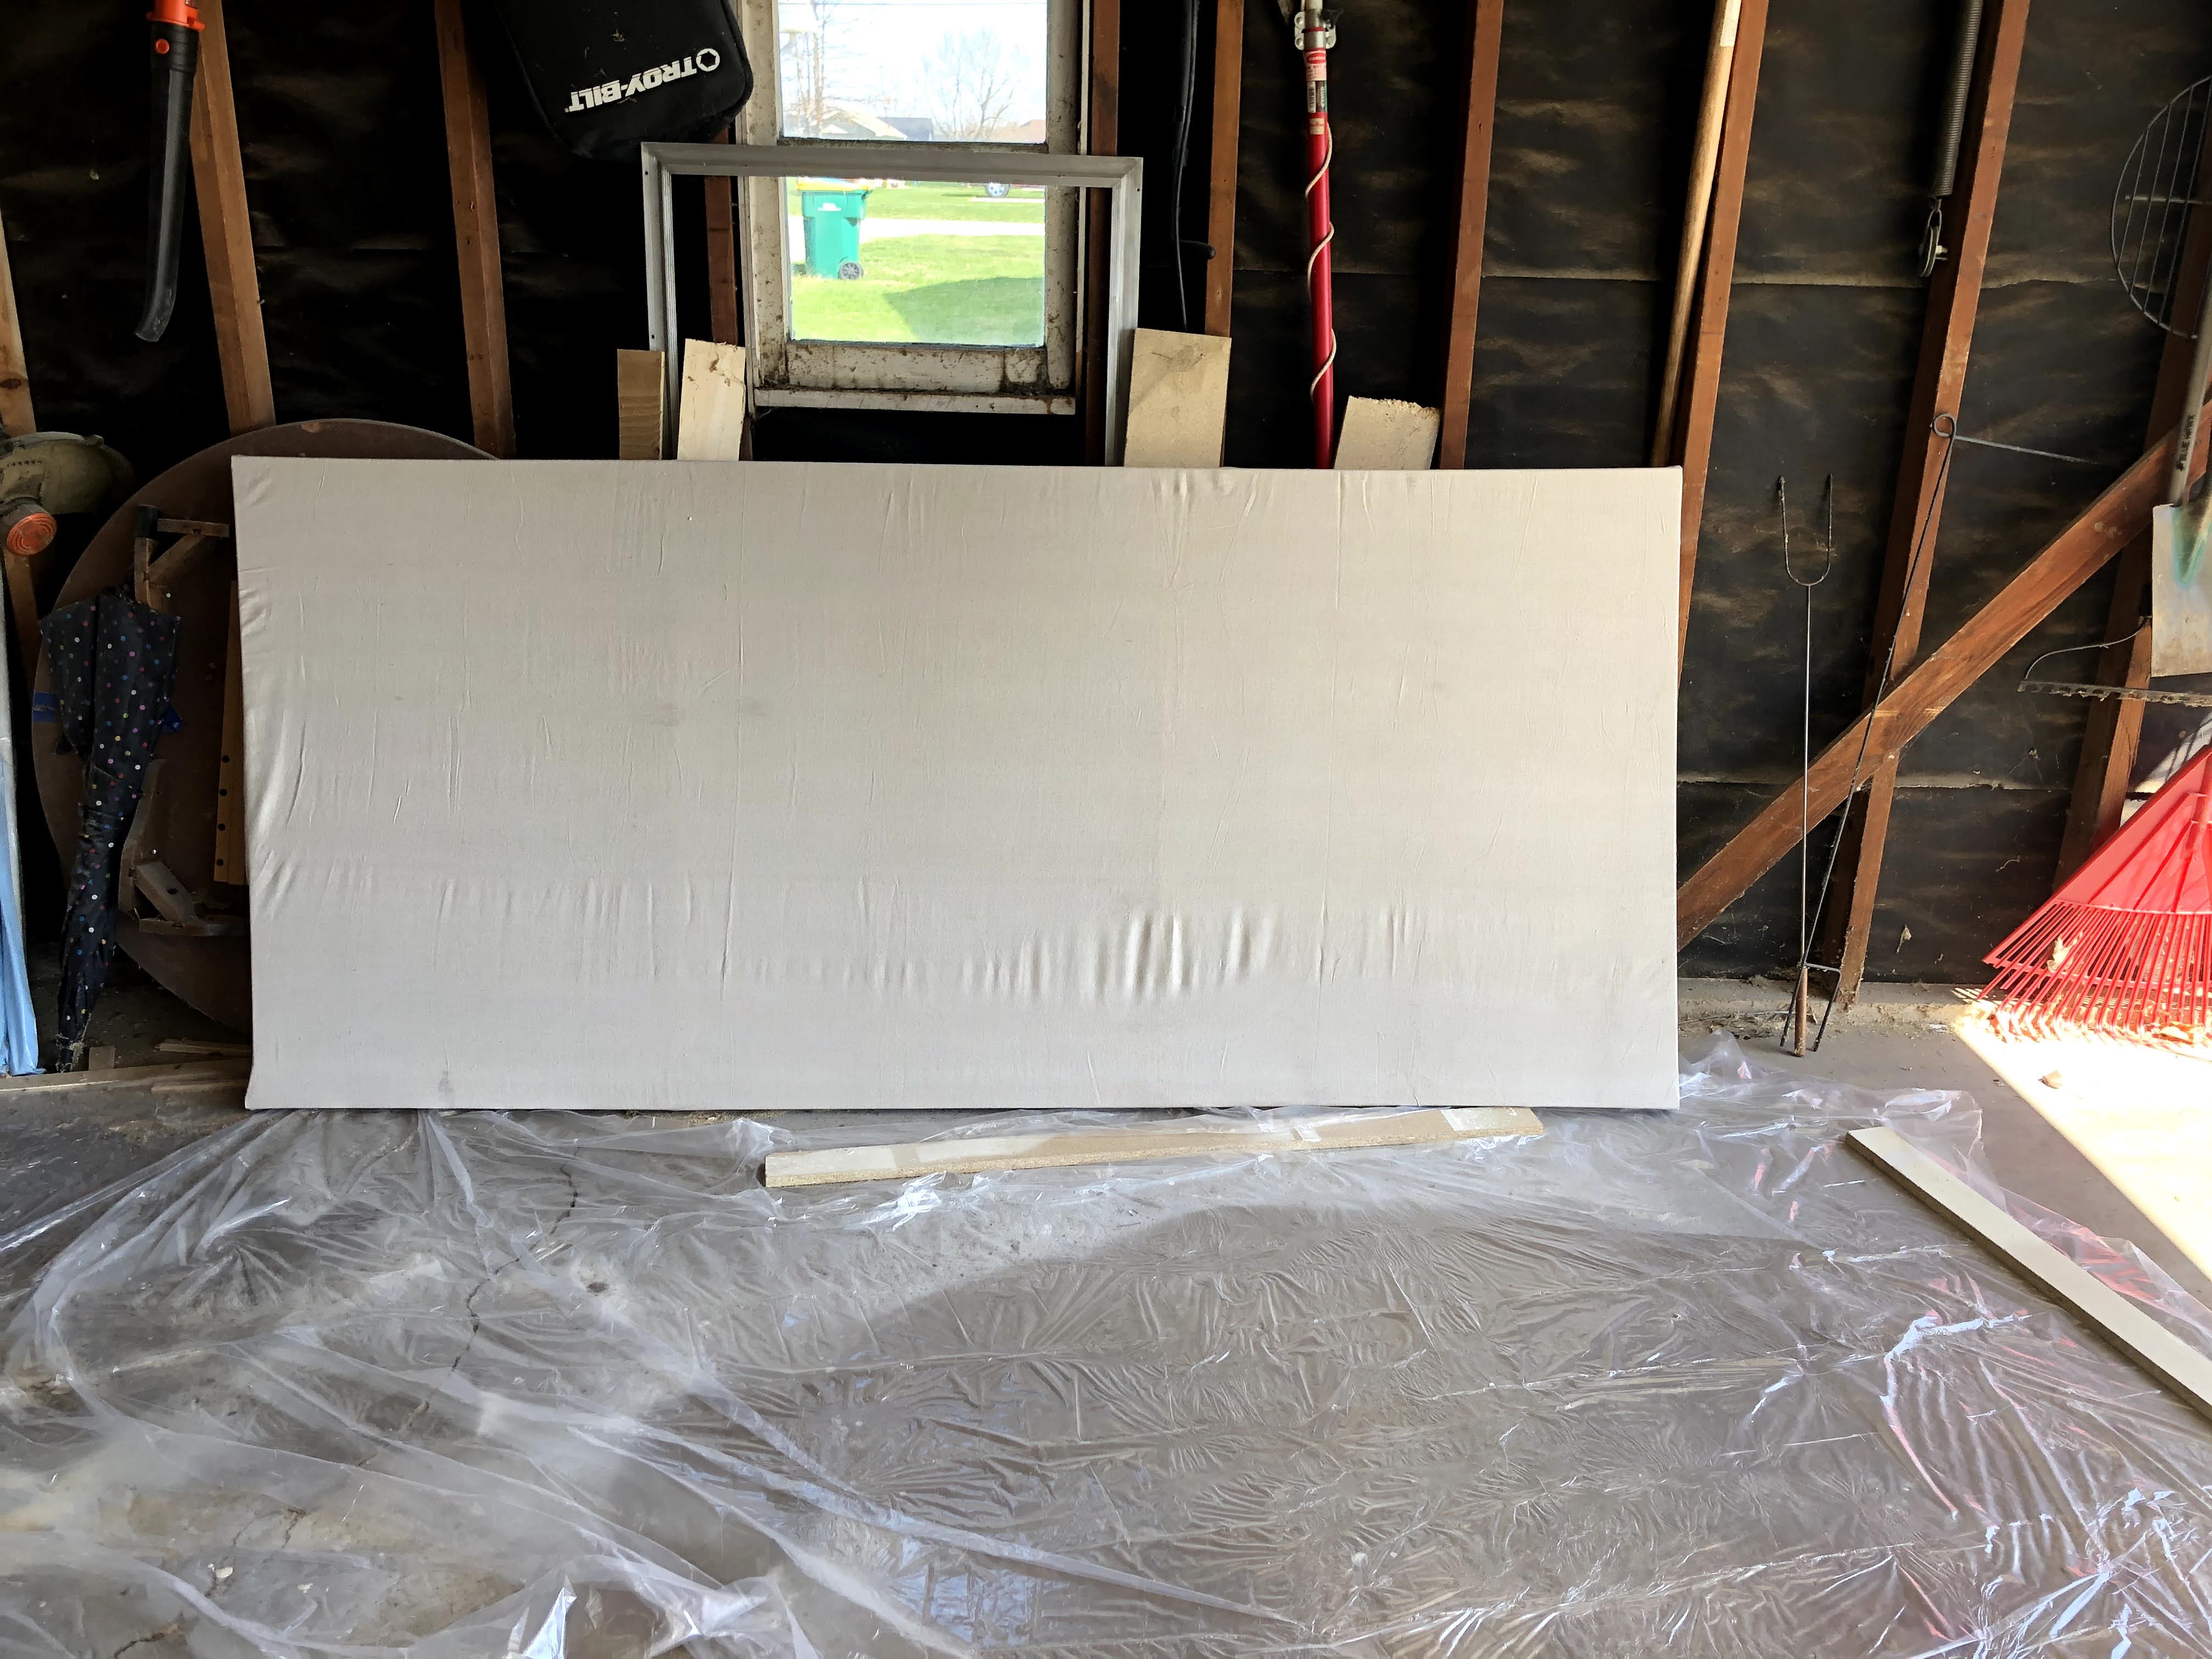
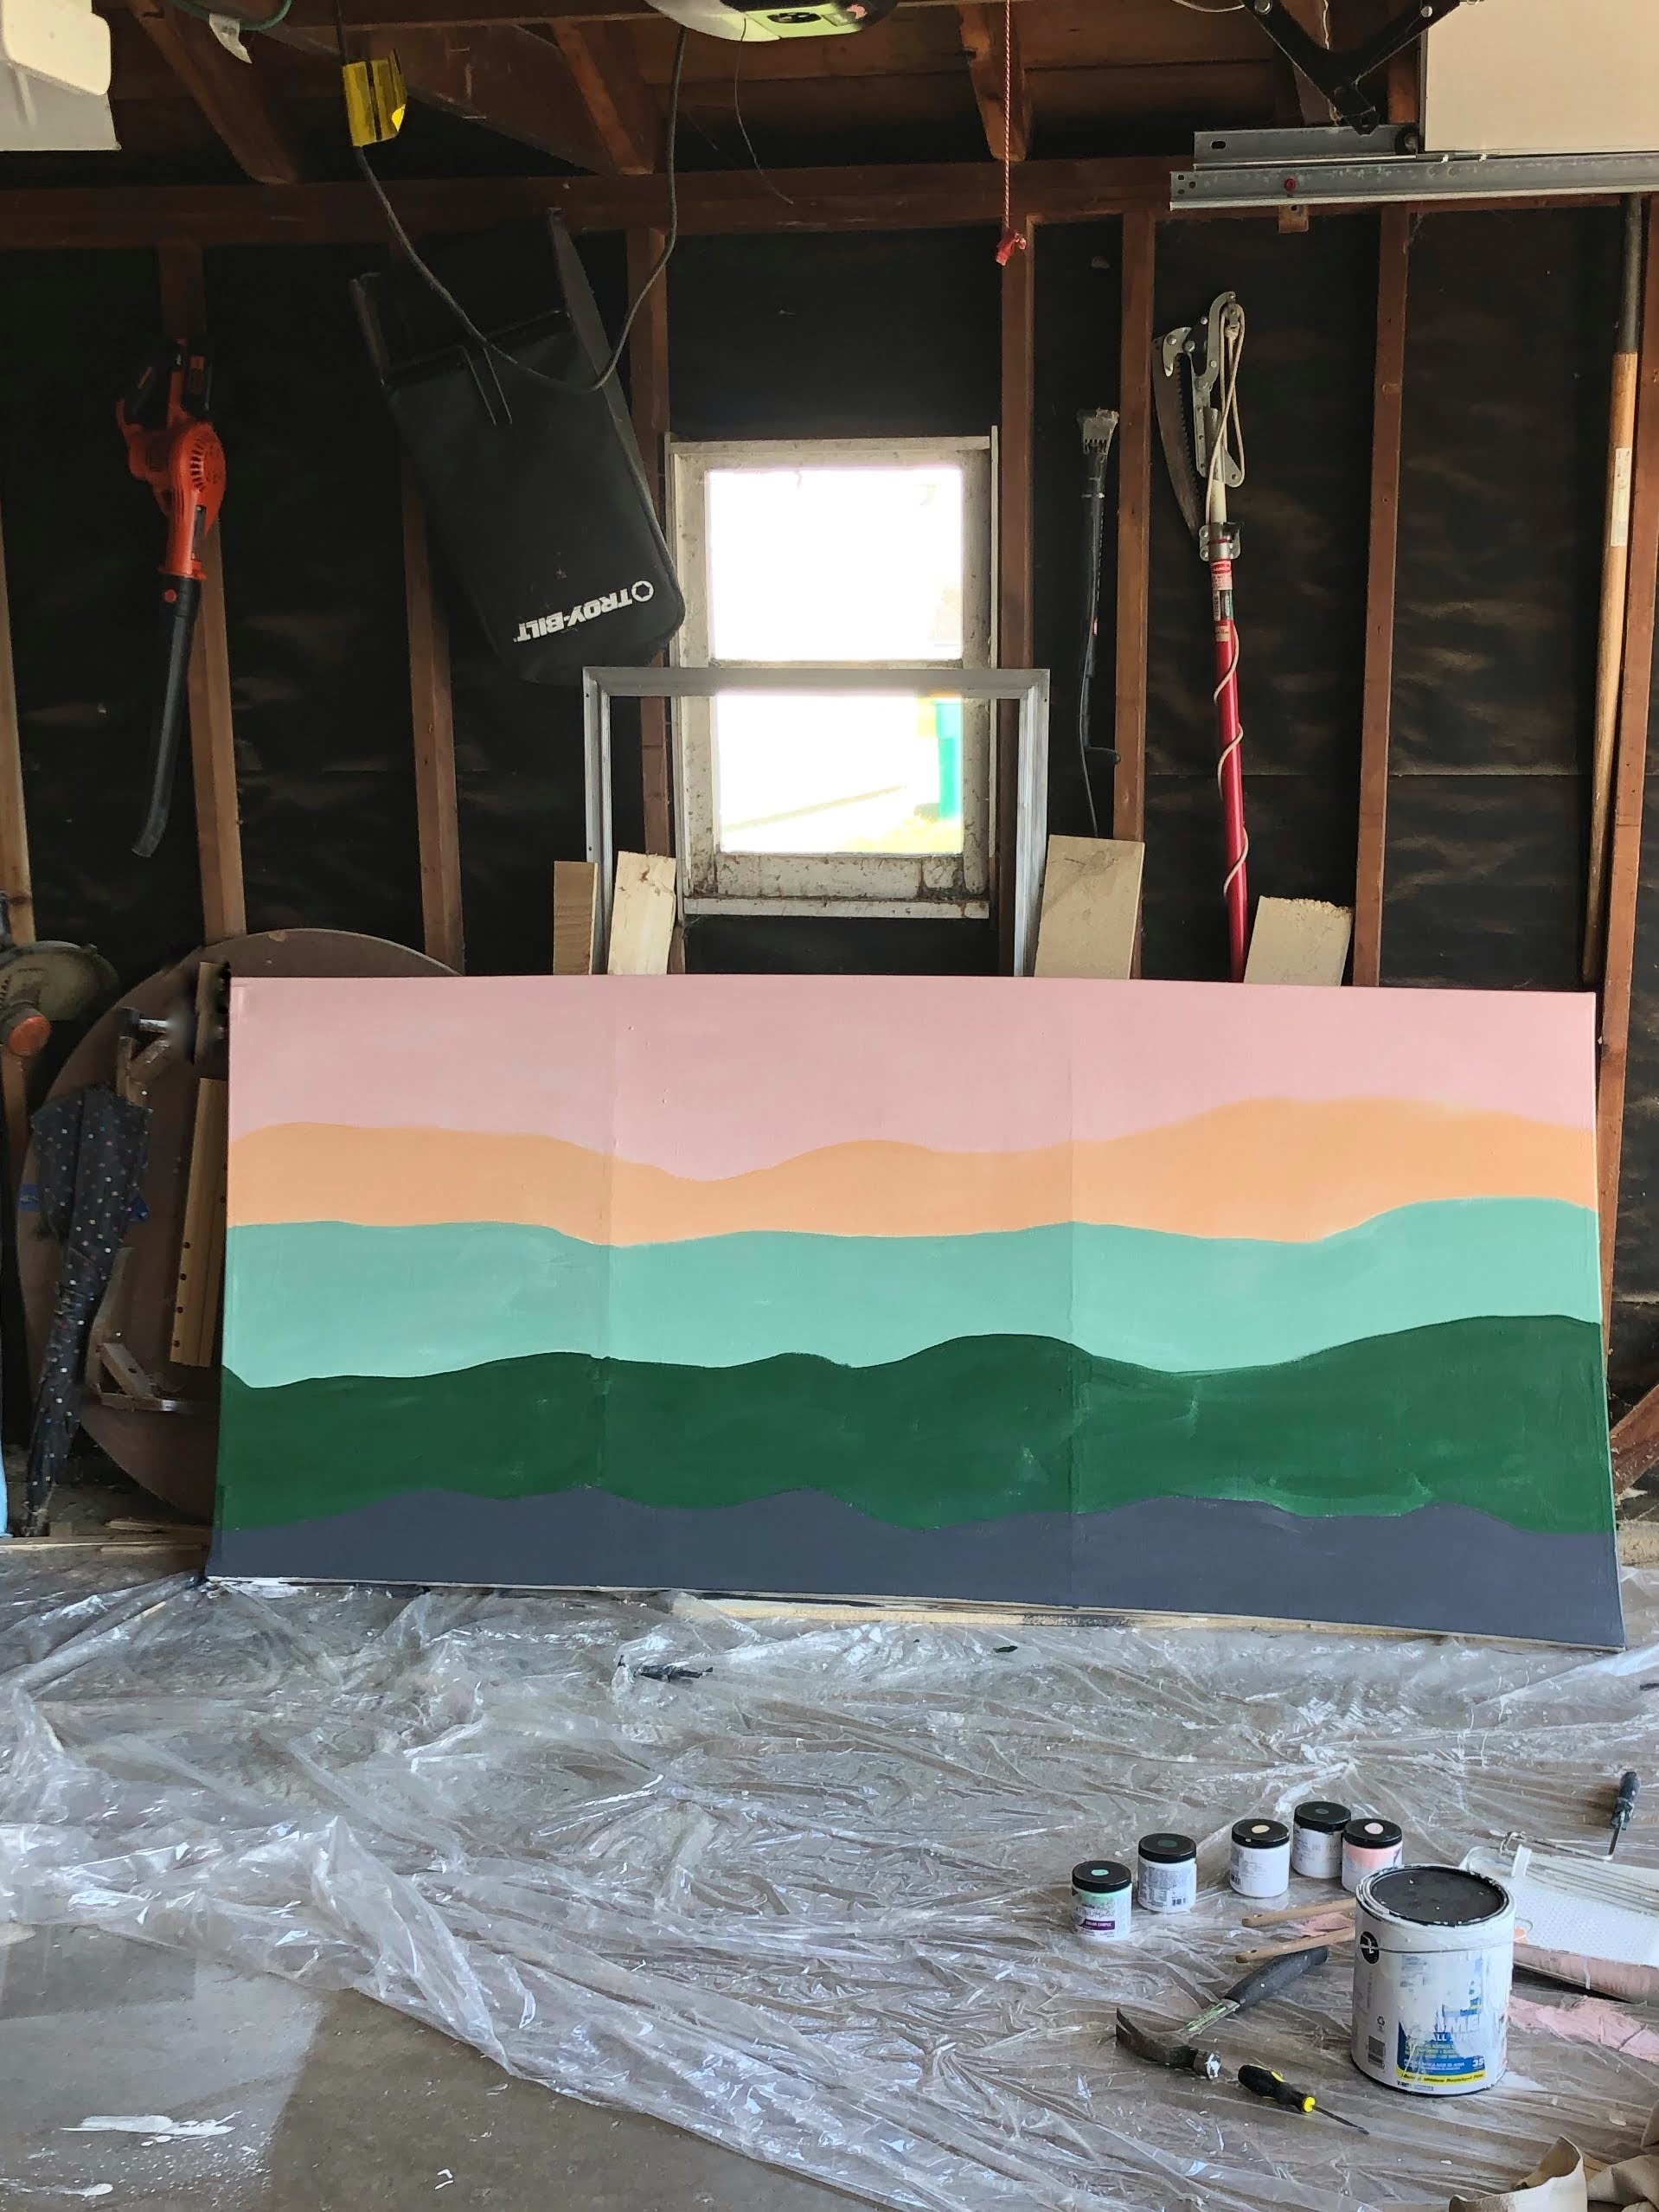
With a large dropcloth, some 1×2 MDF boards, & several paint samples, I got to work. Now I would definitely recommend using pine 1×2’s and not MDF. For this project MDF in this size is not sturdy enough to support the length of the canvas. Later on, I had to add pine boards to my canvas, so if you do this DIY, do yourself a favor and just start with pine.
I cut my boards to size with my miter saw and then made a giant rectangle with two supports, attaching boards with exterior screws. Once I had the frame, I stretched out my canvas dropcloth under it and pulled tight. The most important part of this whole project is to staple the canvas to the frame as tight as possible. You staple in a few places at a time on parallel sides working back & forth and pulling the canvas as you go. The tighter the canvas is to the frame, the smoother it will be when you go to paint.

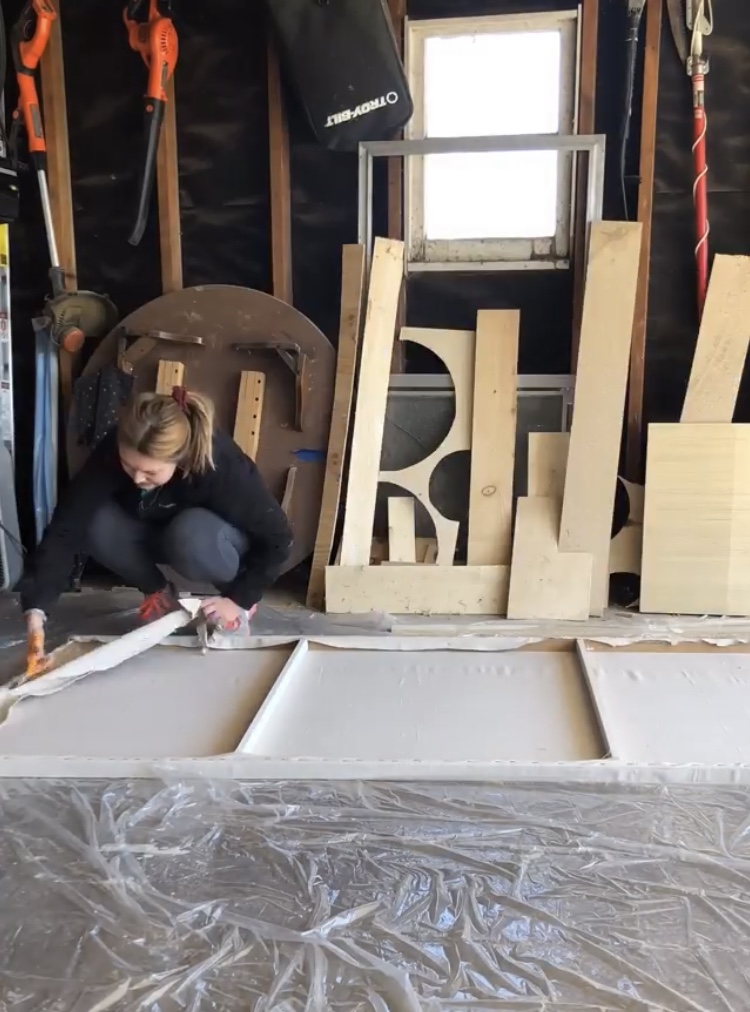
I primed my giant canvas as well because it keeps the cloth from drinking the paint. I went through a lot of primer, applying a very thick layer, but it was worth it for a smooth finish with my colors.
Now I watercolor, but when it comes to other paint mediums, I’m no expert. I tend to be pretty messy & I don’t like precision. A rainbow theme was perfect for me. I just eyeballed my shapes and didn’t tape because I wanted to keep organic lines. I worked right from one color to the next while all the paint was still wet so that I could blend the lines a bit. If you want even more of that ombre effect, you can add a little water to your paint & it will blend even more.
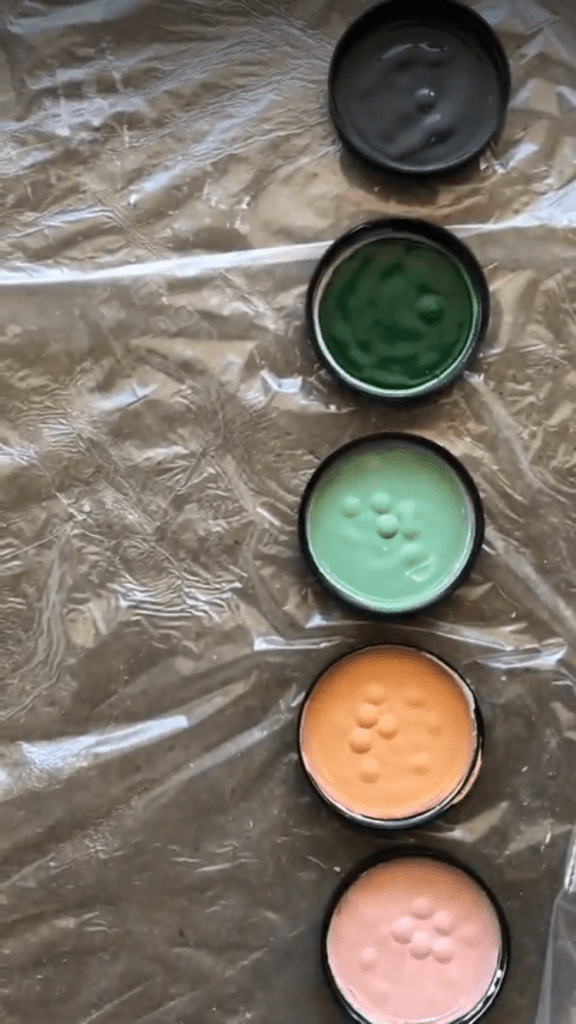
At the time of making this canvas, I was also building this website, which was a pretty unfamiliar world to me. I spent hours picking my colors. When I went to make this mural, it was so fun to embrace these colors as mine and realize how much joy they brought me for different reasons.
The pale pink is feminine & fun. The orange feels daring & bright. The teal feels calming. The deep green is my favorite color ever and reminds me of hikes in the mountains. The charcoal is grounding without being too dark. It’s cool to me that these have now become the colors of my website & brand, but also are the colors that I look up at in my shop, bringing me a smile.