


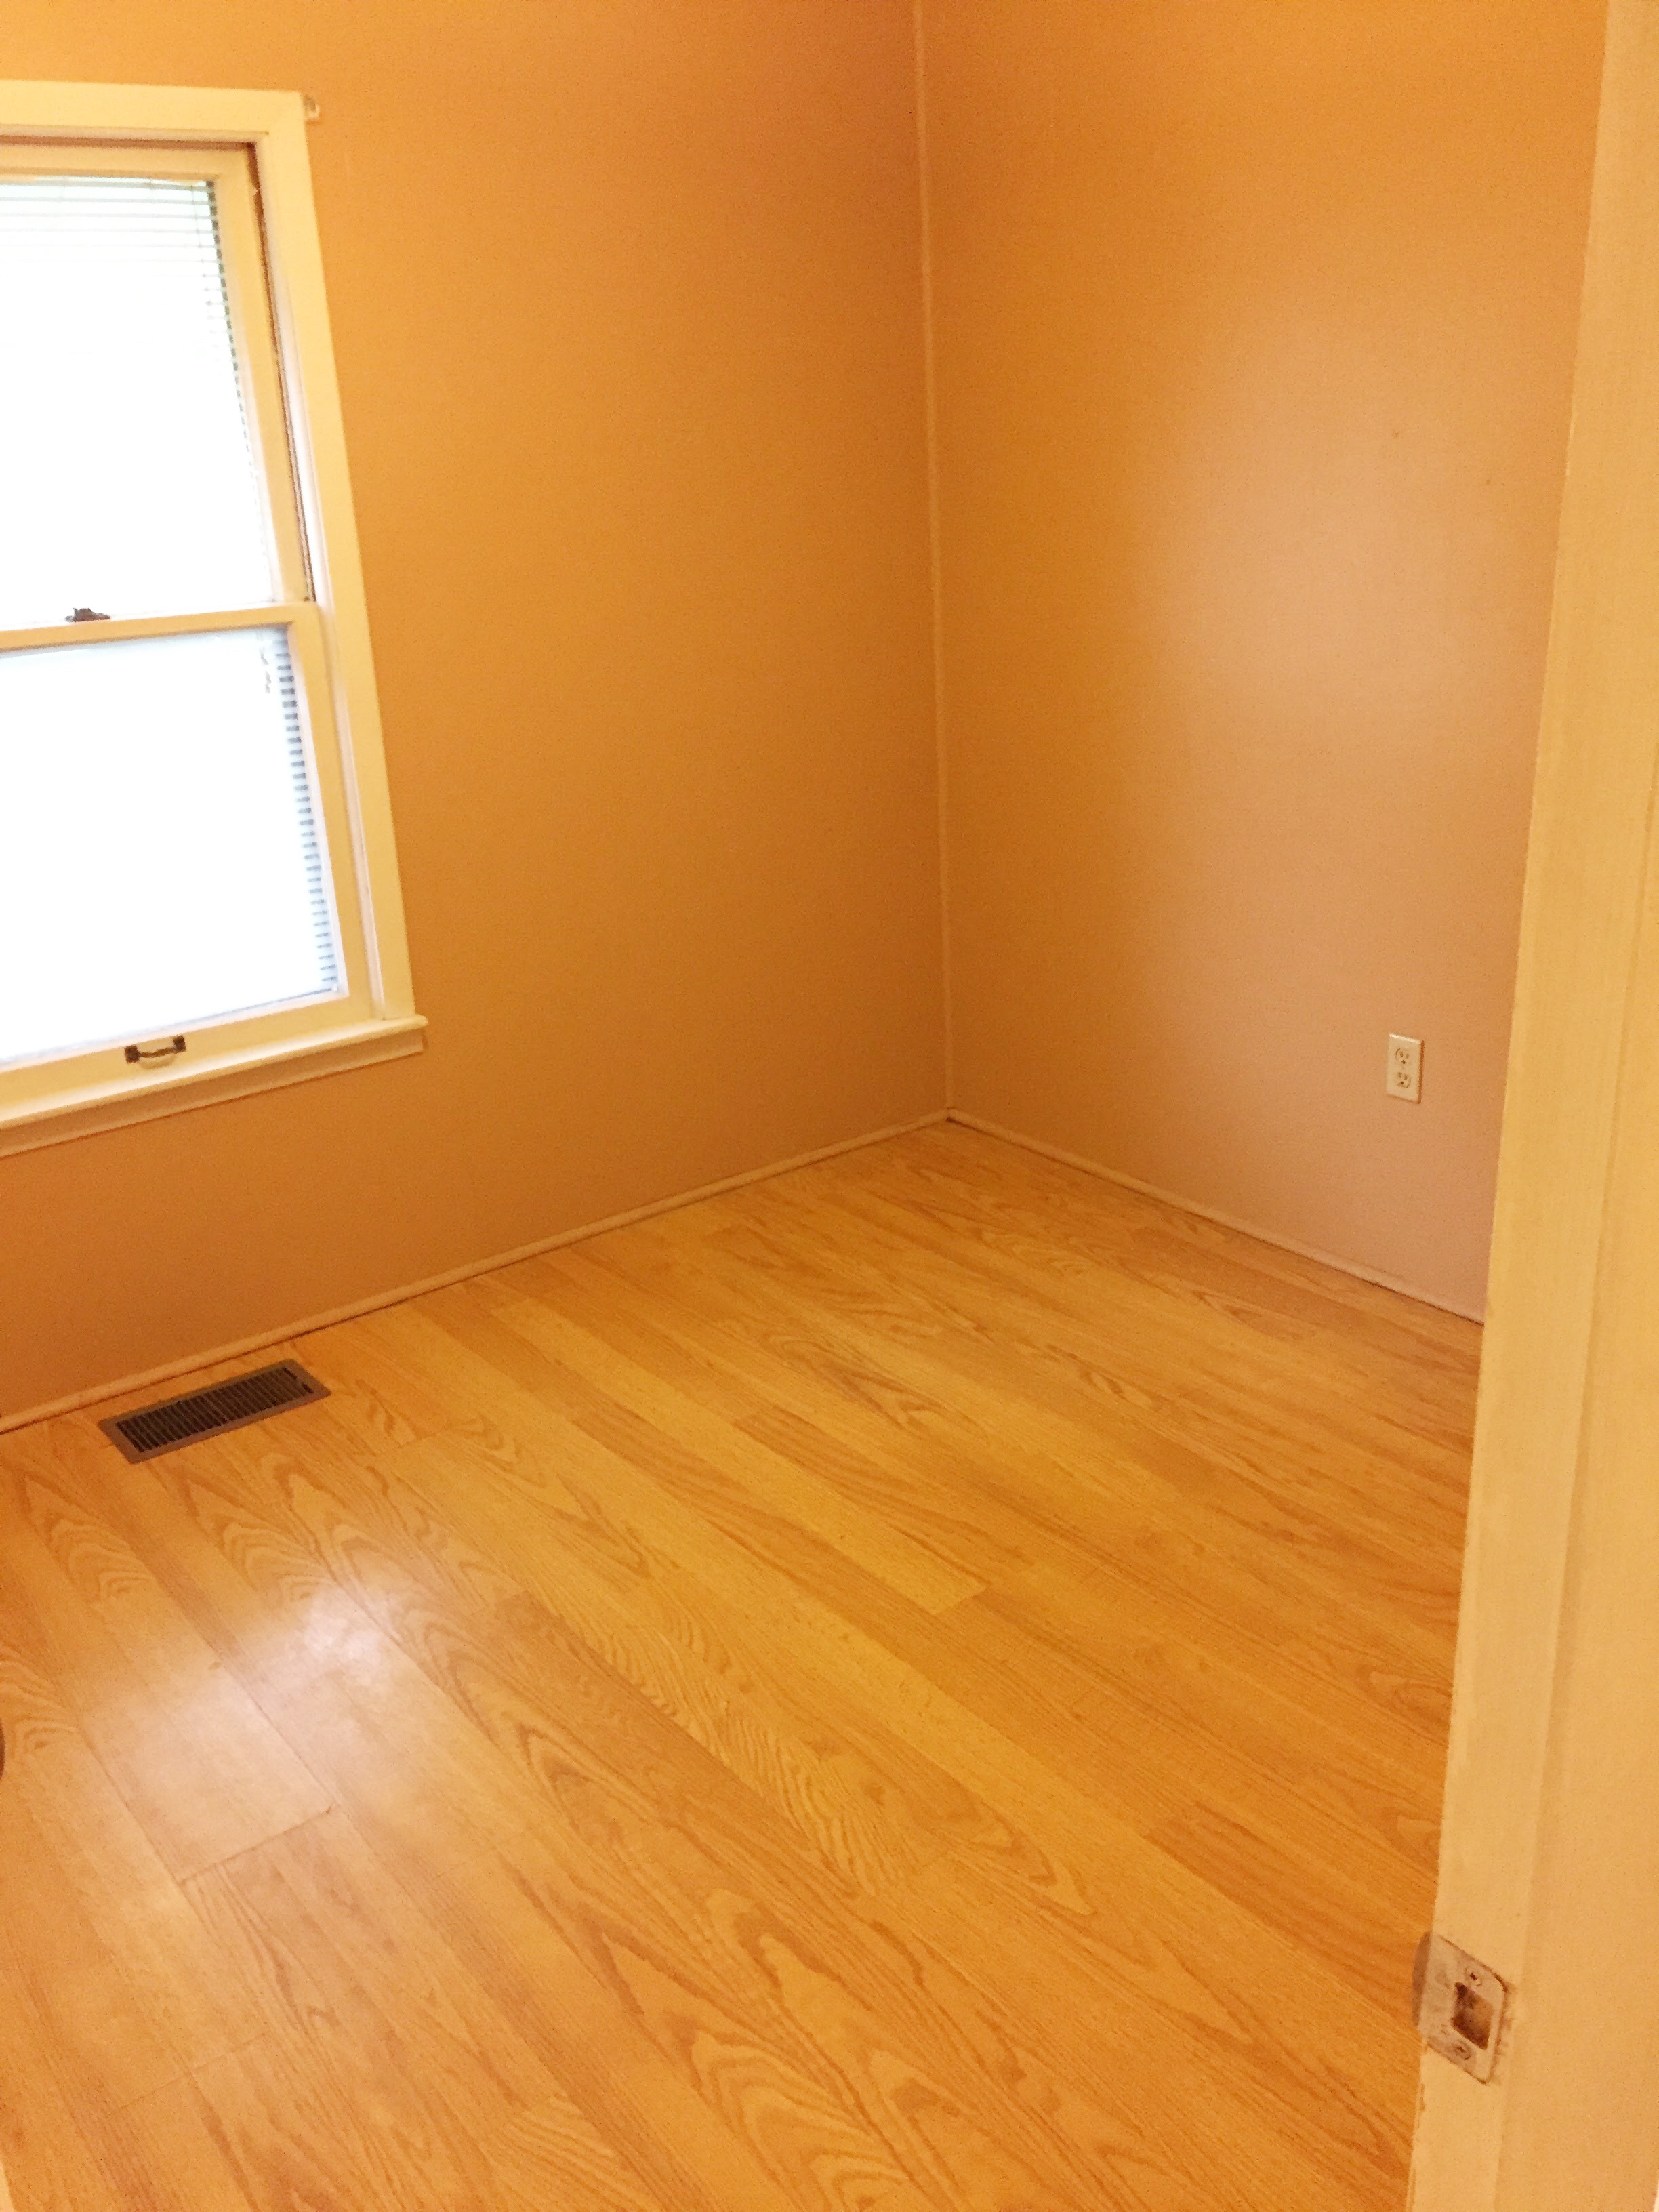
Most people who have moved know about having a “junk room”. You know, the room full of boxes with miscellaneous items that you may or may not need anymore, but you’re not ready to unpack them now…or ever. Well after about 9 months in our house, I got really sick of having a junk room and not a guest room. I love spending time with my friends & family, and I really wanted to host them at our house, since before it was definitely cramped hosting people in our apartment.
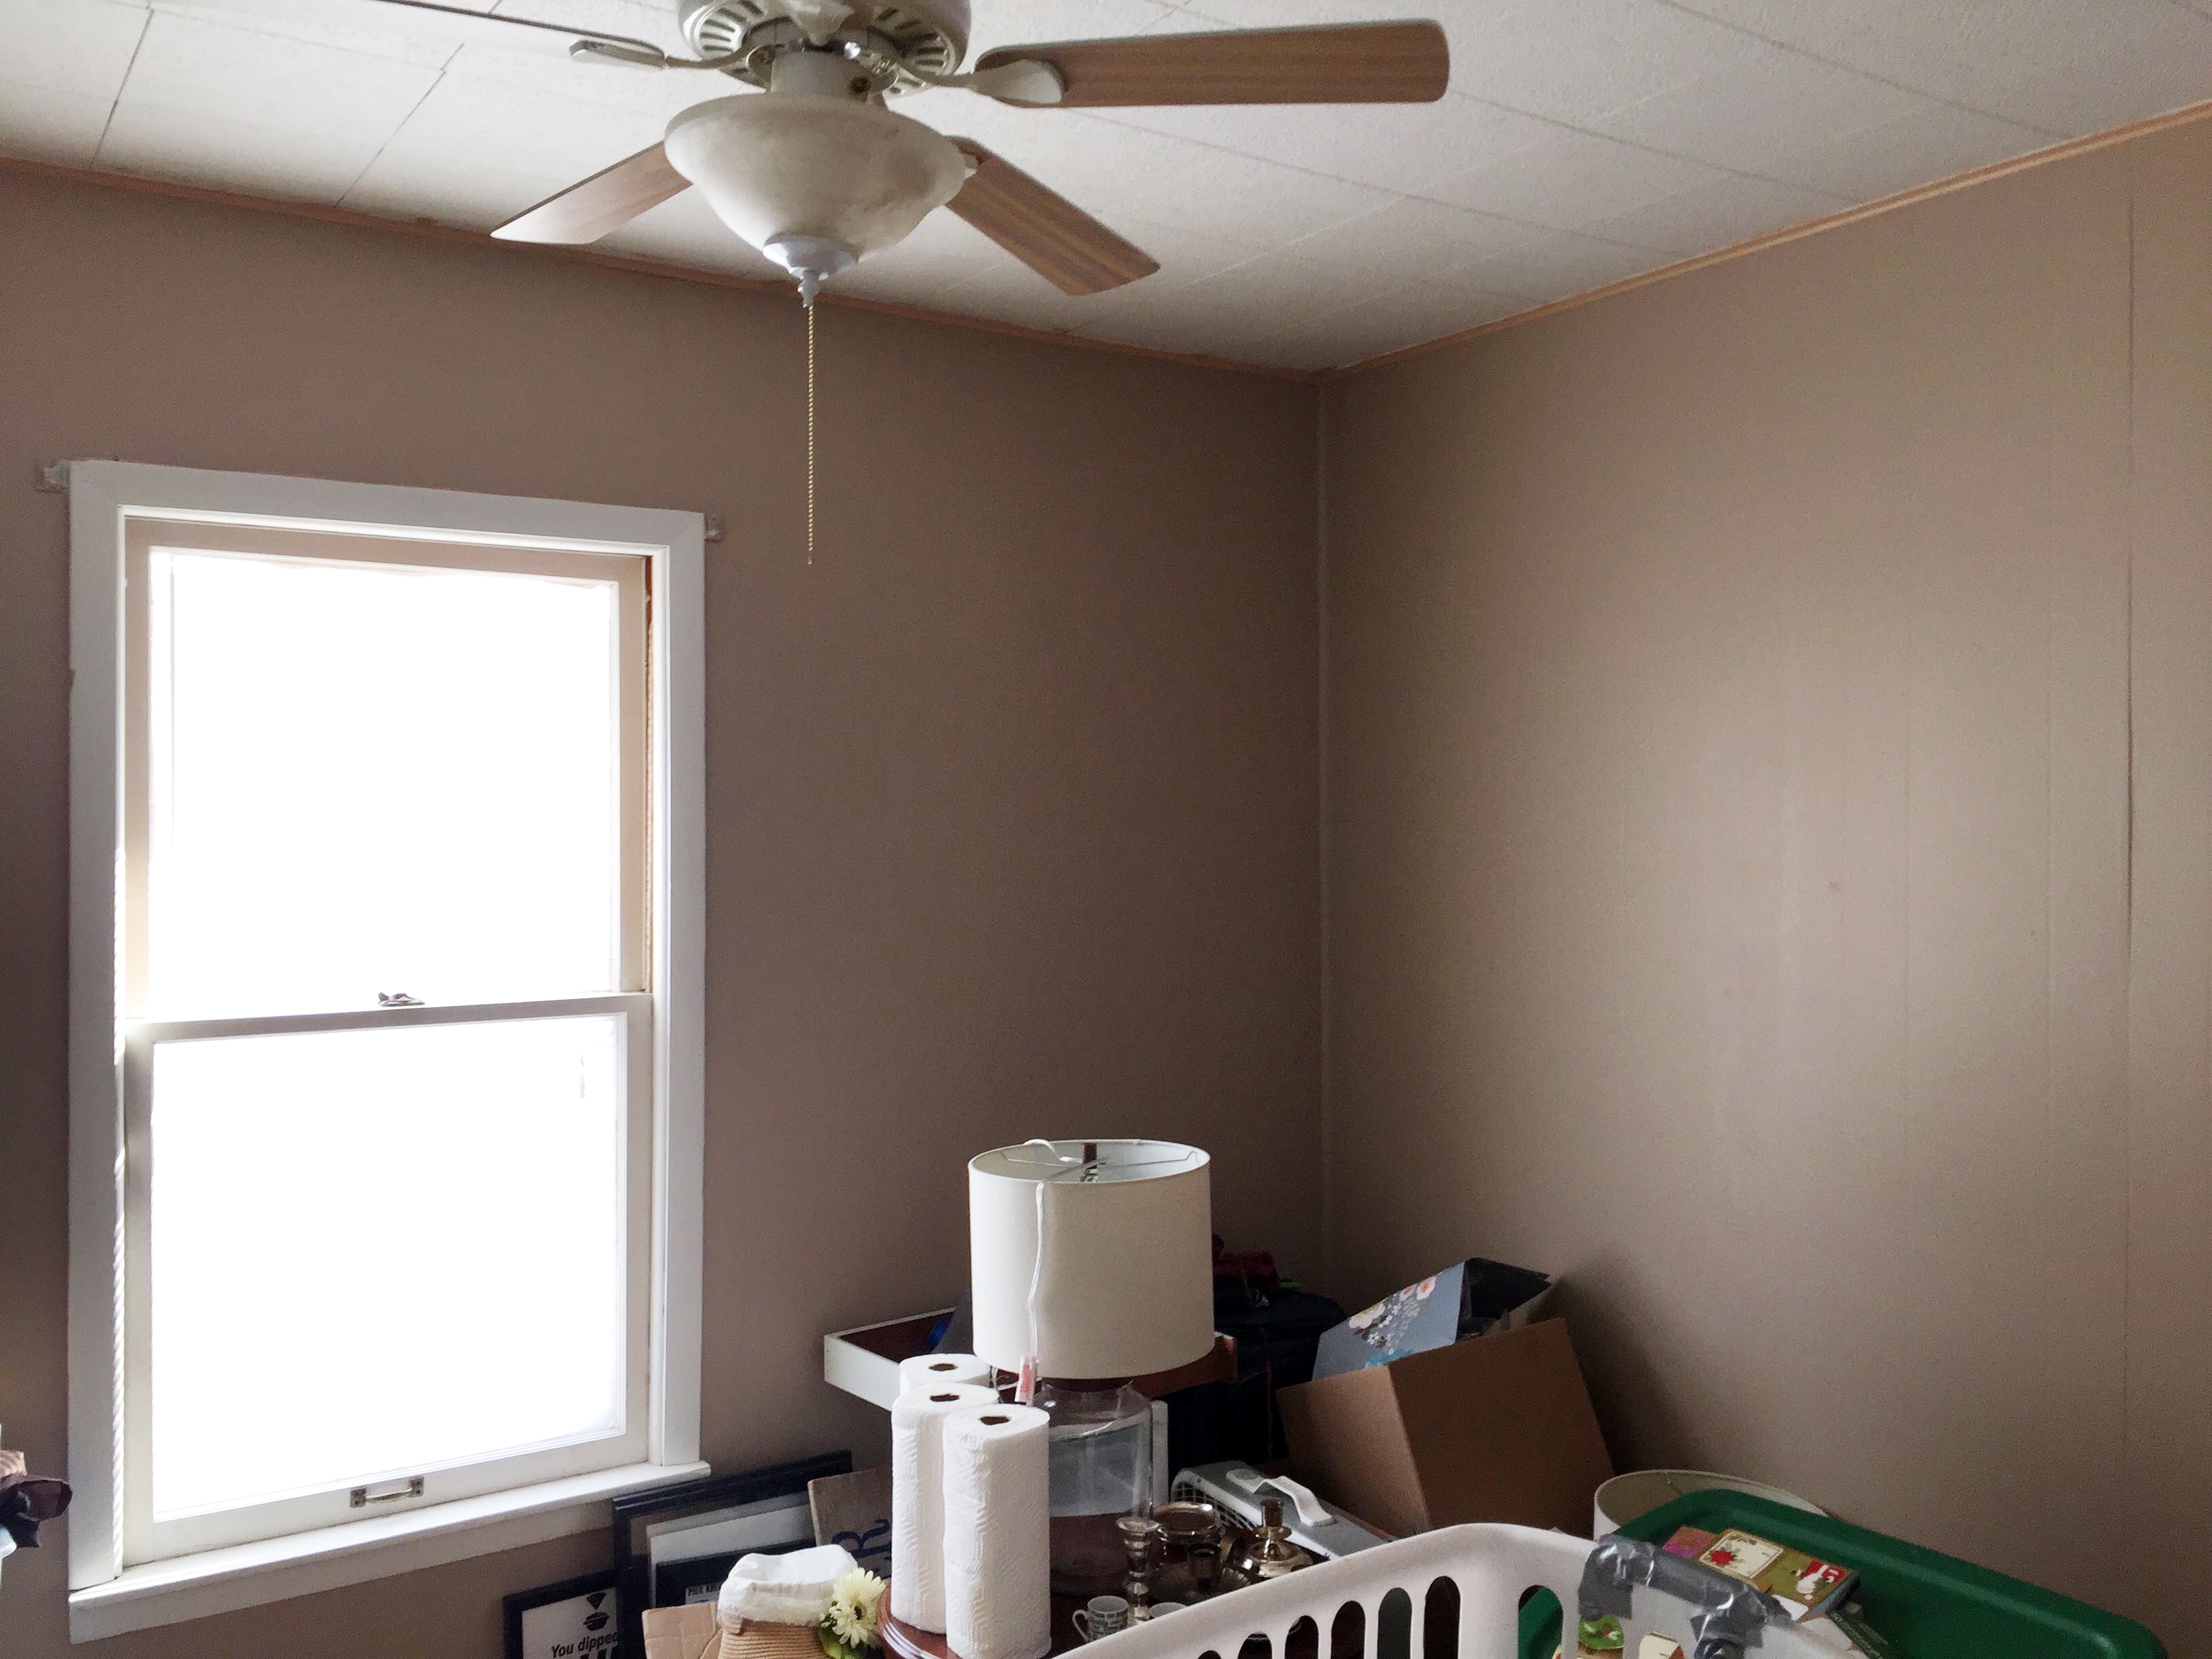
The first order of business was cleaning and getting rid of stuff we no longer need. Now I’ve shared before that I like to start a lot of different projects, and I learned pretty quickly that I had accumulated tons of craft supplies, from random yards of material, to watercolors, scrapbook supplies, embroidery hoops, to 30 different types of adhesives (well maybe it’s not quite 30, but you get it).
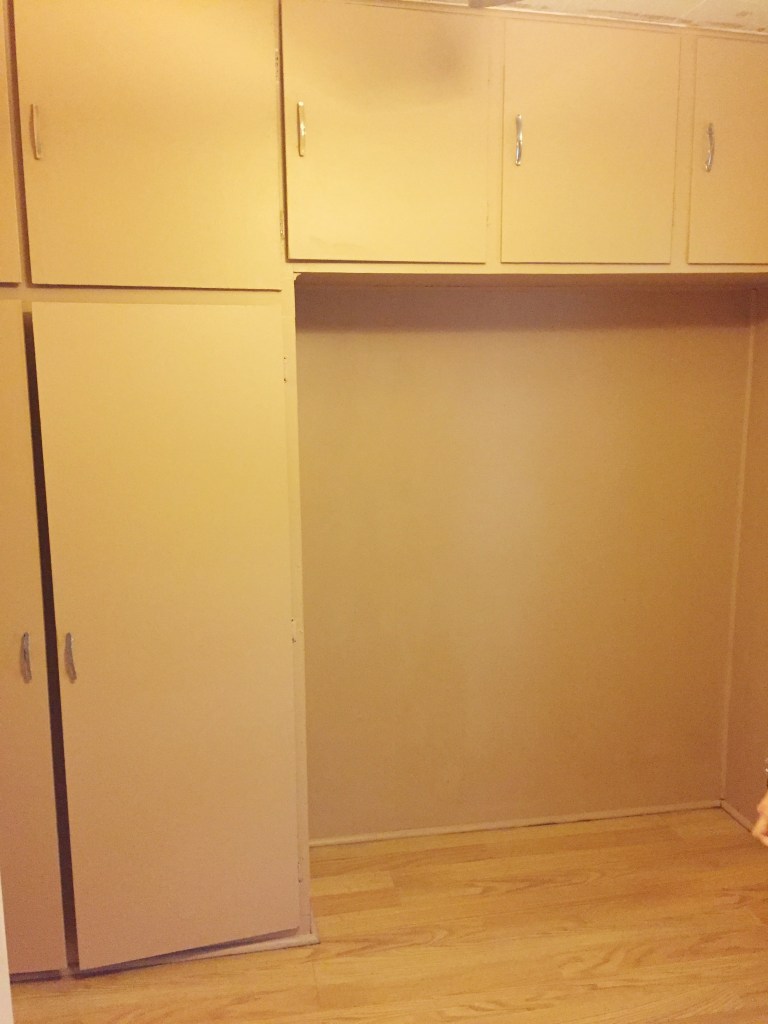
The second bedroom already had some built-ins, but then there was a random nook that couldn’t really fit any furniture. I started dreaming up how to fill it with shelves that could contains all these craft supplies in a way that looked neat & tidy. At this point, the only shelves I had ever built were on brackets in the porch. These spare room ones needed to be much larger & built-in.
I took some measurements, and even measured the height of my larger supplies like my sewing machine. We went to the store & had them cut down some pieces of MDF so that we could fit it in our small car. Equipped with the same circular saw and corded drill as the last shelves, I got to work. I was a teacher on spring break at the time, so I was determined to get this room done in a week.
This was my first lesson in “walls aren’t straight or level”, but a good one. I remember ripping down that MDF knowing I had measured everything right, and it just wouldn’t fit quite right, so I’d have to carry it back out to the garage to rip it some more. This project started my project recharge moments where I take a break for some sparkling water, & chips, and pause to think it through before I dive back in. I still do this on nearly every project that I’m working on.
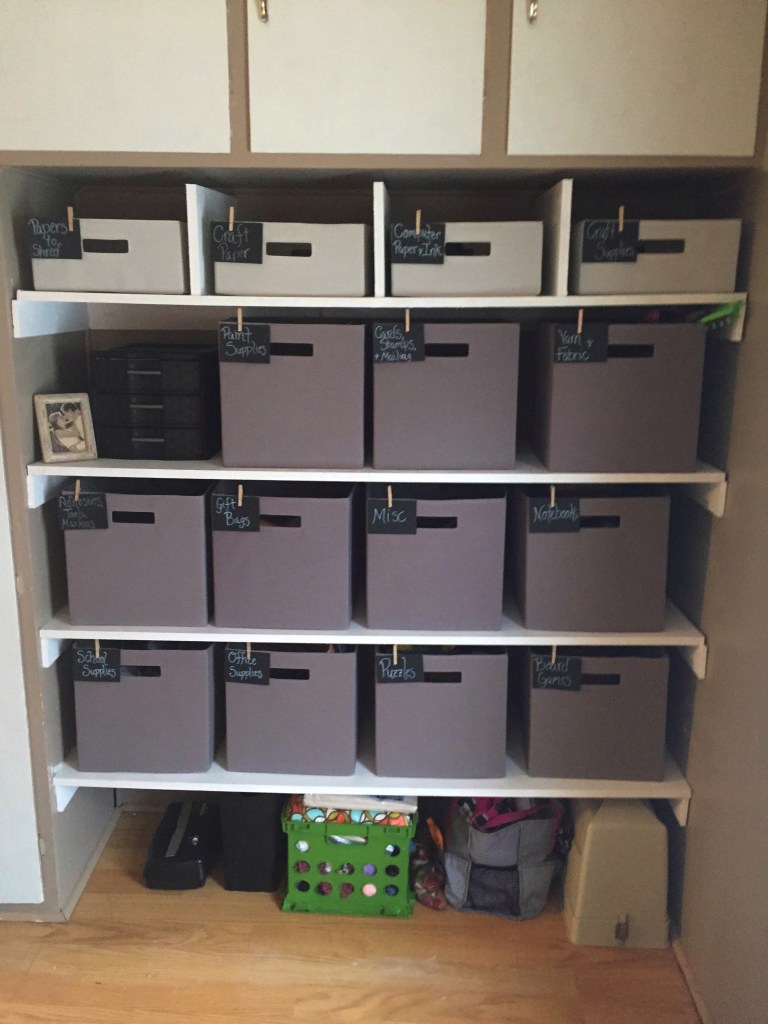
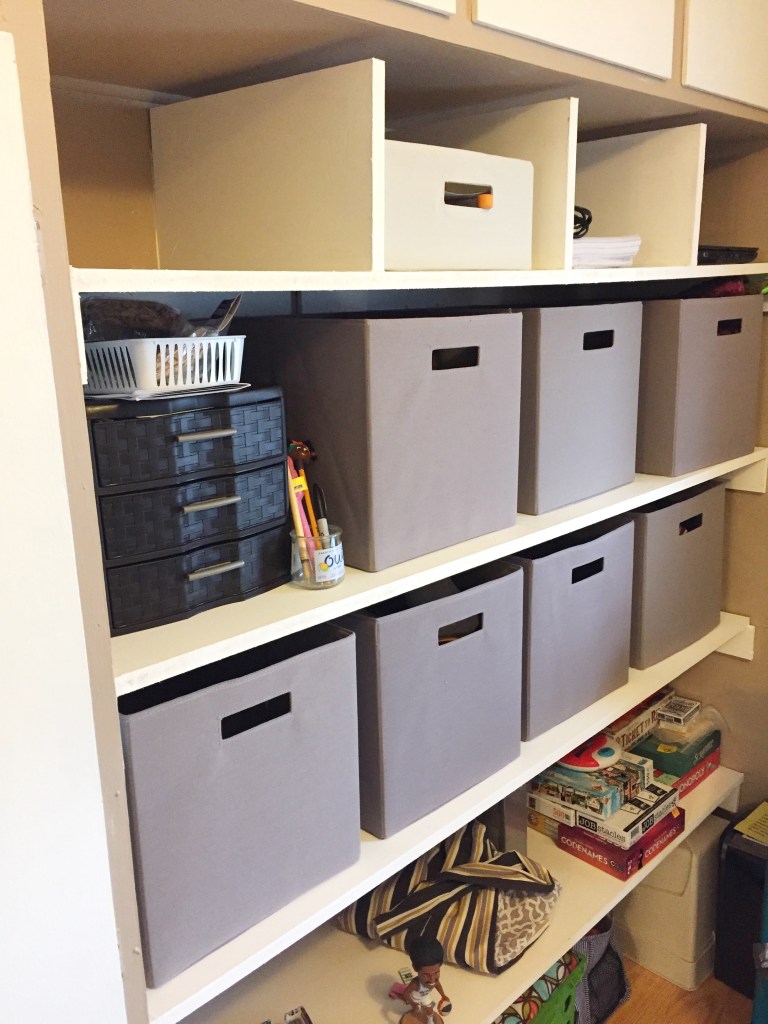
I built those shelves by myself in a day. I painted them white the next, along with painting the desk we already had to match. I bought totes to fill with each of my supplies, so that they’d stay organized but still look neat. I bought a metal bed frame for the room, and then finished it out with some Target & Bed, Bath, & Beyond finds.
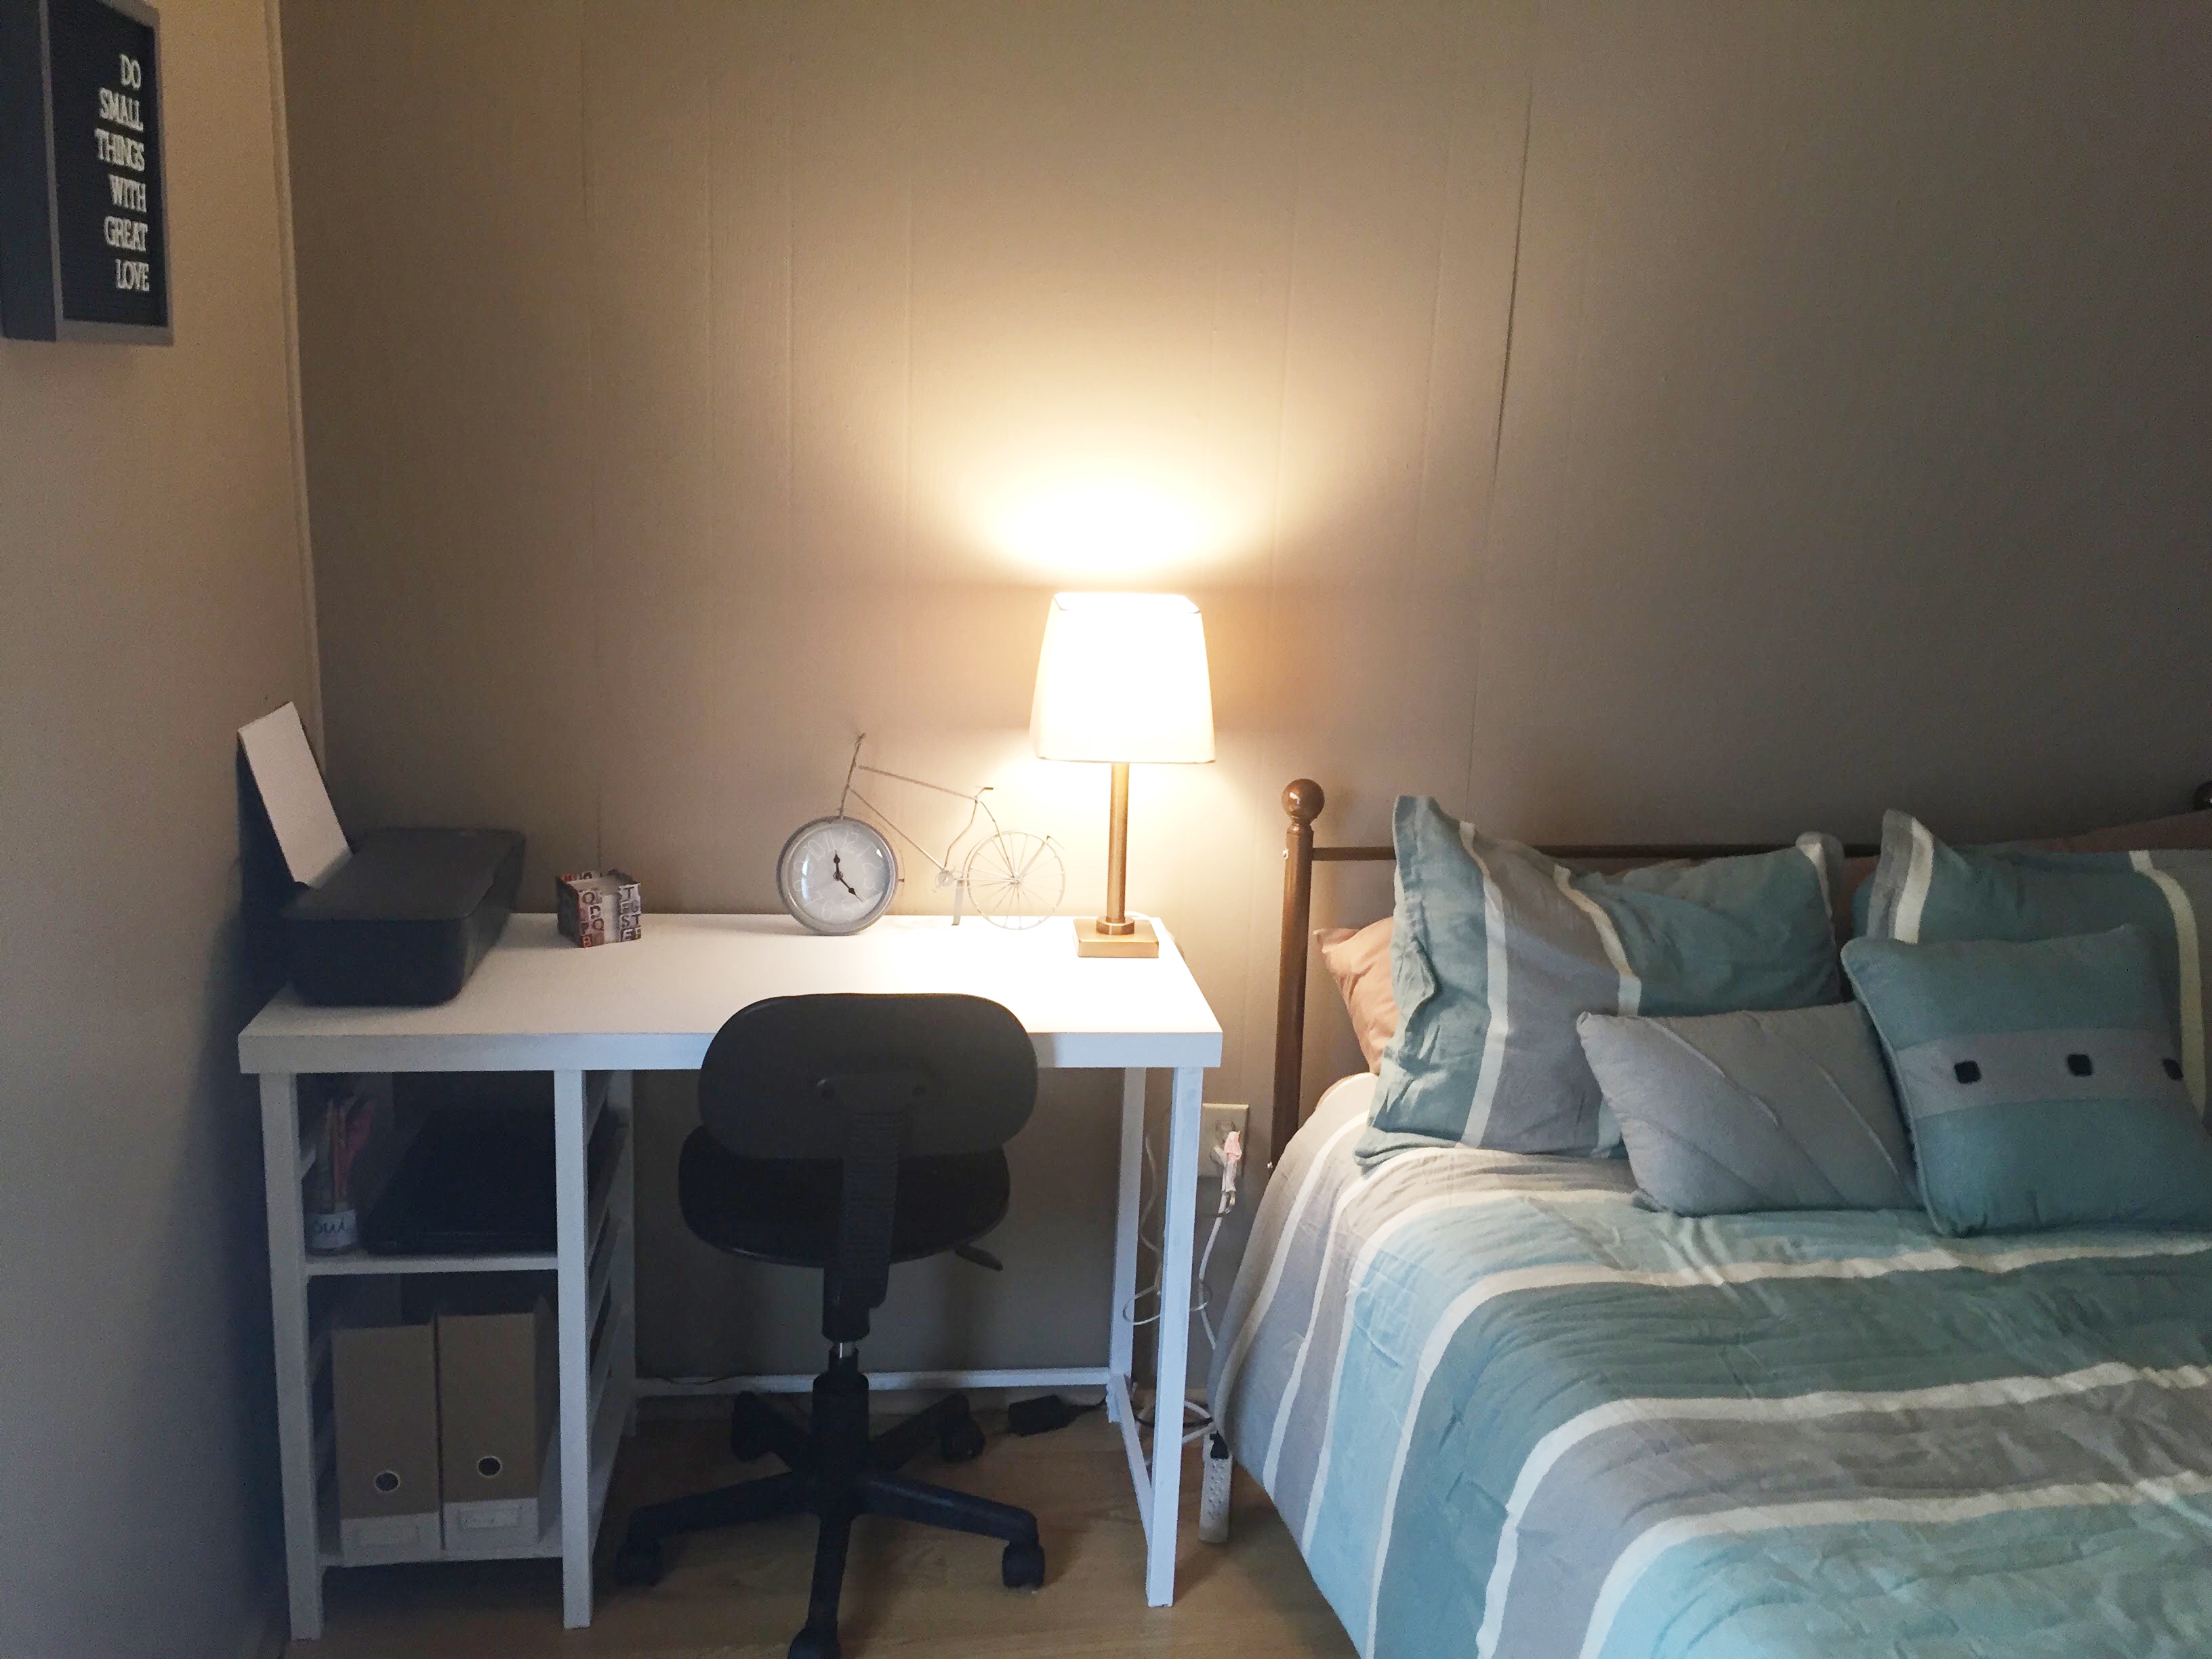
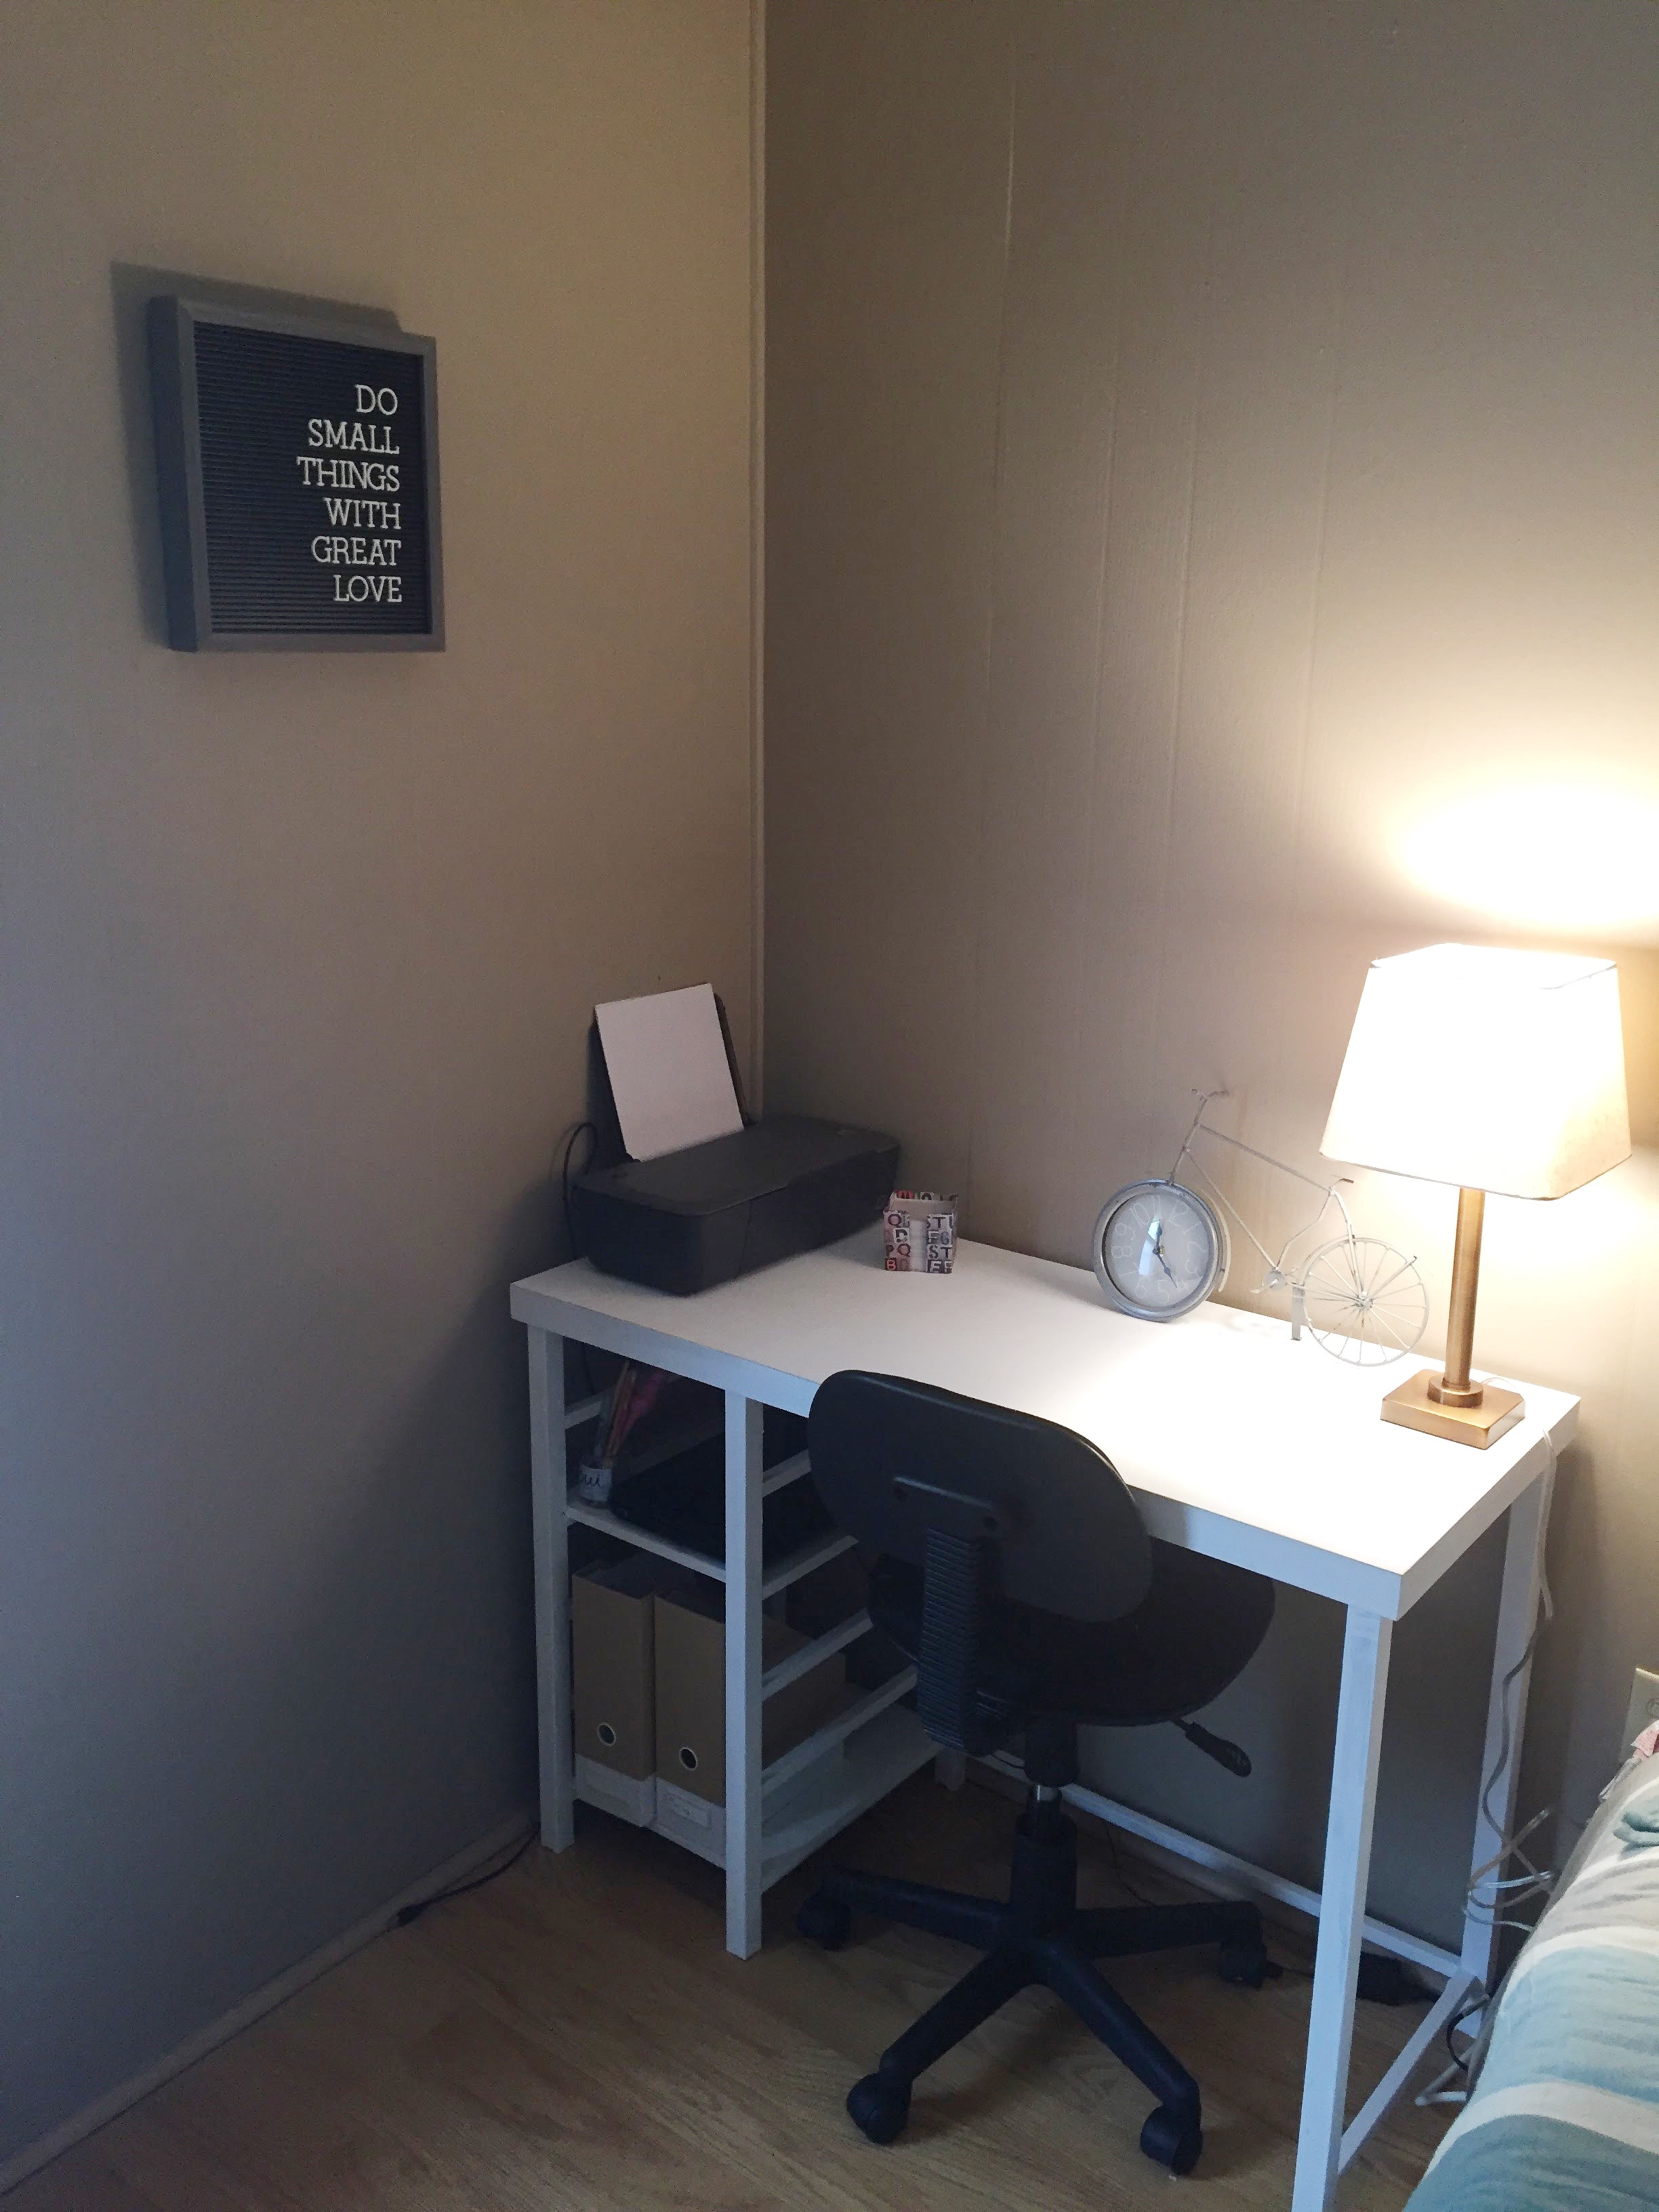
Having just one space that I felt was finished with my own personal touches gave me such ownership of this house. It opened my eyes to the possibilities that were in each room, and the thought that, even if it was slowly, this 100 year old house could become the space that I loved.

I love what you did with the room. I’ve stayed I. That room and it is nice and cozy. Also thanks for including a picture of Hoss.
LikeLike
Very nice! I am Sioux Falls friends of Bob & Cheryl. Enjoyed seeing the bathroom you did with Cheryl.
LikeLike
Thanks so much! It was so fun to redo that space with Cheryl!
LikeLike