

After lots of planning, this couch finally came together. To be honest, when it was just a frame, I wasn’t completely confident it would turn out, but as soon as I assembled it, those fears disappeared.
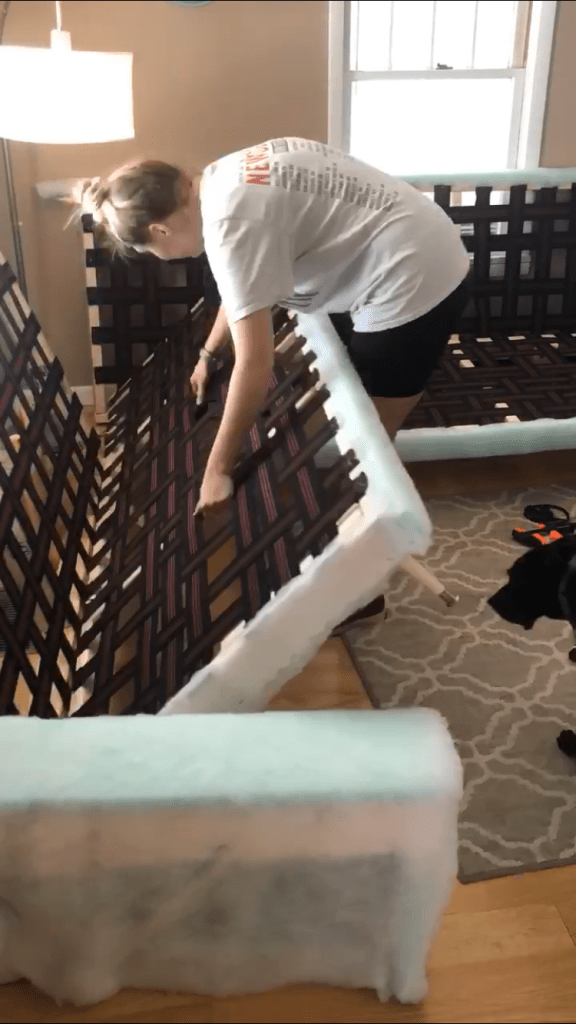
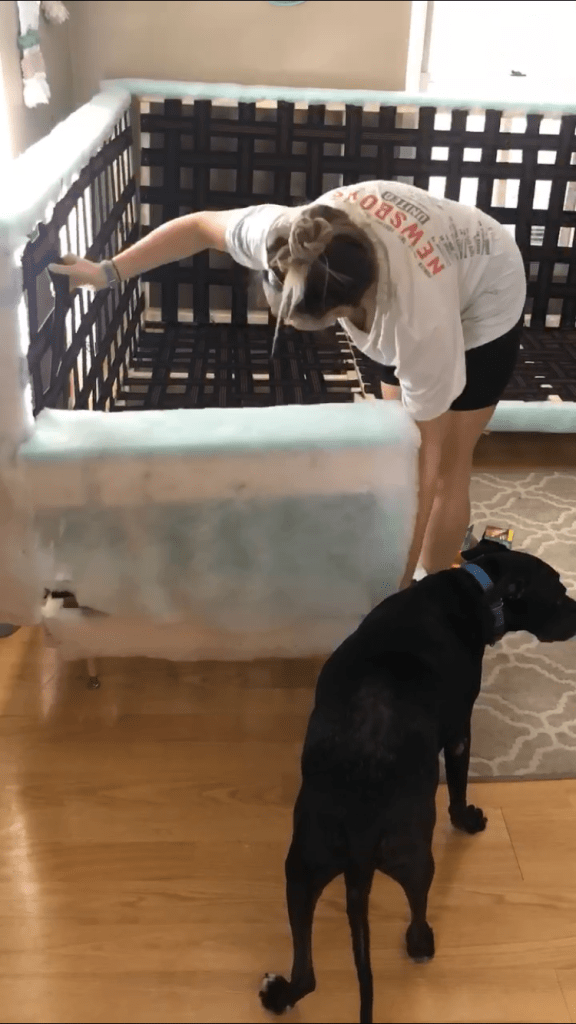
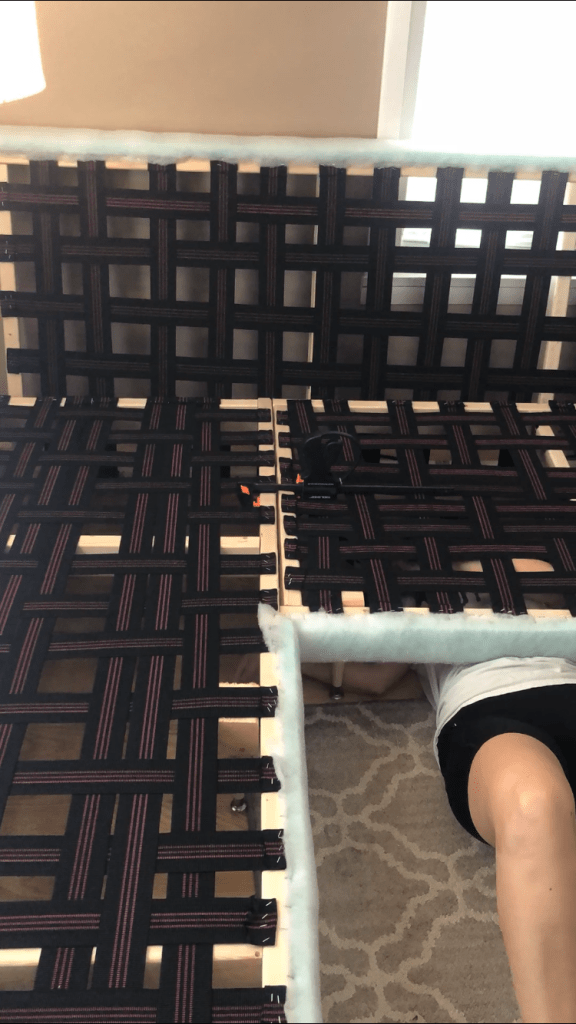
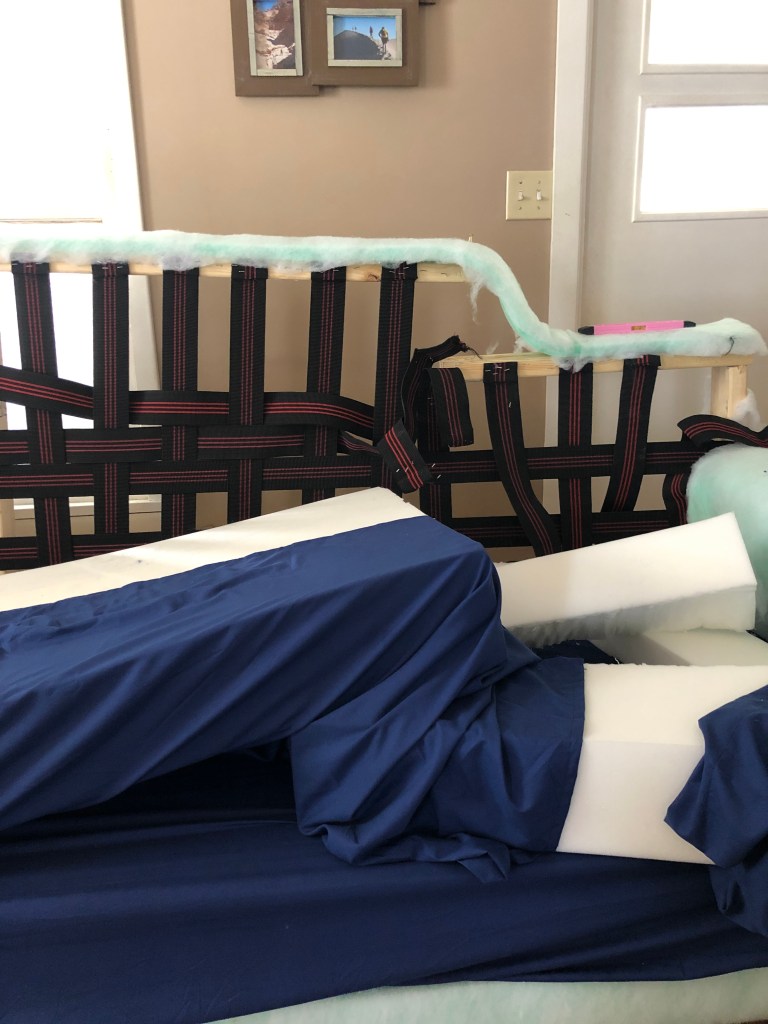
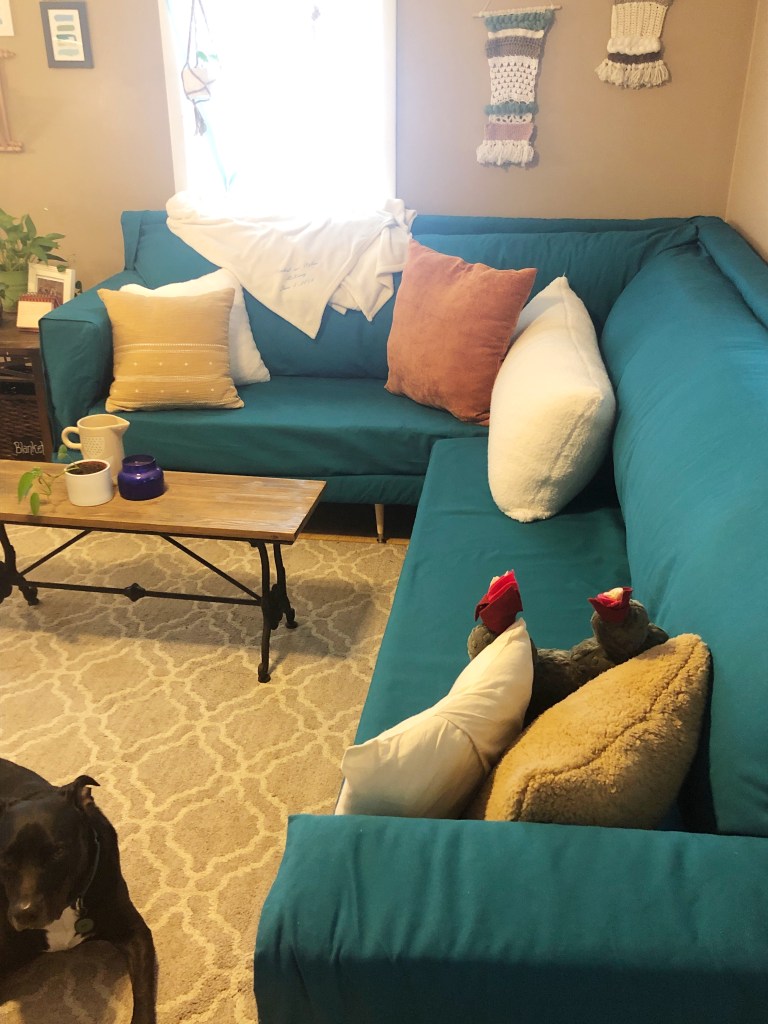
As I mentioned in previous posts, I designed this sectional in four pieces so it can go together easily, but also be taken apart to fit through doorways if needed. I used pre-made legs, the same legs that were used on my TV console in this room, so they’d match. Then I got under the couch and started attaching the pieces. I used lag screws for joining pieces because they can each hold about 212 pounds of weight depending on thickness. The last thing I’d want is for this to fall apart or for someone to sit down and fall through the frame, so lag screws were a carefully researched decision.
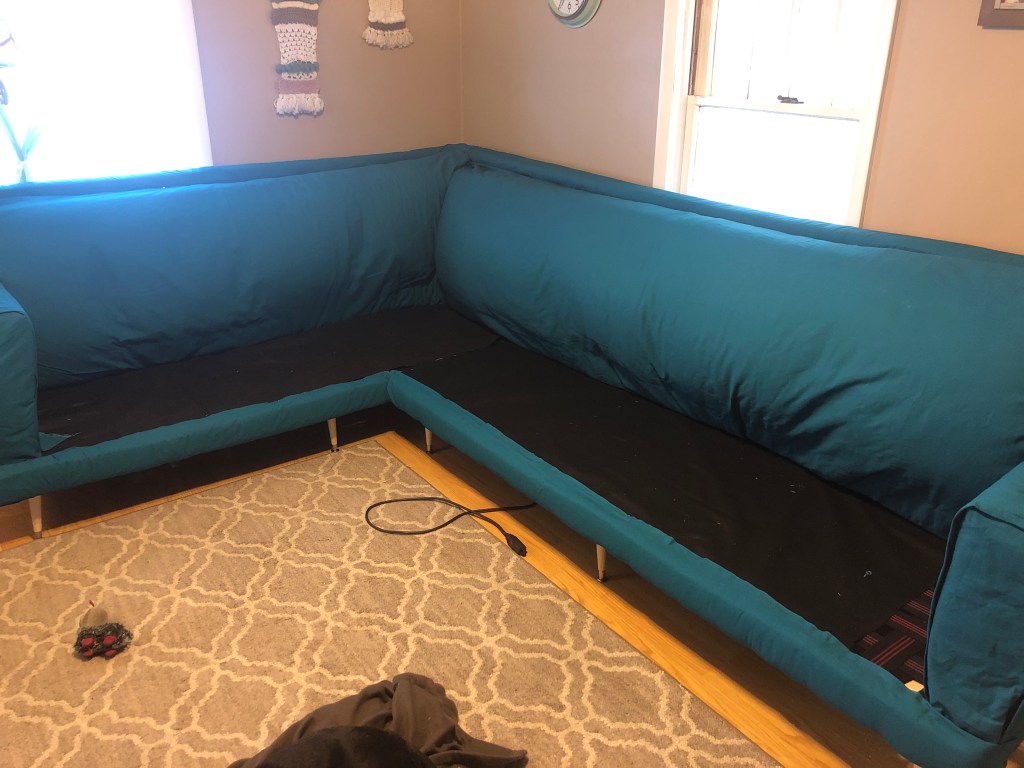
Once the frame was together, I quickly realized that I had designed the back way too high. Even though when I measured I thought I was accounting for the height of the seat foam, it was still giant. I could’ve left it and accepted that I just had made a huge couch, but after weeks of work, I really wanted it to be right.
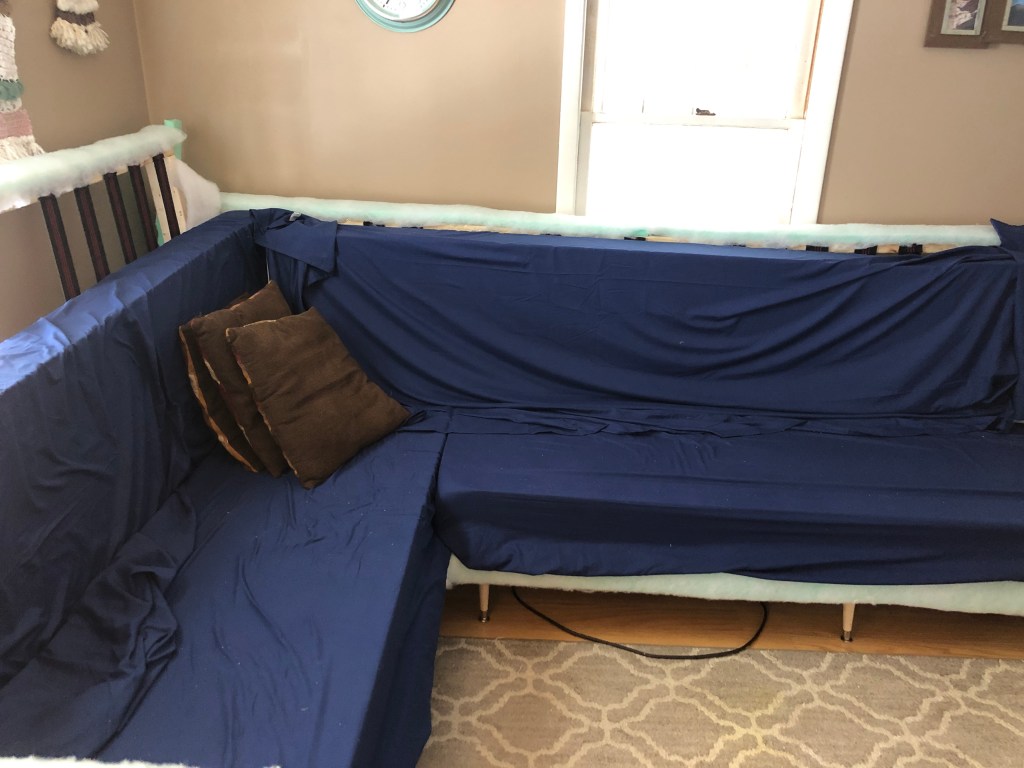

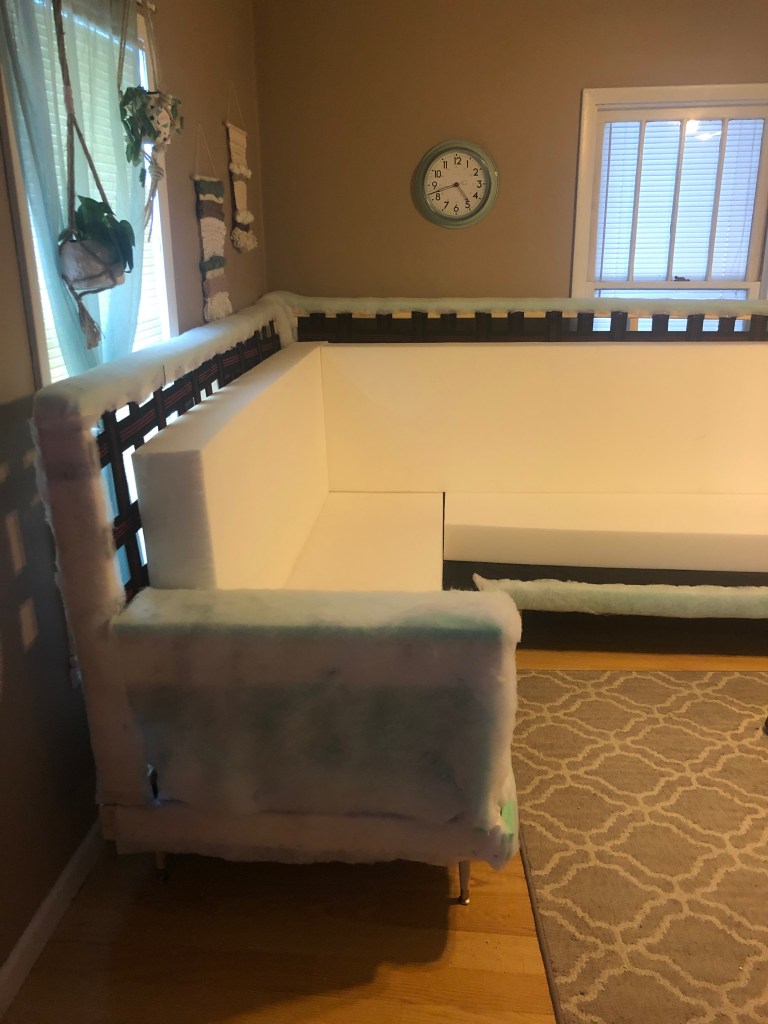
I made the tough choice to chop down the back of my couch by 9in. I used a multi tool for a few boards, but when that took too long, I got out the circular saw. This process went pretty well until cutting down the last board. Though I tried to account for tension in different places with the boards and webbing, when I cut the last board, the top of the frame shot back and hit me in the face. I cried and had a swollen cheek for a few days, but I am so thankful for my eye protection & safety gear, because it could’ve been so much worse.
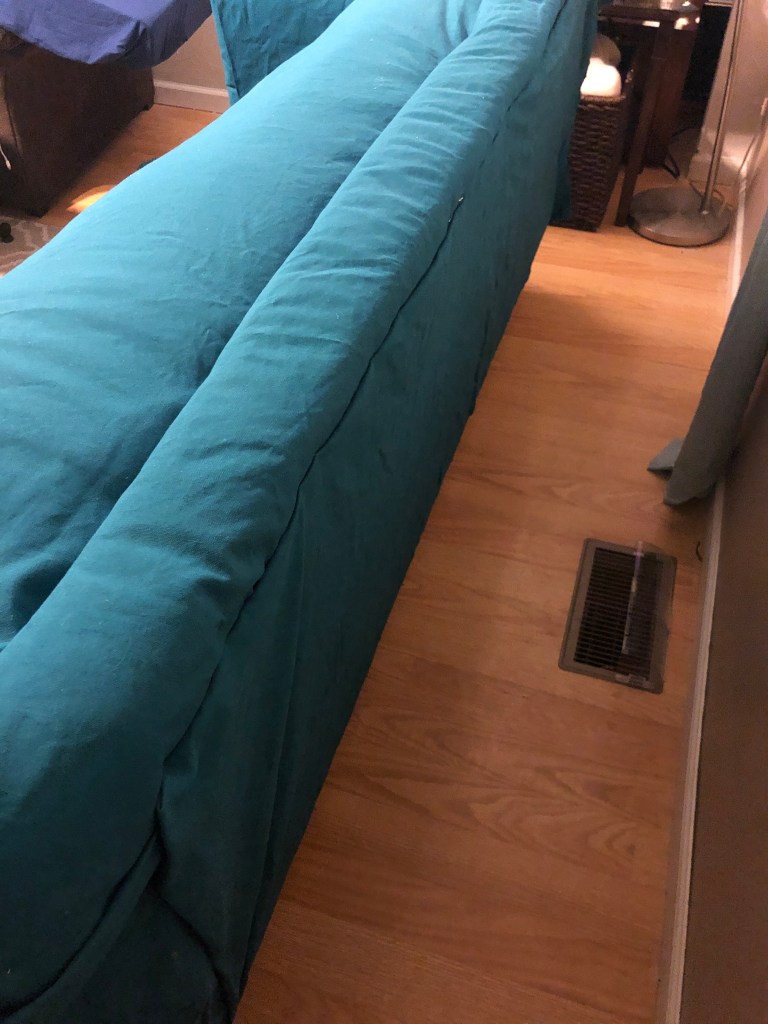
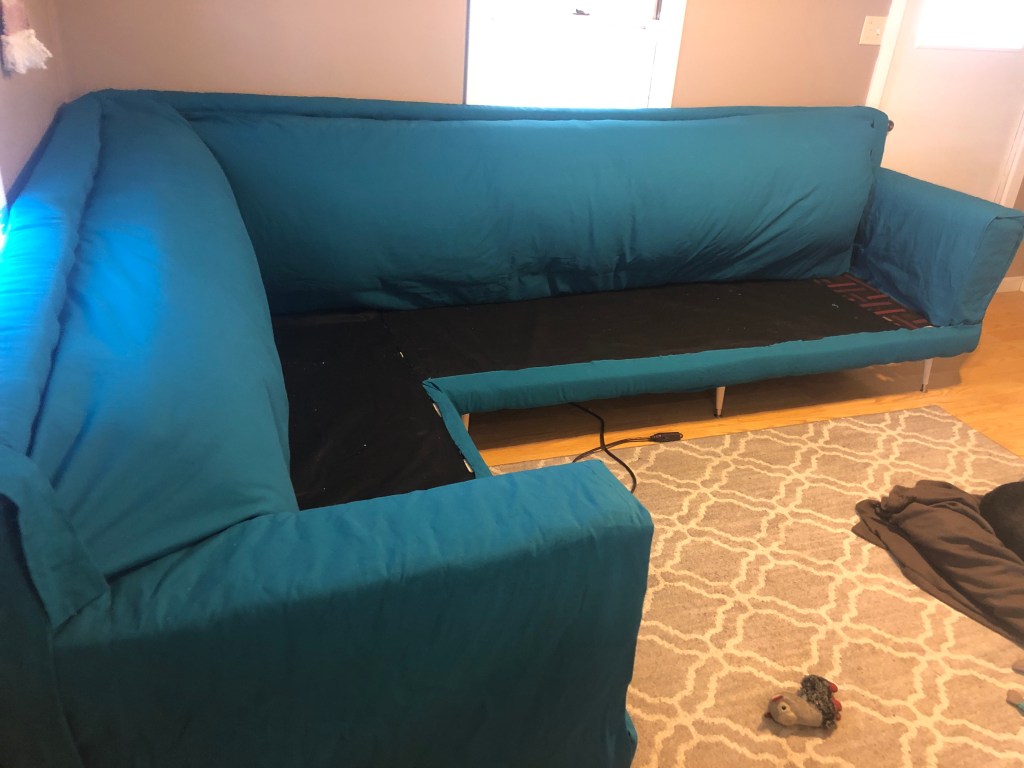
After recovering from my injury, and cut to my pride, it was time for fabric. I opted for a lightweight canvas fabric so it would be easy to clean. Since sewing is not my strong suit, I stapled fabric to most of the frame. I folded it in a way that staples would be hidden, and used some upholstery tacking strips to make seams as well. All of the back foam & cushioning are also stapled to the frame, so that the only part that requires sewing is seat cushions.
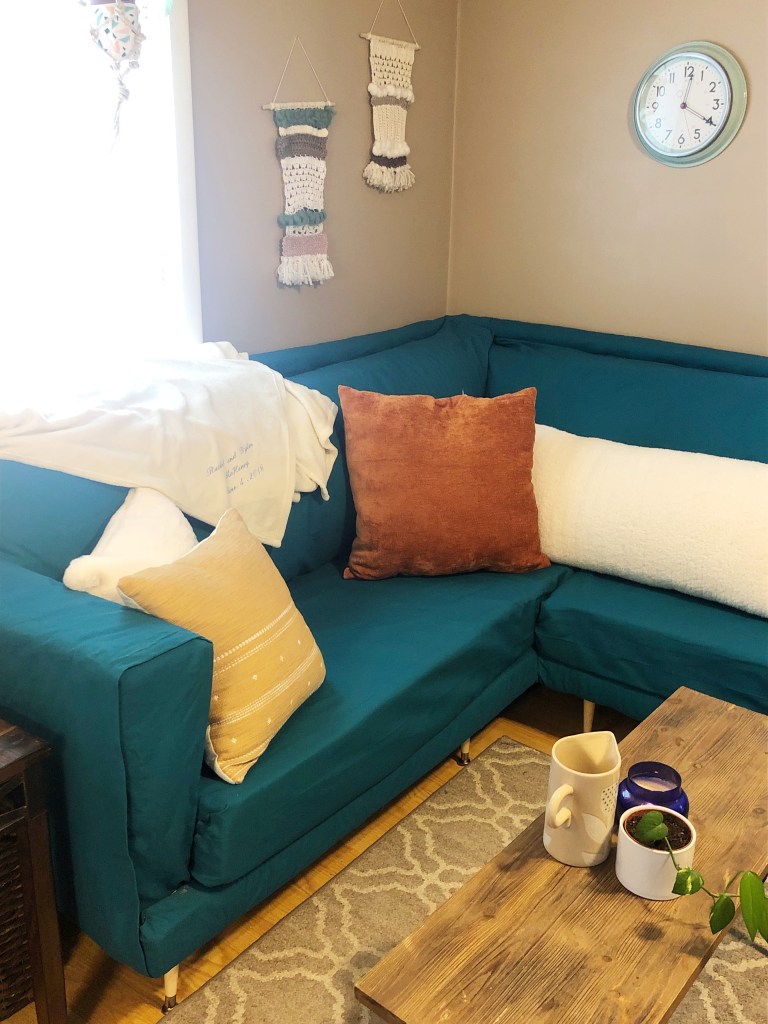
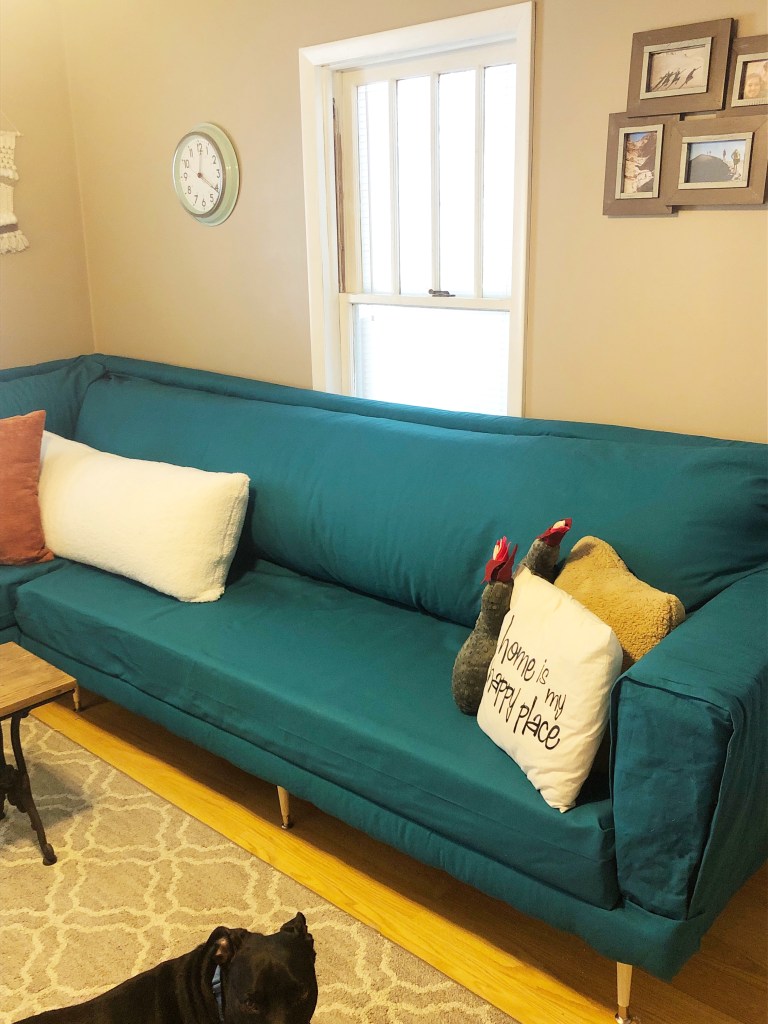
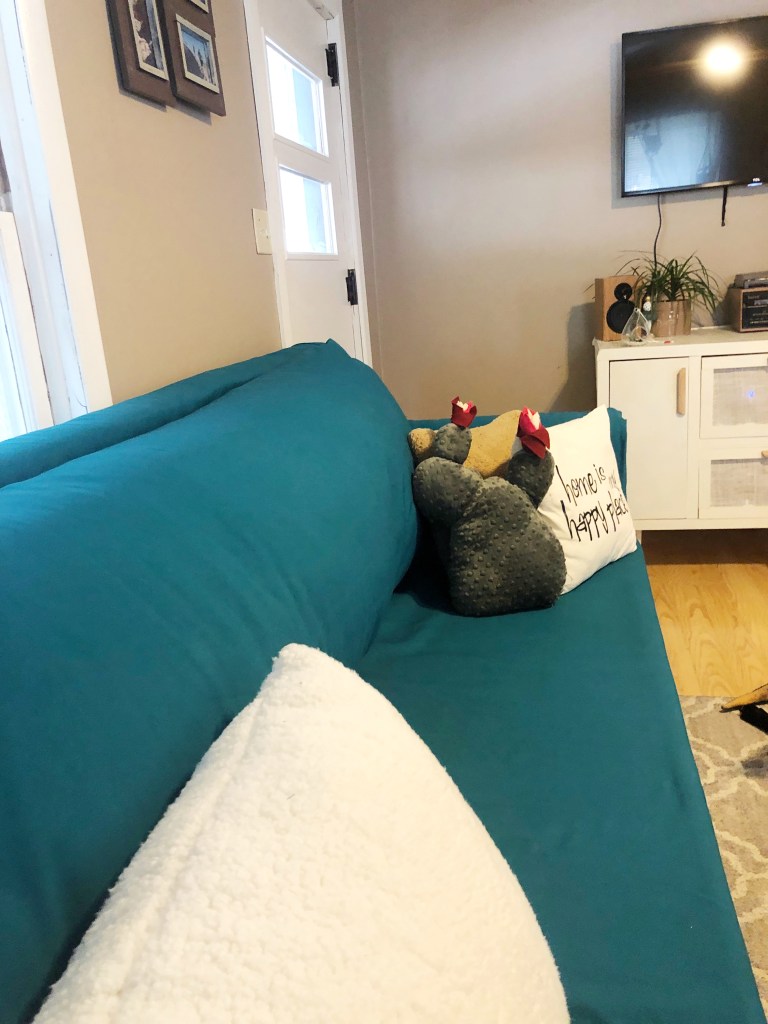
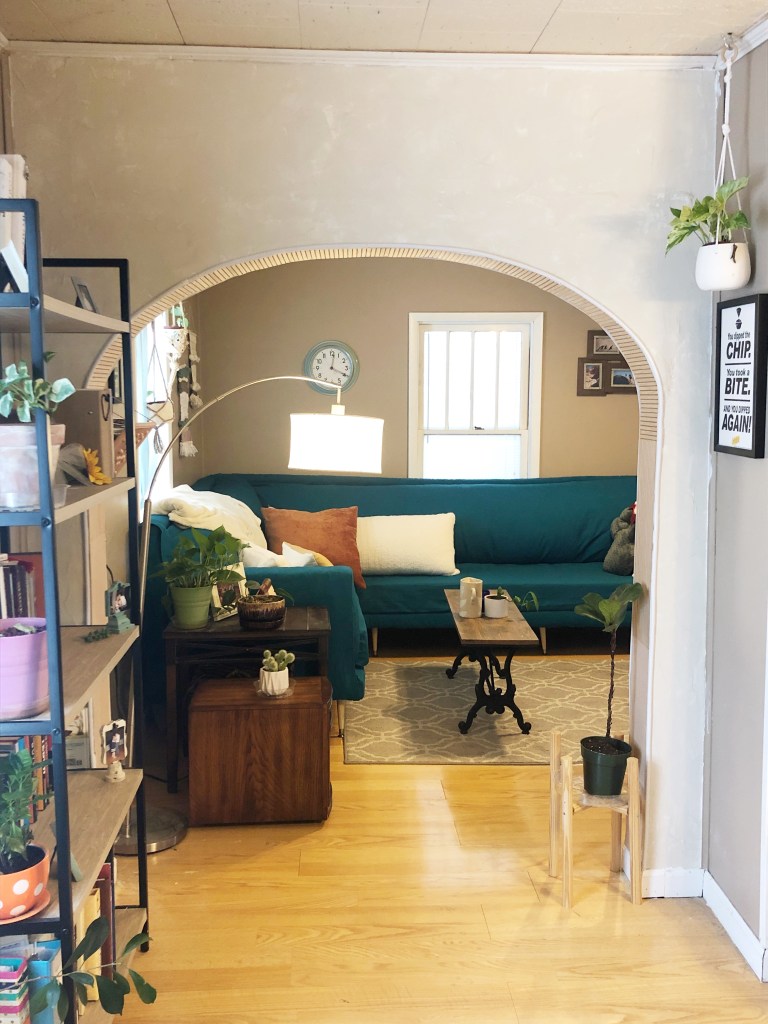
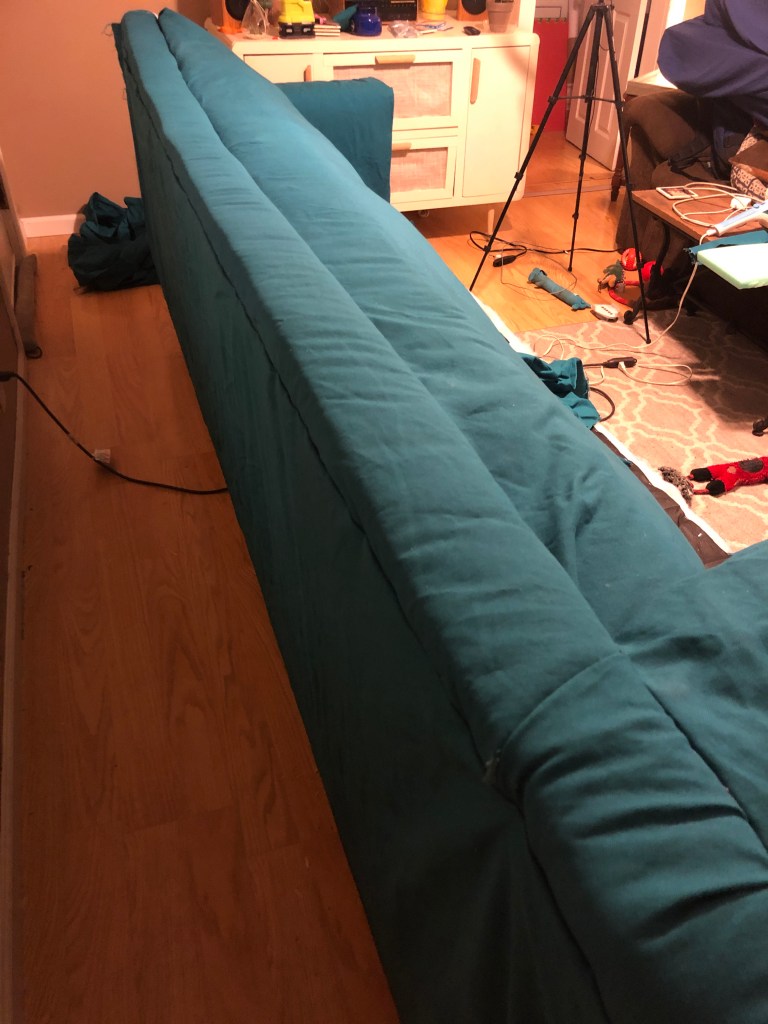
After 8 long weeks of hard work, this couch is finally finished! To say I’m excited would be an understatement. We are absolutely loving our very comfortable, new couch. The knowledge that I built it for about 1/5 the price of what I would’ve paid for a couch this size had I bought it is just the cherry on top. I hope through this project you see that we can build hard things. People might say you’re crazy, or that there’s no way it’ll work. It may cost you some blood, sweat, & tears, but it might just be one of the best things you’ve ever made.

I love it!! I am so impressed that you were able to make a couch! What an amazing grand daughter I have!!! Grammy
On Wed, Mar 2, 2022 at 11:14 AM bonita by rachel wrote:
> bonitabyrachel posted: ” After lots of planning, this couch finally came > together. To be honest, when it was just a frame, I wasn’t completely > confident it would turn out, but as soon as I assembled it, those fears > disappeared. As I mentioned in previous posts,” >
LikeLike
Thank you for always following along! This was definitely the hardest thing to make so far. We love how it turned out!
LikeLike
Great post Miss Rachel! Tree he couch is nice Very comfy!
LikeLike
Thank you! I love how it turned out.
LikeLike
Wow! All your hard work and tears paid off! The sectional is beautiful and I love the color!Sent from my Galaxy
LikeLike
Thank you! I wanted a fun, bright pop of color.
LikeLike
Rachel, I admire your talent, creativity and the hard work you put into your projects. I love seeing the process! And the result is truly beautiful! I’m sorry you got hurt. It so often seems it’s “the last board” when accidents happen. Glad you’re ok!
LikeLike
Thank you so much Kathy! I really appreciate it.
LikeLike
Cuts to pride always seem to yield the greatest achievements! I’m glad you kept pushing.
LikeLike
They definitely force digging deeper to keep going. Thank you!
LikeLike
Amazing Job You Built That With Great Cross Sections. Is it Comfortable?
LikeLike
Thank you! It’s very comfortable!
LikeLike
Seriously cool I’ve always wanted to do something like this. Saving the page!
LikeLike
Thank you! I’m hoping to eventually write up specific plans for this build, I just haven’t gotten around to it yet.
LikeLike
How gorgeous is that couch?! DIY projects on that scale intimidate me, but I think I might try it following your process. Thanks for sharing!
LikeLike
Thank you! They can be a lot but taking it a week at a time and planning out the steps helps 🙂
LikeLiked by 1 person
I love the idea of taking it a week at a time. My tendency is to rush through projects to get done, but then I don’t always love them.
LikeLike